
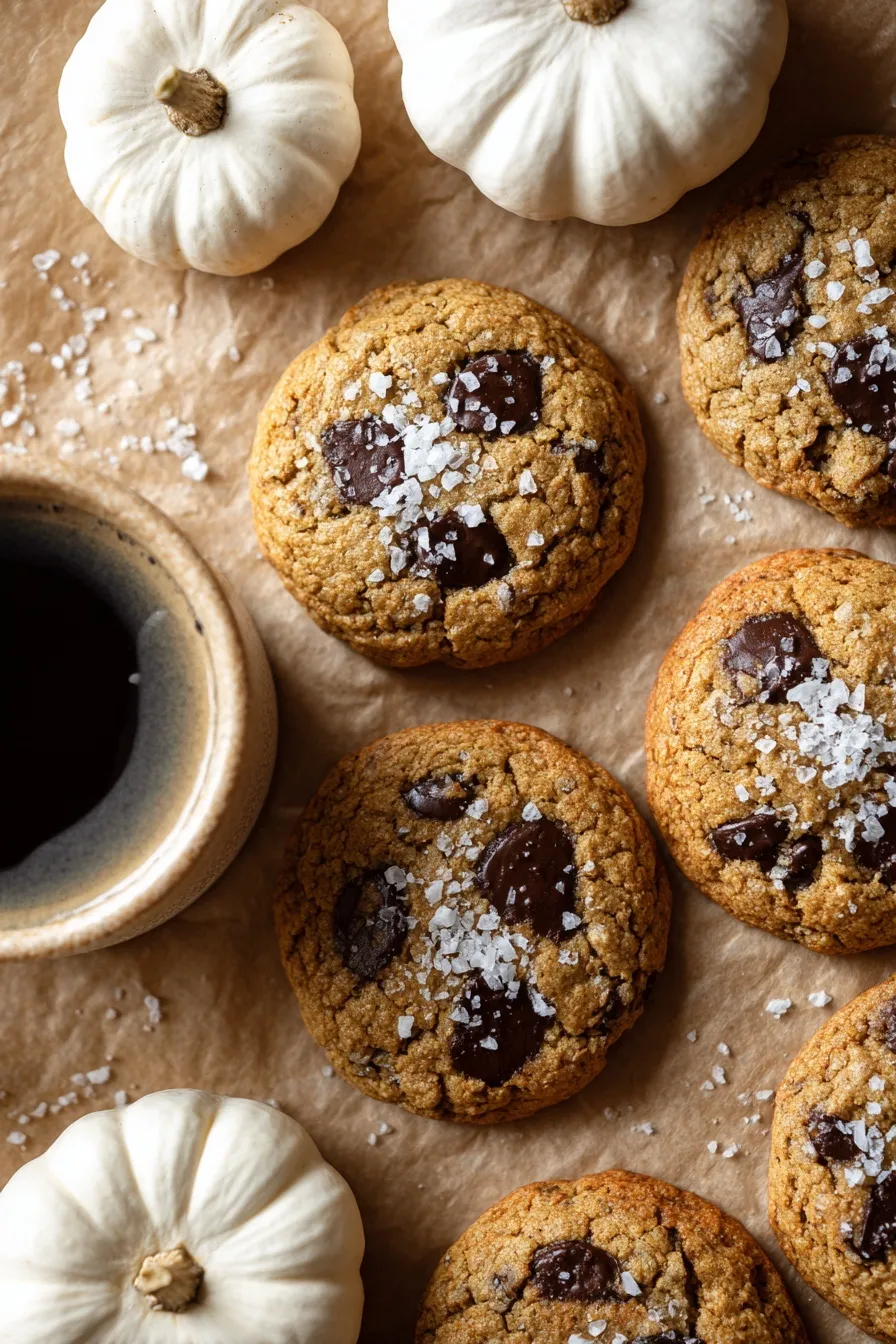
Think brown butter is too fancy for you? Think again – this step-by-step guide makes bakery-quality pumpkin cookies totally doable for beginners.
Since you are here, make sure to check out these amazing recipes:
- Pumpkin Cookies – Cream Cheese Frosting
- Viral Pumpkin Pie Cookies Recipe
- Pumpkin Smores Cookies Recipe – Fall Campfire
- Perfect Pumpkin Spice Cookies
- Quick Blueberry White Chocolate Chip Cookies Recipe
Why This Recipe Is Perfect for Baking Newbies
Okay, let’s be honest here – brown butter sounds intimidating, and “blotting pumpkin” sounds like some weird Pinterest hack that probably doesn’t work. But what if I told you these techniques are actually easier than making regular cookies and guarantee perfect results every single time?
This recipe is designed for people who are tired of disappointing pumpkin cookies that turn out cakey, bland, or just plain wrong. We’re going to walk through every single step with foolproof instructions that take the guesswork out of everything. No fancy equipment, no confusing techniques – just clear directions that lead to bakery-quality cookies in your own kitchen.
The best part? Even if you’ve never made cookies from scratch before, this recipe sets you up for success with simple visual cues and timing that actually makes sense. Plus, I’ll tell you exactly what to look for at each step so you know you’re doing it right.
What Makes These Cookies Actually Work
Here’s the thing about most pumpkin cookie recipes – they don’t account for the fact that pumpkin puree is basically wet baby food that turns your cookies into weird pumpkin cakes. This recipe solves that problem with a simple blotting technique that removes excess moisture.
The brown butter isn’t just fancy showing off – it’s what gives these cookies that deep, nutty flavor that makes people ask “what’s different about these?” It’s easier to make than you think, and I’ll walk you through exactly what to look and listen for.
No mixer required means less cleanup and less chance of overmixing your dough. Everything comes together by hand, which actually gives you more control over the final texture.
Beginner-Friendly Ingredients List
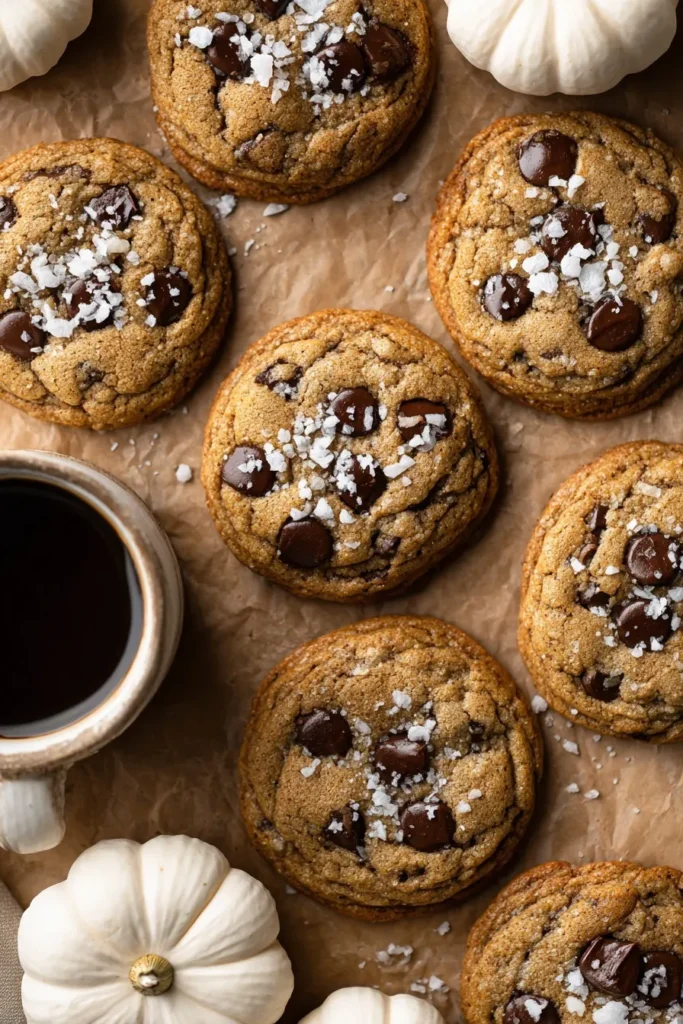
Here’s what you need (and why each ingredient matters):
The Brown Butter Magic:
- 1 cup cold unsalted butter – we’ll transform this into liquid gold
- 1/2 cup granulated sugar – creates structure and sweetness
- 1/2 cup light brown sugar – adds moisture and molasses flavor
- 2 large egg yolks – makes cookies chewy (not fluffy like whole eggs would)
- 2 tsp vanilla extract – enhances all the other flavors
The Pumpkin Component:
- 2/3 cup pumpkin puree – NOT pie filling (we’ll remove the excess water)
The Dry Team:
- 1 2/3 cups + 1 tbsp all-purpose flour – measured correctly (I’ll show you how)
- 2 1/2 tsp pumpkin pie spice – or make your own with cinnamon, nutmeg, ginger
- 1 tsp baking soda – helps cookies spread and rise just right
- 1/2 tsp fine sea salt – brings out all the flavors
The Chocolate:
- 1 cup chocolate chips – or chopped chocolate for melty pools
Step-by-Step Instructions (With Visual Cues!)
Step 1: Master Brown Butter (Easier Than You Think!)
Put your cold butter in a light-colored pan (so you can see the browning). Heat over medium heat and stir occasionally. Here’s what will happen:
- First 2-3 minutes: Butter melts and starts bubbling
- Next 2-3 minutes: It gets foamy and makes crackling sounds (totally normal!)
- Final 1-2 minutes: The foam subsides, you see golden brown bits at the bottom, and it smells nutty and amazing
You’ll know it’s done when the bottom of the pan has brown specks and it smells like toasted nuts. Pour into a bowl and refrigerate for 50-60 minutes, stirring every 15 minutes until it’s cool but still pourable.
Step 2: The Pumpkin Blotting Technique
Spread pumpkin puree on a large plate. Press a stack of 4-5 paper towels into it and watch them soak up the orange liquid. Scrape the pumpkin back into a pile and spread it out again. Repeat with fresh paper towels until the pumpkin feels like soft Play-Doh and measures about 1/3 cup.
Why this works: Removing moisture prevents cakey cookies and concentrates the pumpkin flavor.
Step 3: Mix Like a Pro (No Mixer Needed!)
When your brown butter is cool, whisk in both sugars for exactly 1 minute. Your arm might get tired, but this step is crucial! The mixture should look like pale, wet sand when you’re done.
Add egg yolks, vanilla, and blotted pumpkin and whisk until smooth. The mixture should be creamy and gorgeous at this point.
Step 4: Gentle Folding (Don’t Overmix!)
Add all dry ingredients and chocolate chips to the bowl. Using a large spoon or spatula, fold everything together until just combined. The dough should look slightly shaggy – stop as soon as you don’t see dry flour streaks.
Overmixing = tough cookies, so resist the urge to keep stirring!
Step 5: Scoop and Bake for Perfect Results
Use a 3-tablespoon cookie scoop (or heaping tablespoon) to portion dough. Roll each portion between your palms to make them round, then place on parchment-lined baking sheets about 3 inches apart.
Bake at 350°F for 10-12 minutes until edges are golden brown but centers still look slightly soft. They’ll look underdone, but trust the process – they continue cooking on the hot pan!
Step 6: The Secret to Perfect Shape
While cookies are still hot, use a large round cookie cutter or glass to gently push the edges inward. This creates those perfectly round, thick cookies you see in bakeries!
Troubleshooting Common Beginner Mistakes
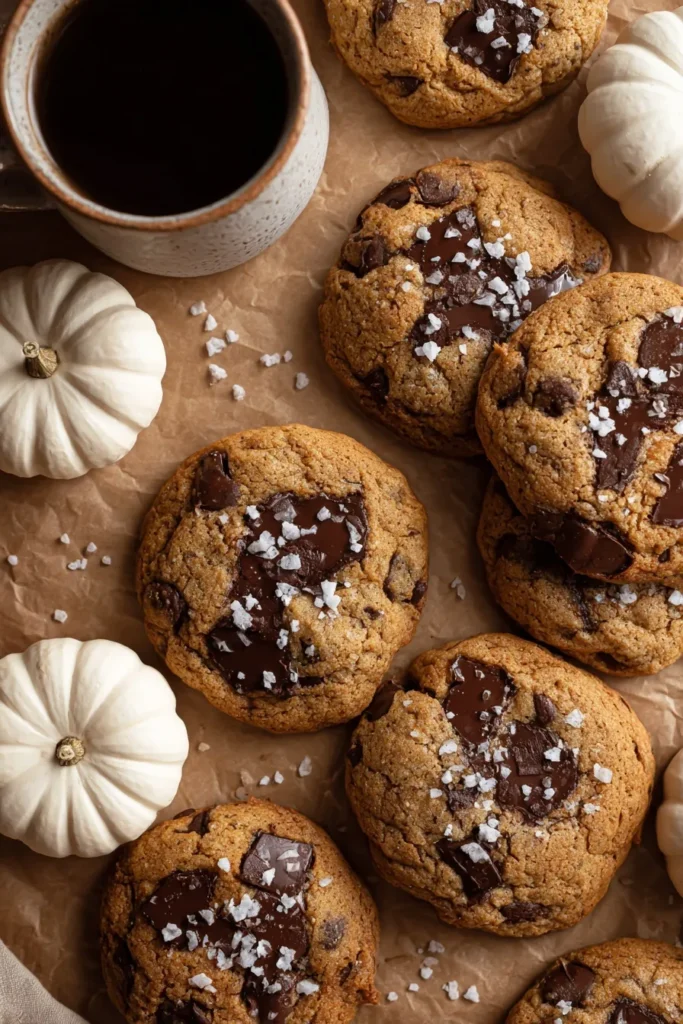
Cakey cookies? Your pumpkin wasn’t blotted enough, or you overmixed the dough.
Cookies spread too much? Your brown butter was too warm when you mixed it, or your oven isn’t hot enough.
Not enough flavor? Make sure you used pumpkin puree, not pie filling, and that your spices are fresh.
Burnt brown butter? It happened too fast – use medium heat and watch carefully for the color change and nutty smell.
Storage and Make-Ahead Tips for Busy People
These cookies stay soft for 3 days in an airtight container at room temperature. For longer storage, freeze the baked cookies for up to 3 months.
Time-saving hack: Scoop and freeze the raw dough balls. When you want fresh cookies, just bake them straight from frozen (add 1-2 extra minutes to baking time). You’ll have warm cookies in 15 minutes whenever the craving hits!
Simple Variations Anyone Can Try
Beginner-friendly swaps:
- No pumpkin pie spice? Use 2 tsp cinnamon + 1/2 tsp nutmeg
- Want extra chocolate? Press a few extra chocolate chips on top before baking
- Mini cookies? Use a 1-tablespoon scoop and bake for 8-10 minutes
- Different chocolate? Try white chocolate chips or mini chocolate chips
Frequently Asked Questions
What if I’ve never browned butter before? It’s easier than you think! Just watch for the color change and nutty smell. If you burn it, start over – it only takes 8 minutes total.
Can I use a hand mixer instead of whisking? Yes, but only for mixing the butter and sugar. Mix the rest by hand to avoid overmixing.
How do I know if my cookies are done? The edges should be golden brown but the centers will look slightly underbaked. They firm up as they cool.
Can I skip the pumpkin blotting? Don’t skip it! This step is what makes these cookies chewy instead of cakey. It only takes 5 minutes.
What if my brown butter gets too hard? Let it sit at room temperature for 10-15 minutes until it’s pourable but cool. You can also microwave it for 10 seconds to soften slightly.
Why This Recipe Works Every Time
This recipe is designed for success because every step has clear visual and sensory cues. You don’t need to guess when the butter is ready – you can see and smell when it’s perfect. The pumpkin blotting technique is foolproof, and the gentle mixing method prevents common mistakes.
Professional techniques made simple mean you get bakery-quality results without years of baking experience. Plus, the make-ahead options mean you can have fresh cookies whenever you want without starting from scratch each time.
These cookies prove that impressive baking doesn’t have to be complicated. With clear instructions and a little patience, you’ll be making cookies that have people asking “where did you buy these?” Your confidence in the kitchen just got a major boost! 🙂







