
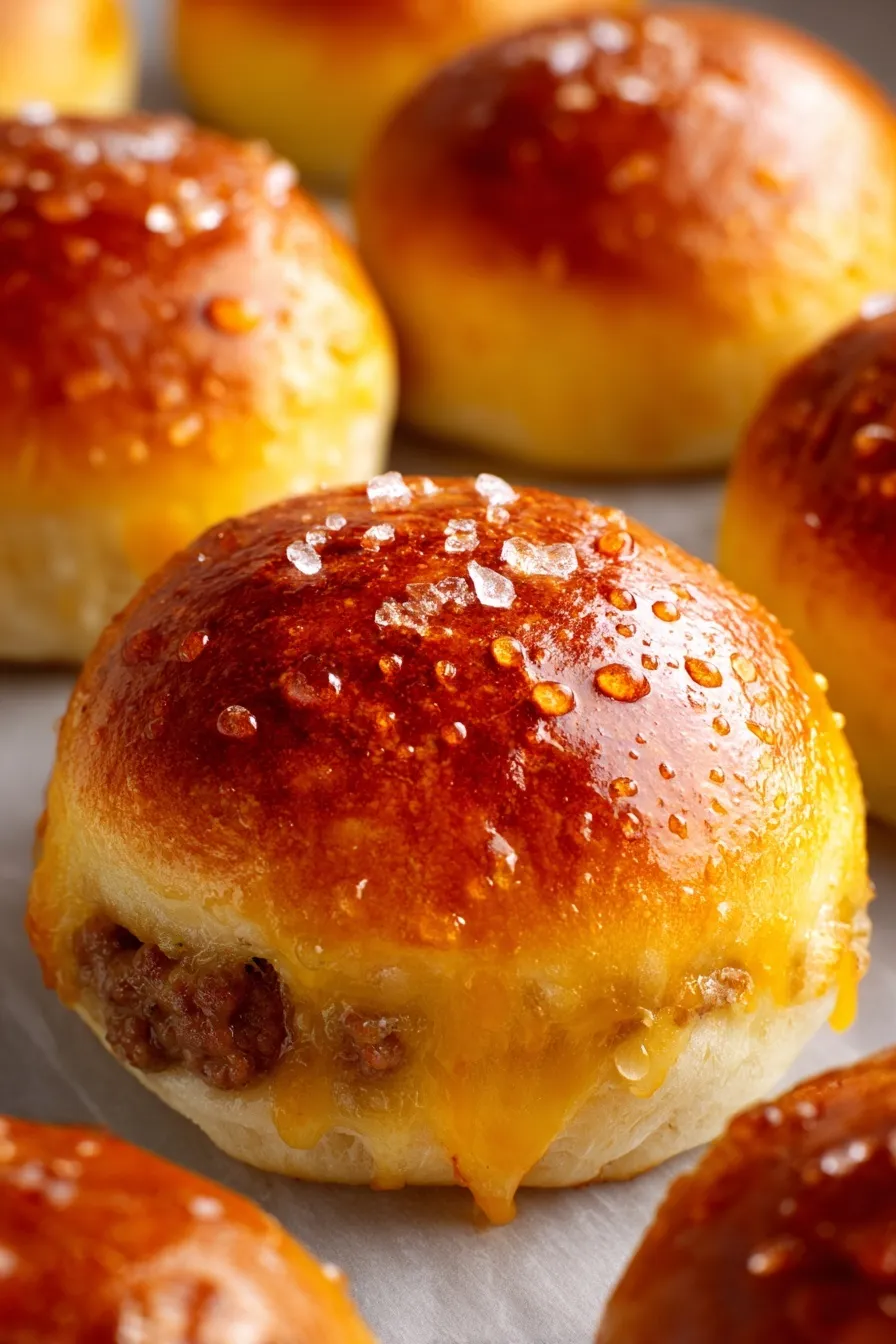
These bite-sized flavor explosions will detonate your taste buds in the best possible way.
Since you are here, make sure to check out these amazing party food and comfort recipes:
- Parmesan Garlic Bacon Cheeseburger Lasagna
- Meaty Texas Trash Dip Recipe
- Loaded Tater Tot Cups
- Cheesy Parmesan Mozzarella Bites
- Toasted Ravioli 30 Minute Party Appetizer
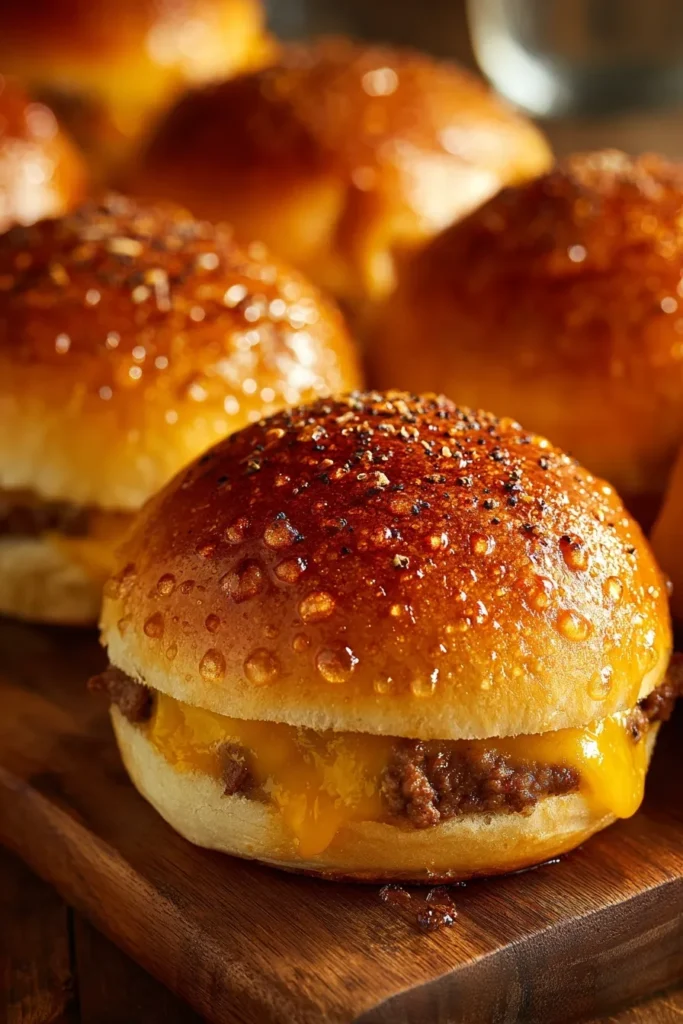
These garlic parmesan cheeseburger bombs are what happens when comfort food meets pure genius. Imagine all the flavors of your favorite cheeseburger wrapped in fluffy biscuit dough and topped with buttery garlic parmesan goodness. Each bite delivers juicy ground beef, melted cheese, and that irresistible garlic flavor that’ll have people literally fighting over the last one.
I first made these during a last-minute party panic (you know the drill—guests arriving in an hour and you need something impressive FAST). What started as a “let’s see what happens” experiment became the most requested recipe in my arsenal. People have literally shown up to parties asking if I’m making “those bomb things” again.
The brilliant part is using refrigerated biscuit dough as your wrapper. It saves time, eliminates the guesswork, and creates that perfect pillowy exterior that makes these irresistible. Plus, they’re essentially handheld cheeseburgers, which automatically makes everything better 🙂
Ingredients
This recipe proves that the best comfort foods come from simple, quality ingredients:
For the Cheeseburger Filling:
- 1 lb ground beef (80/20 fat content for maximum juiciness)
- 1 cup shredded cheddar cheese
- 2 teaspoons garlic powder
- 1 teaspoon salt
- 1 teaspoon black pepper
For the Bomb Wrapper:
- 2 cans refrigerated biscuit dough (8 biscuits each)
For the Garlic Parmesan Topping:
- 2 tablespoons butter, melted
- ½ cup grated Parmesan cheese
- 1 teaspoon garlic powder
Optional Flavor Boosters:
- Worcestershire sauce (1 tablespoon for extra depth)
- Dijon mustard (1 teaspoon for tang)
- Diced onions (sautéed until translucent)
- Jalapeños for heat lovers
Essential Equipment:
- Large skillet for browning beef
- Baking sheet (ungreased)
- Rolling pin or clean hands for flattening
- Pastry brush for the topping
Pro tip: Don’t even think about using lean ground beef here. The 80/20 blend is crucial for keeping these bombs juicy and flavorful. Lean beef will give you dry, disappointing results.
Instructions
Step 1: Prep Like a Pro Preheat your oven to 375°F and let that ground beef come to room temperature for about 15 minutes. This ensures even cooking throughout. Open your biscuit cans and separate the dough—resist the urge to pop them all at once (though we’ve all been there).
Step 2: Brown the Beef to Perfection Heat a large skillet over medium heat and add the ground beef. Season with salt and pepper, then cook for 5-7 minutes, breaking it into small crumbles. You want no pink remaining and an internal temperature of 160°F. Drain any excess grease—nobody wants greasy bombs.
Step 3: Create the Magic Mixture Stir in the garlic powder and half of the shredded cheddar cheese while the beef is still hot. The residual heat will melt the cheese perfectly, creating that gooey, irresistible filling. Remove from heat and let it cool slightly while you prep the dough.
Step 4: Assembly Time Here’s where the fun begins! Flatten each biscuit into a 4-inch circle using your hands or a rolling pin. Place 1 tablespoon of beef mixture in the center, top with 1 tablespoon of cheese, then place another flattened biscuit on top. Seal the edges by pressing firmly—you want these babies locked and loaded.
Step 5: Bake to Golden Perfection Arrange the bombs seam-side down on an ungreased baking sheet, spacing them about 2 inches apart. Bake for 15-20 minutes until the tops are golden brown and gorgeous. Your kitchen will smell absolutely incredible.
Step 6: The Finishing Touch While they bake, mix melted butter with Parmesan cheese and garlic powder. The moment these bombs come out of the oven, brush them with this heavenly mixture. The hot surface will melt everything together into pure garlic parmesan perfection.
Why These Are Absolutely Addictive
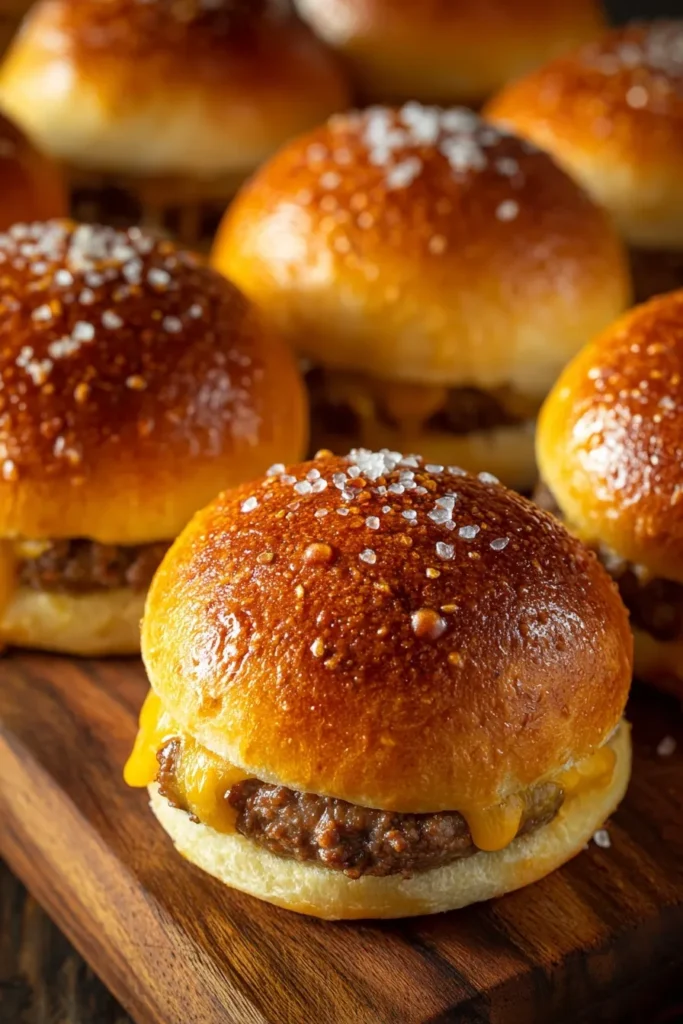
Handheld Convenience All the satisfaction of a cheeseburger in perfect bite-sized form. No messy plates, no falling-apart burgers—just pure, portable comfort food bliss.
Crowd-Pleasing Appeal These work for literally any occasion. Game day? Check. Kids’ birthday party? Double check. Fancy dinner party appetizers? Surprisingly, yes! They’re that versatile.
Make-Ahead Magic You can assemble these beauties hours ahead and bake when ready, or even freeze the unbaked bombs for up to 3 months. Emergency party food sorted.
Customization Potential The basic recipe is just the beginning. Add bacon bits, different cheeses, pickles, or whatever your cheeseburger-loving heart desires.
Storage and Reheating
Store leftover bombs (if there are any) in an airtight container in the refrigerator for up to 3 days. For longer storage, wrap individually in plastic wrap and freeze for up to 3 months.
To reheat, pop them in a 350°F oven for 5-7 minutes to restore that crispy exterior. Avoid the microwave if possible—it makes them soggy and sad.
Frozen bombs can go straight from freezer to oven. Just add 5-10 extra minutes to the baking time and check for doneness.
Recipe Variations
Cheese Upgrades: Try mozzarella for extra stretchiness, pepper jack for heat, or a blend of cheeses for complexity. Each brings its own personality to the party.
Meat Alternatives: Ground turkey works well (add extra seasoning), or try a mix of ground beef and Italian sausage for extra flavor punch.
Veggie Additions: Sautéed mushrooms, diced bell peppers, or caramelized onions all make excellent additions to the filling.
Spice It Up: Add crushed red pepper flakes to the meat mixture or jalapeños for those who like things hot.
Breakfast Version: Use breakfast sausage instead of beef and add scrambled eggs for morning bomb perfection.
Perfect Party Presentation
Arrange these bombs on a large platter with small bowls of dipping sauces—ranch, ketchup, barbecue sauce, or even spicy mayo. The variety lets everyone customize their experience.
For extra visual appeal, garnish the platter with fresh parsley or chives. The green color pops against the golden brown bombs and makes everything look more professional.
IMO, these look amazing alongside other finger foods, but they’re substantial enough to be the star of your appetizer spread.
Nutritional Reality Check
Let’s be honest—these are pure indulgence and that’s exactly the point. Each bomb packs about 250 calories of pure comfort food satisfaction. They’re rich enough that most people are happy with 2-3 pieces, making them perfect for sharing.
The combination of protein from the beef and carbs from the biscuit dough makes them surprisingly filling. They’re party food, not everyday food, and that’s perfectly okay.
Professional Tips
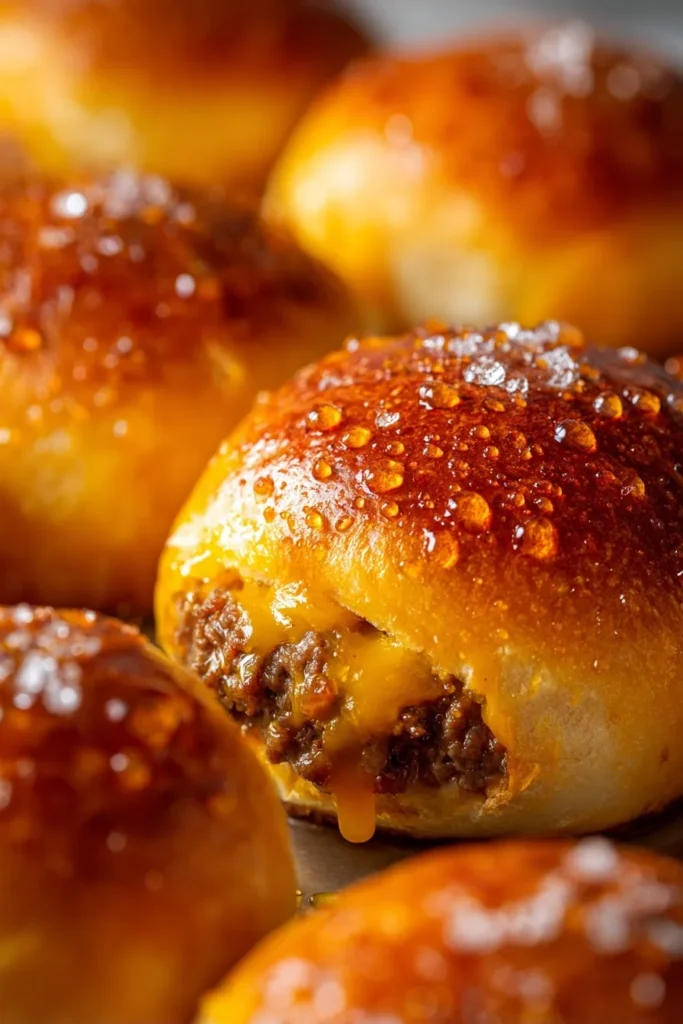
Sealing Success: Make sure those edges are well-sealed to prevent filling from leaking out during baking. A little water on your fingertips helps create a better seal.
Even Sizing: Try to make all your bombs roughly the same size so they cook evenly. Consistency is key for professional-looking results.
Temperature Matters: Don’t skip checking that internal beef temperature. Food safety first, deliciousness second (though these deliver both).
Timing Strategy: The garlic parmesan topping should go on immediately after baking while the bombs are still hot. This ensures maximum absorption and flavor.
Dough Handling: Work with the biscuit dough while it’s still cold for easier handling. If it gets too warm, it becomes sticky and difficult to manage.
FAQs
Can I use homemade biscuit dough? Absolutely! Just make sure it’s a soft, fluffy recipe rather than a dense one. The pre-made stuff works so well because it’s perfectly calibrated for this type of application.
What if my bombs leak during baking? Make sure you’re sealing the edges well and not overfilling them. A little leakage isn’t the end of the world—just scrape it off when they’re done.
Can I prep these ahead for a party? Yes! Assemble them earlier in the day and refrigerate until ready to bake. You might need to add a few extra minutes to the baking time if they’re cold.
What’s the best dipping sauce? Ranch is classic, but barbecue sauce, honey mustard, or even marinara sauce all work beautifully. Provide variety and let people choose their adventure.
How do I prevent the bottom from getting soggy? Make sure your baking sheet isn’t greased (the biscuit dough has enough fat), and don’t let them sit too long after baking. Serve them warm for the best texture.
Why These Create Food Memories
There’s something magical about food that makes people happy just thinking about it. These garlic parmesan cheeseburger bombs are exactly that kind of recipe—the kind people remember and talk about long after the party’s over.
The combination of familiar flavors presented in an unexpected way creates this perfect storm of comfort and excitement. They’re nostalgic enough to feel like home but special enough to feel like a treat.
The Final Verdict
These garlic parmesan cheeseburger bombs represent everything great about comfort food innovation—taking beloved flavors and presenting them in a fun, accessible way that brings people together. They’re the kind of recipe that turns casual gatherings into memorable occasions.
Whether you’re feeding hungry teenagers, impressing dinner party guests, or just want to treat your family to something special, these bombs deliver on every level. They’re comfort food at its finest—familiar, satisfying, and absolutely irresistible.
Trust me, once you master this recipe, you’ll have people begging you to make them for every gathering. They’re not just food—they’re little packages of happiness that happen to taste absolutely incredible.







