
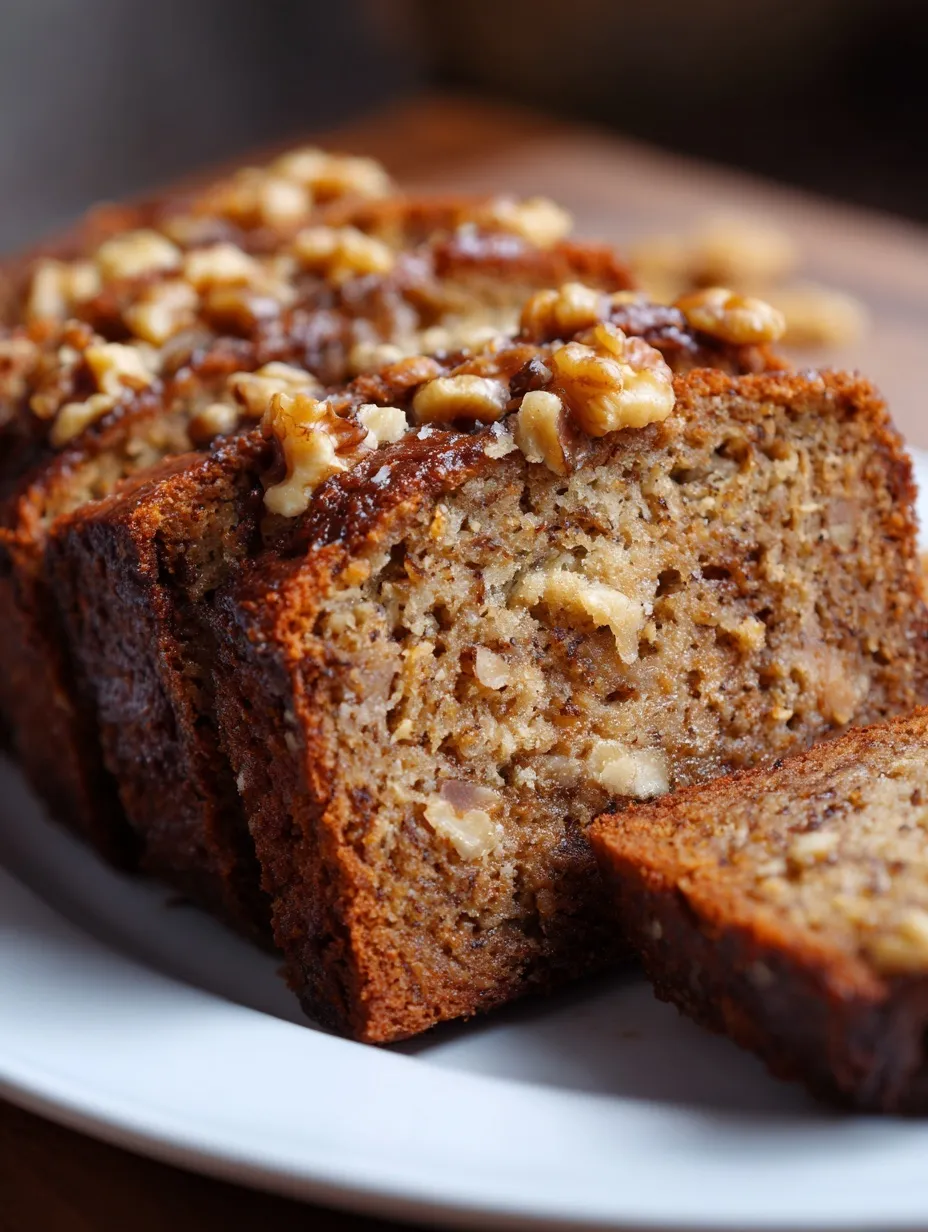
My grandmother took this recipe to her grave, but thankfully my aunt spilled the beans at last year’s family reunion. Now I’m sharing the magic with you!
Since you are here, make sure to check out these amazing breakfast and baking recipes:
- Foolproof Gluten-Free Chocolate Zucchini Muffins
- Fluffy Blueberry Protein Muffins
- Apple Cinnamon Cottage Cheese Bake High Protein Breakfast
- Perfect Sourdough French Toast
- Grandma’s Pumpkin Bread Streusel Topping Honey Glaze
Why This Recipe Rules Your Kitchen
Look, I’ve tried approximately 47 different banana bread recipes in my lifetime (yes, I counted), and this one absolutely demolishes the competition. The secret? Those sad, brown bananas sitting on your counter that you’ve been avoiding all week are actually the MVPs here. The browner and more pathetic they look, the more incredible your bread will taste.
This isn’t just any banana bread – it’s the kind that makes your whole house smell like a bakery and has neighbors mysteriously showing up at your door. Plus, it’s ridiculously foolproof, which means even if you’re the type of person who burns water, you’ve got this 🙂
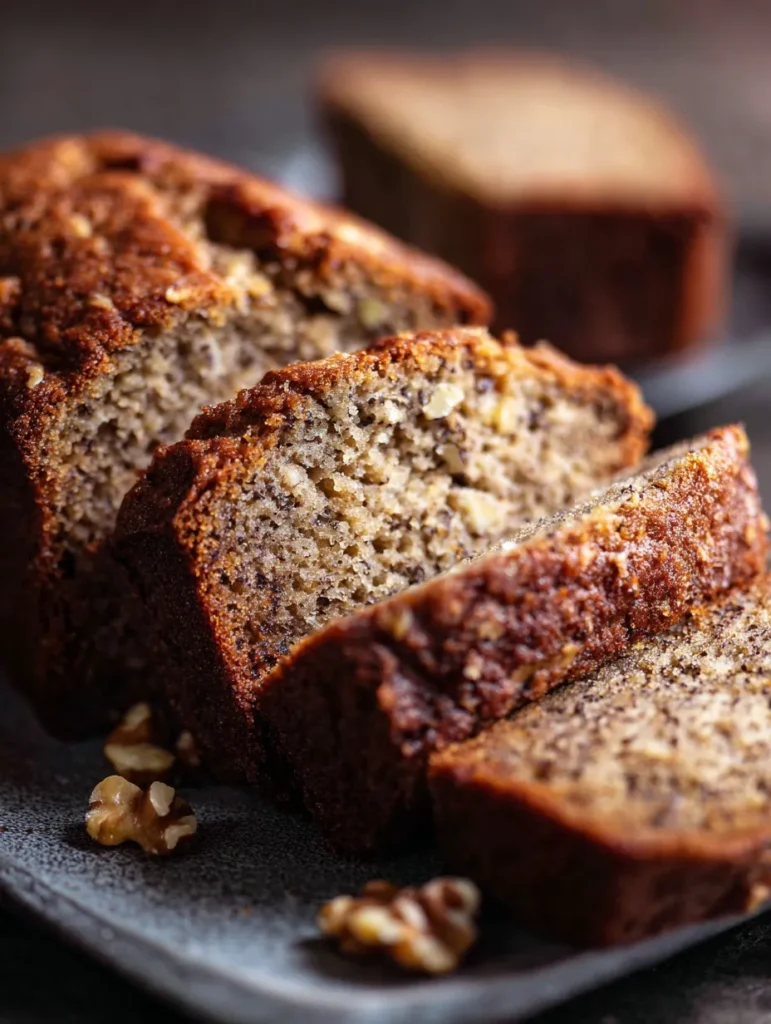
Ingredients That Create Pure Magic
Here’s what you’ll need to recreate Nana’s legendary loaf:
The Banana Squad:
- 3 ripe bananas (seriously, the uglier the better)
- ⅓ cup melted butter
- ¾ cup granulated sugar
- 1 large egg, beaten
- 1 teaspoon vanilla extract
The Foundation:
- 1½ cups all-purpose flour
- 1 teaspoon baking soda
- Pinch of salt
The Crunch Factor:
- ½ cup chopped walnuts or pecans (your choice!)
Pro tip: Don’t even think about using those perfect yellow bananas. We want the ones that look like they’ve seen better days – those black spots are pure flavor gold!
Instructions That Actually Work
Step 1: Prep Your Stage Preheat your oven to 350°F (175°C) and grease a 9×5 inch loaf pan. I like to use both butter and a light dusting of flour because nobody has time for bread that sticks to the pan.
Step 2: Banana Mashing Therapy In a large mixing bowl, mash those bananas with a fork until they’re smooth. This is surprisingly therapeutic – take out all your daily frustrations on those bananas! Get them nice and creamy with minimal lumps.
Step 3: Add the Good Stuff Stir in your melted butter until everything’s well combined. The warm butter should blend beautifully with the mashed bananas. Then mix in the baking soda and salt – these little powerhouses are what make your bread rise and taste amazing.
Step 4: Sweet and Savory Add the sugar, beaten egg, and vanilla extract. Mix until everything’s combined but don’t go crazy with the mixing. We want tender bread, not a workout for your mixing arm.
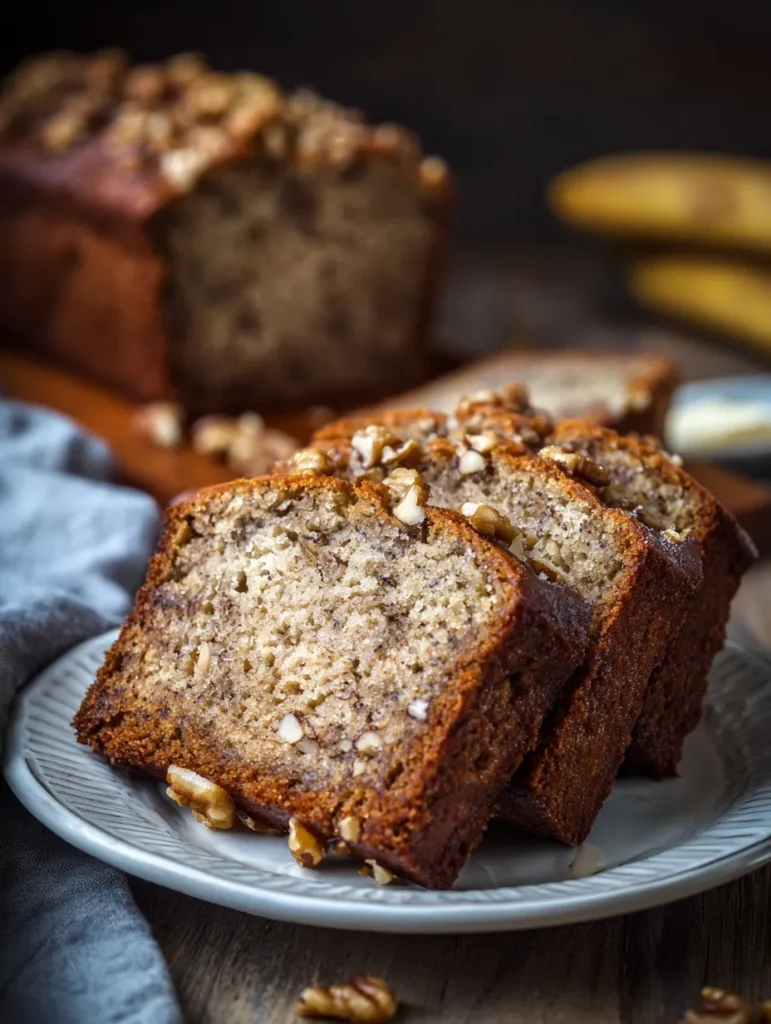
Step 5: Flour Power Gradually add the flour, stirring until just incorporated. Here’s where people mess up – don’t overmix! A few lumps are totally fine and actually preferred. Overmixing leads to tough, dense bread that nobody wants.
Step 6: Nuts About Nuts Gently fold in your chopped nuts. I’m team walnut, but pecans are equally delicious. If you’re feeding someone with nut allergies, just skip this step – the bread is still incredible.
Step 7: Bake to Perfection Pour the batter into your prepared loaf pan and bake for 60 minutes. Start checking with a toothpick around the 55-minute mark – when it comes out clean, you’re golden!
Step 8: The Hardest Part Let the bread cool in the pan for 10 minutes before transferring to a wire rack. I know waiting is torture, but this step prevents your bread from getting soggy on the bottom.
Secret Tips From Nana’s Kitchen
The Moisture Hack: Want extra moist bread? Add a tablespoon of plain Greek yogurt or sour cream to the batter. This was Nana’s actual secret – she never told anyone about the dollop of sour cream!
The Ripeness Test: Your bananas should be so ripe that you’re slightly embarrassed to be seen with them. We’re talking brown spots, soft to the touch, and sweet enough to eat straight up.
The Temperature Trick: If your bananas aren’t ripe enough, stick them in a 300°F oven for 15-20 minutes until the skins turn black. Let them cool, then use as normal. Game changer!
The Storage Secret: This bread actually gets better overnight. Wrap it tightly in plastic wrap and let it rest – the flavors meld together beautifully.
Variations That’ll Blow Your Mind
Chocolate Chip Paradise: Add ½ cup of chocolate chips for the ultimate indulgent version. Trust me, it’s dangerous how good this combo is.
Spice Things Up: Mix in 1 teaspoon cinnamon, ½ teaspoon nutmeg, and a pinch of cloves for a warm, spiced version that’s perfect for fall.
Maple Magic: Replace ½ cup of the sugar with pure maple syrup for a rich, maple-infused flavor that’s absolutely divine.
Cream Cheese Swirl: Make a simple cream cheese mixture (4 oz cream cheese, ¼ cup powdered sugar, 1 egg yolk) and swirl it into the batter before baking. Pure heaven!
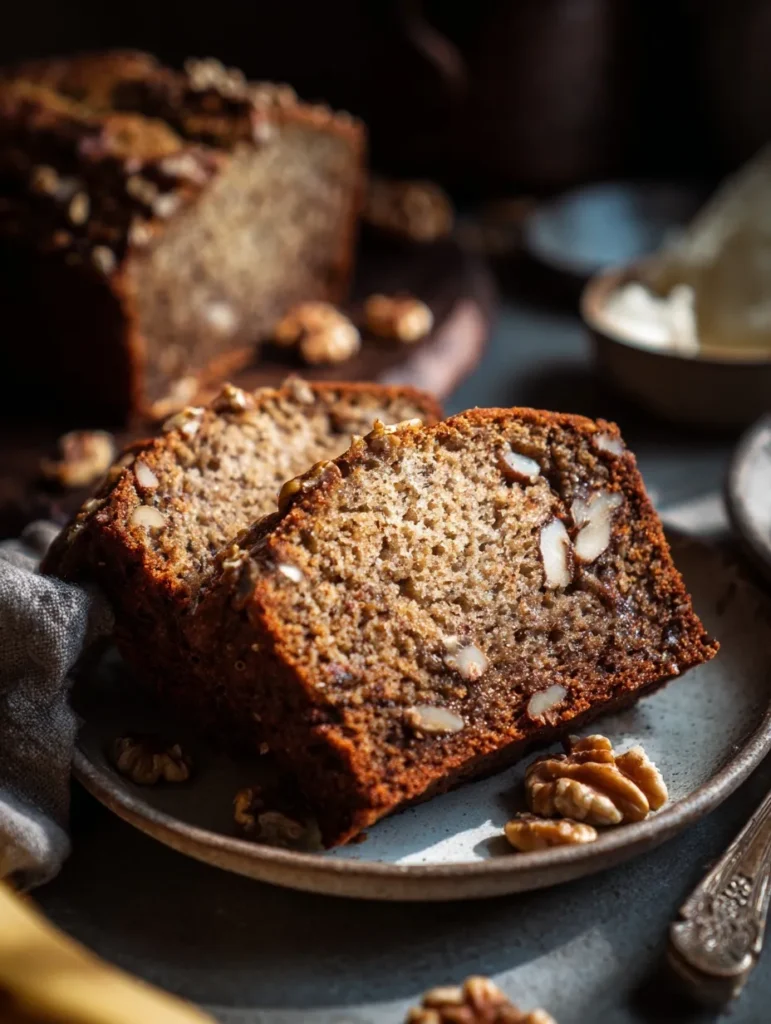
Storage and Gift Ideas
This bread stays fresh for 3-5 days at room temperature when wrapped properly, or up to a week in the fridge. For longer storage, slice it first, then freeze – you can pop individual slices in the toaster whenever a craving hits.
Gift-giving tip: This makes an incredible homemade gift! Bake it in mini loaf pans, wrap in cellophane with a cute ribbon, and you’ve got the perfect neighbor gift or housewarming present.
Troubleshooting Common Issues
Bread came out dry? You probably overbaked it or used bananas that weren’t ripe enough. Remember, we want those sad-looking bananas!
Too dense and heavy? Overmixing is usually the culprit. Next time, fold the ingredients together gently until just combined.
Uneven baking? Rotate your loaf pan halfway through baking, and make sure your oven rack is in the center position.
Frequently Asked Questions
Q: Can I use frozen bananas? A: Absolutely! Thaw them completely and drain any excess liquid before mashing. Frozen bananas actually work amazingly well for this recipe.
Q: Can I make this gluten-free? A: Yes! Substitute the all-purpose flour with a good quality gluten-free flour blend. You might need to add a tablespoon or two of extra liquid.
Q: What if I don’t have nuts? A: No problem! The bread is still incredible without them. You could add chocolate chips, dried cranberries, or just leave it plain.
Q: Can I double the recipe? A: Definitely! Use two loaf pans or one larger pan, and adjust the baking time accordingly. Check for doneness with a toothpick.
Q: Why does my bread sink in the middle? A: This usually happens from overmixing or opening the oven door too early. Be patient and resist the urge to peek until at least 45 minutes have passed.
Here’s the Real Deal
This isn’t just another banana bread recipe – it’s a piece of family history that deserves a spot in your regular rotation. The combination of perfectly ripe bananas, that hint of vanilla, and the satisfying crunch of nuts creates something truly special.
What makes this recipe so incredible is its forgiving nature. Even if you mess up a step or two, you’ll still end up with something delicious. It’s the kind of recipe that builds confidence in the kitchen and creates memories around the dinner table.
Whether you’re using up those overripe bananas, need a last-minute gift, or just want to fill your house with the most amazing aroma, this banana bread delivers every single time. Fair warning though – once you make this version, all other banana breads will seem mediocre in comparison!







