
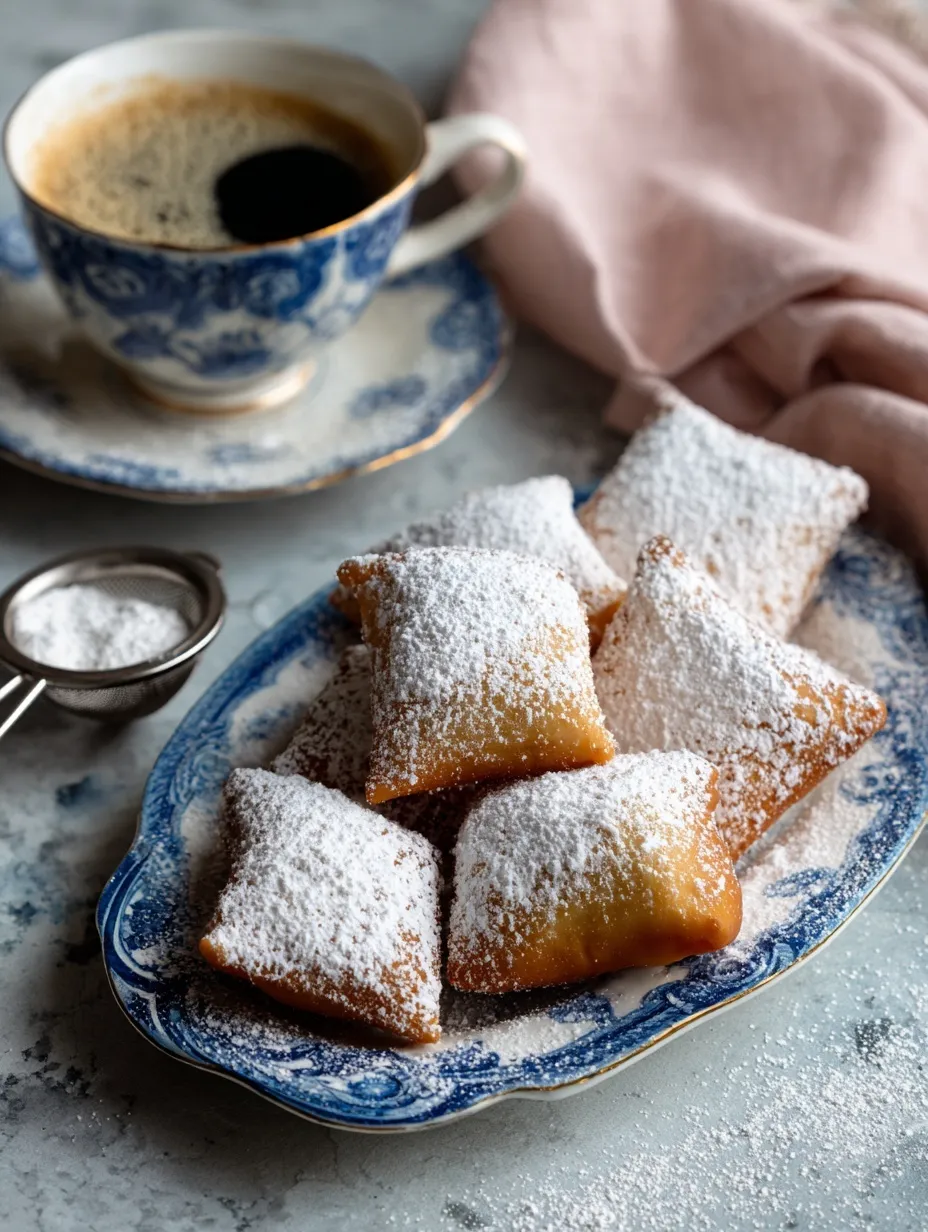
Ever craved those fluffy, powdered sugar-dusted pillows of heaven that make New Orleans famous? You’re about to become the beignet master of your kitchen!
Since you are here, make sure to check out these amazing treats:
- Perfect Homemade Beignets – Master the art of French Quarter magic
- Easy Cinnamon Twists Recipe – Another fried dough favorite
- Funnel Cake Bites Recipe – Carnival vibes at home
- Easy Maple Donut Bars Recipe – Sweet morning perfection
- Churro Bites Recipe – Cinnamon-sugar heaven
Why Homemade Beignets Beat Store-Bought Every Time
Listen, I get it. The idea of making yeasted dough and deep frying might seem intimidating. But here’s the thing – homemade beignets are ridiculously easier than you think, and the payoff? Mind-blowing.
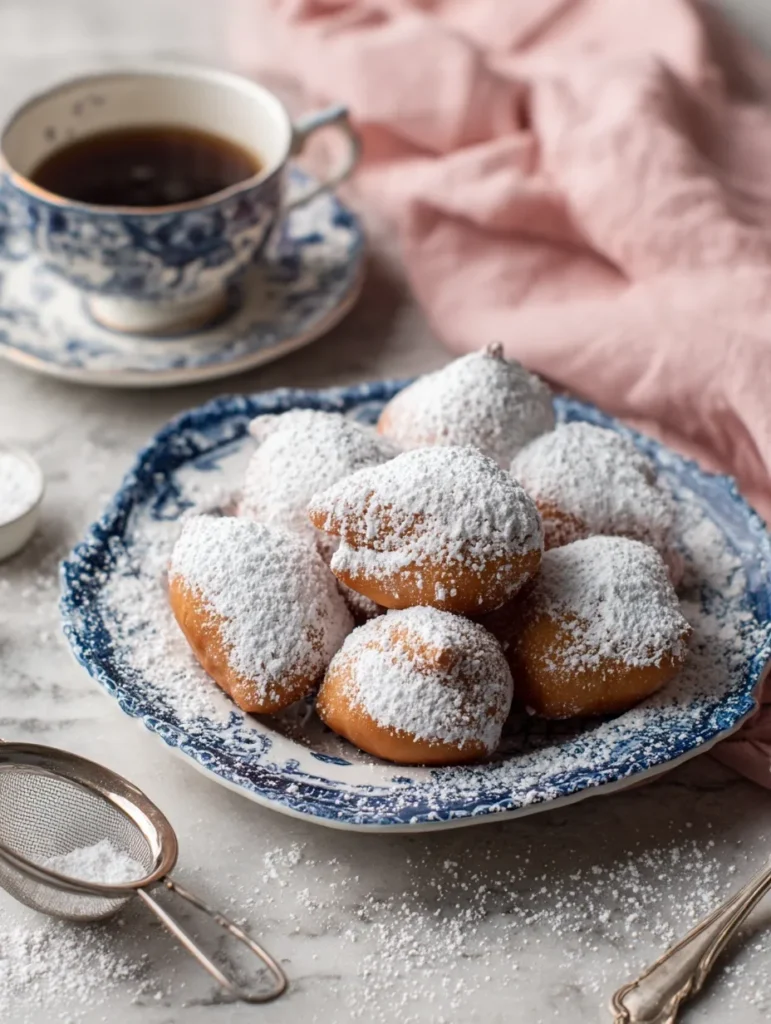
We’re talking about soft, pillowy squares that puff up like little clouds when they hit hot oil. No dense, chewy disappointments here. Just pure, sugary bliss that’ll make your kitchen smell like a French Quarter café.
The secret isn’t some fancy technique – it’s about understanding your ingredients and not overthinking the process. Trust me, once you nail this recipe, you’ll never look at store-bought donuts the same way again.
Ingredients That Make Magic Happen
The Foundation Players
- ¾ cup warm water (110°F – not hot enough to kill your yeast!)
- ½ cup granulated sugar (feeds the yeast and adds sweetness)
- 2¼ teaspoons active dry yeast (one envelope – check that expiration date!)
- 1 large egg (room temperature for better mixing)
- ½ cup whole milk (room temperature – evaporated milk works too)
- 2 teaspoons vanilla extract (real vanilla, not that artificial stuff)
The Structure Squad
- 3¾ cups all-purpose flour (nothing fancy needed here)
- 1 teaspoon salt (balances the sweetness)
- 3 tablespoons unsalted butter (room temperature and soft)
The Finishing Touches
- Vegetable or canola oil for frying (about 3 inches deep)
- ½ cup powdered sugar for that iconic dusting
Pro tip: Room temperature ingredients mix better and create a smoother dough. Cold butter will leave you with lumpy disappointment, and nobody wants that 🙂
Instructions That Actually Work
Step 1: Wake Up Your Yeast
Add warm water to your stand mixer bowl (or large mixing bowl if you’re going old school). Sprinkle in the yeast and half the sugar. Let this sit for 5 minutes until it gets bubbly – this proves your yeast is alive and ready to party.
No bubbles? Your yeast is dead, and you need to start over. It happens to the best of us!
Step 2: Build Your Dough Base
Mix your flour and salt in a separate bowl – organization saves headaches later. Once your yeast mixture is foamy, whisk in the milk, vanilla, remaining sugar, and egg. Add half the flour mixture and whisk until smooth.
Step 3: Bring It Together
Attach your dough hook (or prepare for some arm workout if mixing by hand). Add the remaining flour on medium speed. Once the dough starts coming together, add the soft butter and keep mixing for about 4 minutes until the dough pulls away from the bowl.
This dough will be sticky – that’s normal! If it seems too wet, add an extra ¼ cup flour, but don’t go overboard.
Step 4: The Waiting Game
Transfer to a lightly oiled bowl, cover, and let rise in a warm place for at least 2 hours. This enriched dough takes its sweet time, but patience pays off with incredibly tender beignets.
Time-saver hack: Make the dough up to 48 hours ahead and store it in the fridge. Just bring it to room temperature before rolling.
Step 5: Roll and Cut
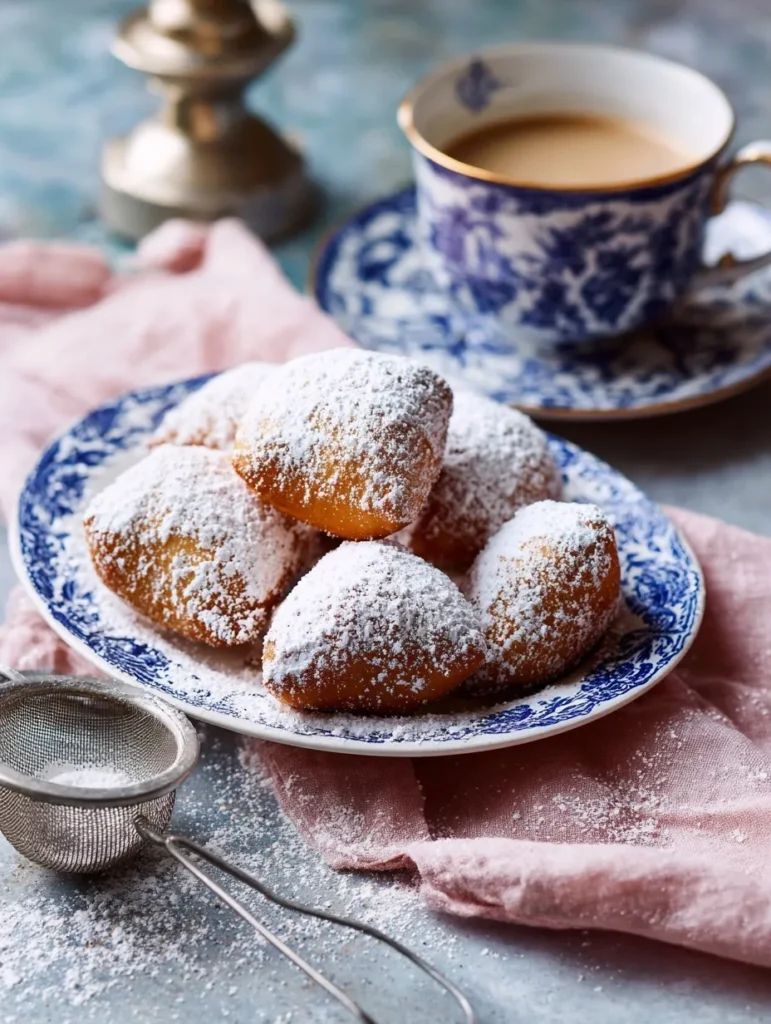
On a well-floured surface, roll the dough to ½ inch thickness – don’t go thinner or they won’t puff properly. Cut into 2-2½ inch squares using a pizza cutter. They don’t need to be perfect – rustic is the goal here!
Step 6: The Fry Magic
Heat 3 inches of oil to 360°F – and yes, you absolutely need a candy thermometer for this. Fry 3-4 beignets at a time (don’t overcrowd), flipping once the bottom is golden and puffed. Total fry time is about 2-3 minutes.
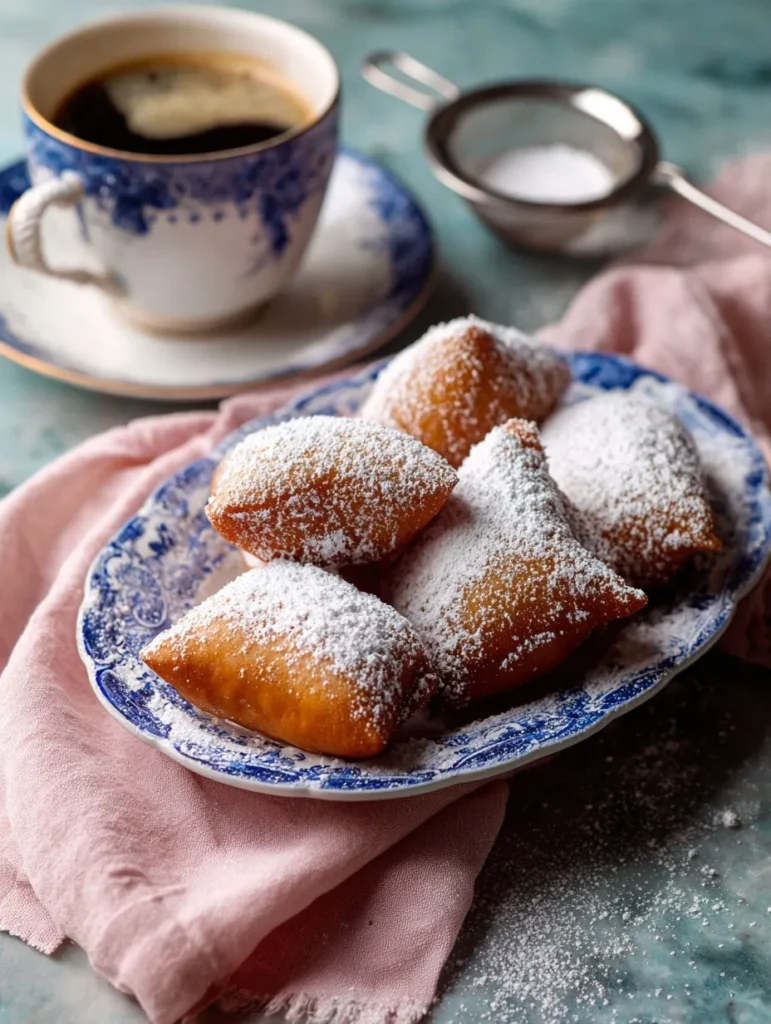
Drain on paper towels, then dust immediately with powdered sugar while they’re still warm.
Secret Tips From a Beignet Obsessive
Temperature is everything: Too cool and they’ll absorb oil and get greasy. Too hot and they’ll burn outside while staying raw inside. 360°F is your magic number.
Don’t skip the thermometer: I know it seems like extra equipment, but this isn’t negotiable if you want perfect results.
Fresh yeast matters: Check those expiration dates! Dead yeast = flat, dense beignets that’ll make you question your life choices.
Serve immediately: These are absolutely best eaten warm, straight from the fryer. They’re still good later, but they lose that magical light texture.
Troubleshooting Common Disasters
Dough won’t rise? Your water was too hot and killed the yeast, or your yeast was expired. Start over – I know it’s annoying, but there’s no fixing dead yeast.
Beignets are dense and heavy? You either over-mixed the dough, rolled it too thin, or your oil wasn’t hot enough.
Burning on the outside, raw inside? Oil’s too hot. Lower the heat and be patient.
Greasy beignets? Oil temperature was too low, or you overcrowded the pan and cooled down the oil.
Creative Serving Ideas
Sure, classic powdered sugar is perfection, but why not shake things up?
- Chocolate dipping sauce for the ultimate indulgence
- Café au lait on the side for authentic New Orleans vibes
- Fresh berry compote for a fancy brunch twist
- Cinnamon sugar instead of powdered for variety
IMO, nothing beats the classic version, but these variations are fun for special occasions!
Make-Ahead Magic
Life’s busy, and sometimes you need beignet flexibility. Here’s how to prep ahead:
Dough storage: Make the dough, let it rise, then refrigerate for up to 48 hours. Just bring to room temperature before rolling and cutting.
Freezer hack: Cut the squares and freeze them on a baking sheet. Once solid, transfer to freezer bags for up to a month. Thaw completely before frying – no shortcuts here!
Complete FAQ Section
What’s the difference between beignets and regular donuts? Beignets are square, use fewer eggs, and have a lighter, more delicate texture. Regular donuts are richer and typically round with holes.
Can I bake these instead of frying? Nope! The frying is what creates that signature puff and texture. Baking will give you bread squares, not beignets.
How do I know when the oil is ready without a thermometer? Drop a small piece of dough in – it should sizzle immediately and float to the surface. But seriously, just get a thermometer 🙂
What oil works best for frying? Canola, vegetable, or peanut oil all work great. Choose something with a neutral flavor and high smoke point.
Can I make mini beignets? Absolutely! Cut smaller squares and reduce frying time. They’re perfect for parties or when you want portion control (good luck with that!).
What Makes This Special
Here’s the real deal – this isn’t just another beignet recipe. It’s your ticket to creating authentic New Orleans magic in your own kitchen. The combination of proper technique, quality ingredients, and a little patience results in beignets that rival any café in the French Quarter.
The enriched dough creates an incredibly tender crumb, while proper frying technique gives you that perfect contrast between crispy exterior and pillowy interior. Plus, there’s something deeply satisfying about making these from scratch – it’s like edible meditation, if meditation involved hot oil and powdered sugar!
Whether you’re impressing weekend guests, treating your family to something special, or just satisfying a serious craving, these beignets deliver every single time. And honestly? Once you taste homemade, you’ll understand why people travel thousands of miles just to eat these in New Orleans.
Now stop reading and start frying – your kitchen is about to smell absolutely incredible! 🍩







