
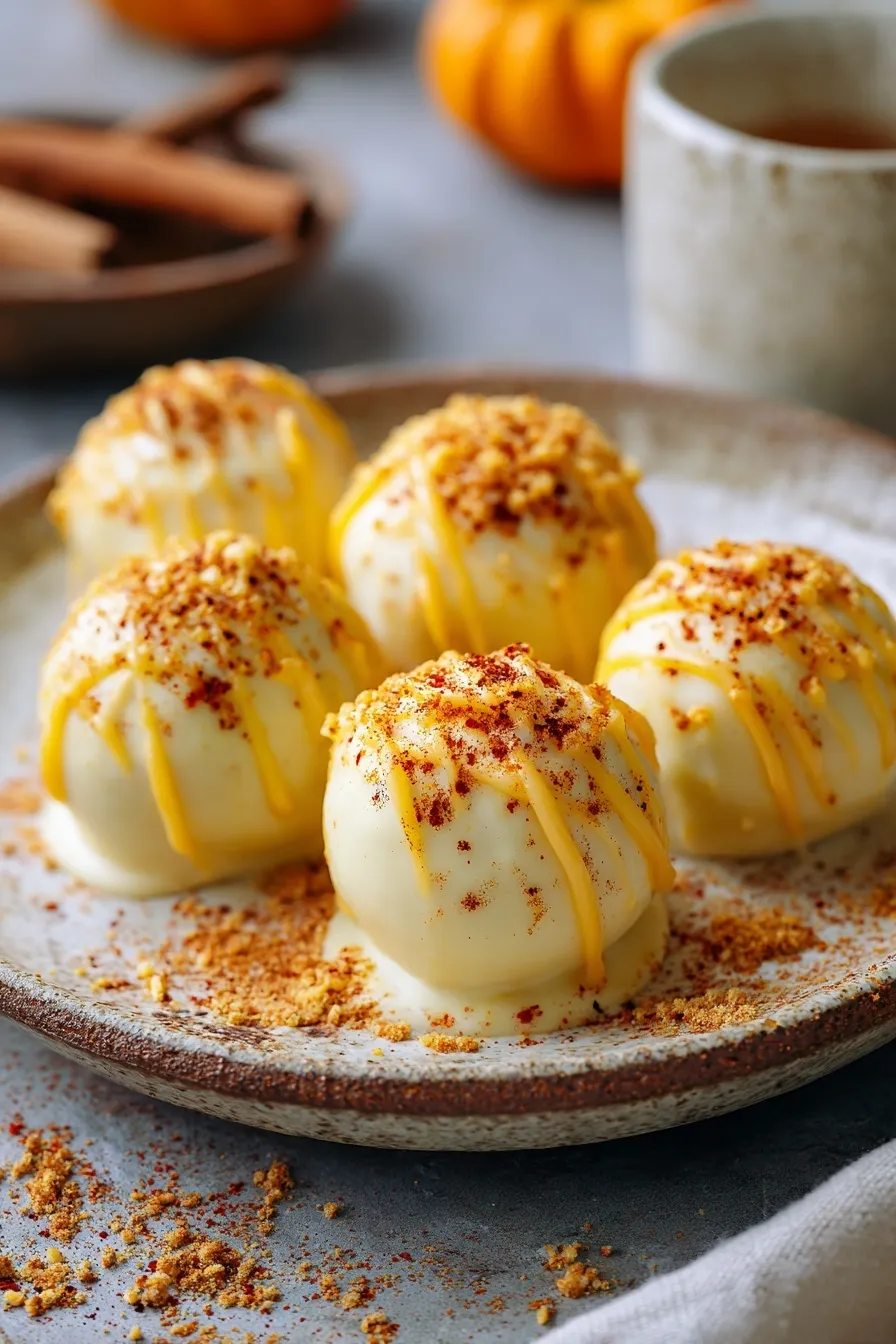
These no-bake pumpkin cheesecake balls are bite-sized treats with creamy pumpkin filling coated in chocolate—no oven required! Perfect for fall parties, Halloween gatherings, or Thanksgiving dessert tables when you want something easy, portable, and absolutely delicious.
Since you’re here, make sure to check out these related recipes:
Easy Pumpkin Protein Balls Recipe
Viral Date Bark Healthy Snickers Recipe
Amazing Chickpea Cookie Dough Recipe
Pumpkin Cookies Cream Cheese Frosting
Why This No-Bake Pumpkin Cheesecake Balls Recipe Works
Ever wonder why homemade truffles taste richer and creamier than store-bought versions? The secret is using full-fat cream cheese and real pumpkin puree—this creates silky texture without artificial stabilizers or preservatives.
This no-bake pumpkin cheesecake balls recipe transforms simple ingredients into impressive bite-sized treats perfect for fall. The graham cracker crumb coating adds texture while the chocolate shell keeps everything together. Here’s what makes them foolproof:
• No baking required means you can make these in hot weather without heating up your kitchen whatsoever
• Ready in 2 hours total including chilling time makes them perfect for last-minute party prep or unexpected guests
• Bite-sized portions create built-in portion control and make them perfect for parties where finger foods work best
• Freezer-friendly for meal prep allows you to make batches ahead and store for up to 3 months whenever cravings hit
The graham cracker crumbs provide structure that makes the mixture rollable instead of too soft. Meanwhile, the warming spices create cozy fall flavor without tasting artificial. I’ve made these for countless autumn gatherings and they always disappear first.
Ingredients
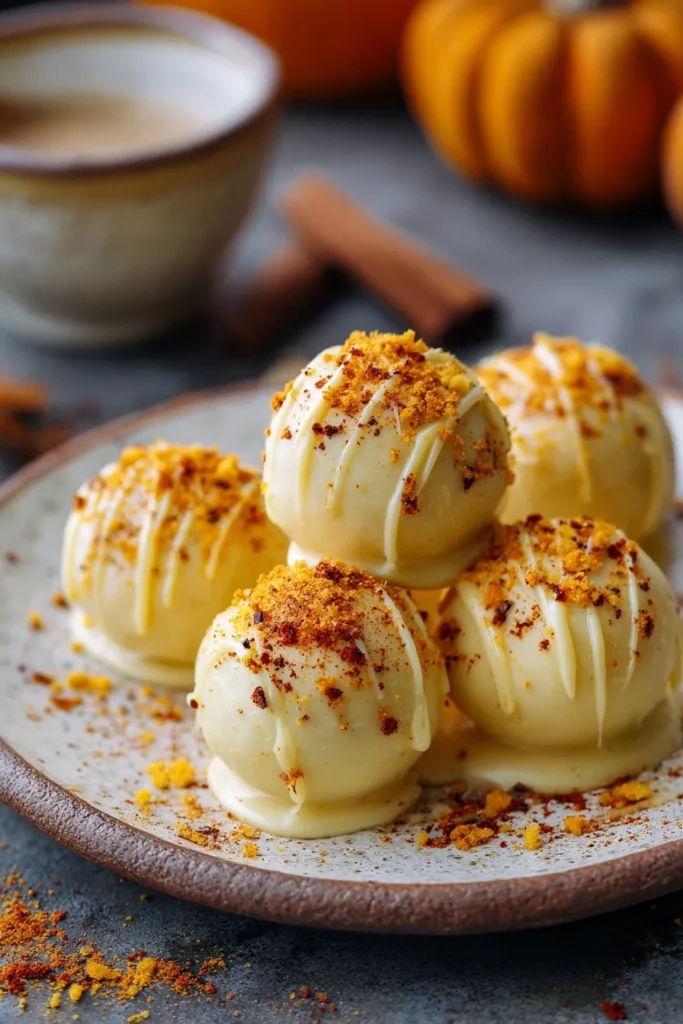
Want to know the secret to cheesecake balls that hold their shape perfectly? The right ratio of crumbs to cream cheese!
For the Pumpkin Cheesecake Mixture:
• 8 ounces cream cheese, softened at room temperature for 1-2 hours (use blocks, not spreadable)
• 1 cup canned pumpkin puree (not pumpkin pie filling—plain puree only)
• 1 cup powdered sugar, sifted to remove lumps
• 1 teaspoon alcohol-free vanilla extract or vanilla bean paste
• 1 teaspoon ground cinnamon
• ½ teaspoon ground nutmeg
• ¼ teaspoon ground ginger
• Pinch ground cloves (optional for deeper spice)
• 2 cups graham cracker crumbs (from about 14-16 full crackers, finely crushed)
For the Chocolate Coating:
• 12 ounces white chocolate chips, milk chocolate chips, or candy melts (your preference)
Optional Toppings:
• Extra graham cracker crumbs for rolling after chocolate coating
• Crushed pecans or walnuts for nutty crunch
• Fall-colored sprinkles for festive appearance
The cream cheese must be truly soft for smooth mixing without lumps. Use canned pumpkin puree, not pumpkin pie filling which contains added spices and sugar. Graham cracker crumbs provide essential structure that makes rolling possible.
Step-by-Step Instructions
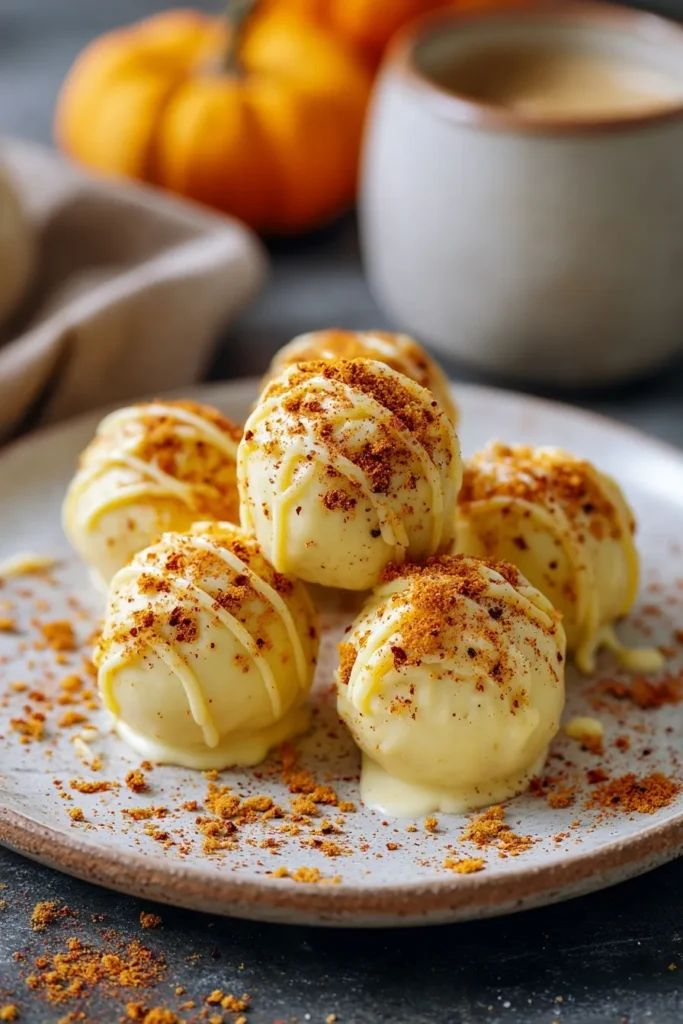
1. Prepare the creamy pumpkin base first. In a large mixing bowl, combine softened cream cheese, pumpkin puree, powdered sugar, and vanilla extract. Use a hand mixer on medium speed or whisk vigorously by hand for 2-3 minutes until completely smooth, creamy, and no lumps remain. The mixture should look silky and uniform.
2. Add the warming fall spices. Add cinnamon, nutmeg, ginger, and optional cloves to the cream cheese mixture. Beat or stir thoroughly for 1 minute until spices are evenly distributed throughout—you shouldn’t see any color streaks. The mixture should smell wonderfully spiced and aromatic.
3. Incorporate graham cracker crumbs gradually. Add graham cracker crumbs ½ cup at a time, folding gently after each addition until fully incorporated. The mixture should become thick enough to roll into balls but not dry or crumbly. If mixture feels too soft, add more crumbs 1 tablespoon at a time until you reach rollable consistency.
4. Shape into uniform bite-sized balls. Line a large baking sheet with parchment paper. Use a tablespoon or small cookie scoop to portion mixture, then roll between your palms into 1-inch balls (about the size of a walnut). Try to make them uniform for even chocolate coating later. Place on prepared baking sheet spacing them so they don’t touch.
5. Chill until firm for easy dipping. Refrigerate cheesecake balls for at least 1 hour or until firm enough to handle without falling apart. This chilling step is crucial—soft balls will fall apart during chocolate dipping. Don’t skip this or you’ll regret it!
6. Melt chocolate for smooth coating. When balls are nearly done chilling, place chocolate chips or candy melts in a microwave-safe bowl. Microwave in 30-second intervals, stirring thoroughly after each interval, until completely melted and smooth. Don’t rush this or chocolate will seize—patience is key! The chocolate should be warm but not hot.
7. Dip each ball in melted chocolate. Remove a few balls from refrigerator at a time (keep rest cold). Use a fork or dipping tool to dip each ball into melted chocolate, turning to coat completely. Let excess chocolate drip back into bowl by gently tapping fork on bowl edge. Place back on parchment-lined sheet.
8. Add optional toppings while chocolate is wet. If using graham cracker crumbs, crushed nuts, or sprinkles, roll or sprinkle them over chocolate-coated balls immediately before chocolate sets. Work quickly as chocolate hardens fast once it contacts cold cheesecake balls.
9. Chill until chocolate sets completely. Refrigerate chocolate-dipped balls for 30 minutes minimum or until chocolate coating is completely firm and set. The chocolate should be hard to the touch and not leave fingerprints when pressed gently.
10. Serve chilled and enjoy fall flavors. These no-bake pumpkin cheesecake balls are best served cold straight from the refrigerator. Arrange on a pretty platter for parties or store in an airtight container. They taste amazing chilled and make perfect portable fall treats!
Essential Equipment for Pumpkin Cheesecake Balls
Large Mixing Bowl (4-Quart)
A spacious bowl makes mixing cream cheese and pumpkin easy without spillage. The large capacity prevents ingredients from flying out during beating.
Hand Mixer or Whisk
An electric hand mixer creates smooth, lump-free filling in minutes effortlessly. Manual whisking works but requires significant arm strength and time.
Cookie Scoop (1-Tablespoon Size)
A small scoop portions mixture uniformly for evenly-sized balls every time. Consistent sizing ensures even chocolate coating and professional appearance.
Parchment Paper Roll
Quality parchment prevents chocolate-coated balls from sticking to baking sheets. The non-stick surface makes cleanup effortless after party preparation.
Microwave-Safe Bowl (Medium)
A microwave-safe bowl melts chocolate safely without stovetop mess or double boiler. The bowl should be deep enough to fully dip balls.
Dipping Fork or Candy Tools (PREMIUM)
Professional candy-making forks have thin tines that minimize chocolate coating thickness. The slotted design lets excess chocolate drip perfectly for thin, even coating.
Silpat Baking Mat (PREMIUM)
Restaurant-quality silicone mats provide non-stick surface that’s reusable and eco-friendly. The texture prevents rolling balls from sticking during chilling.
What to Serve With Pumpkin Cheesecake Balls
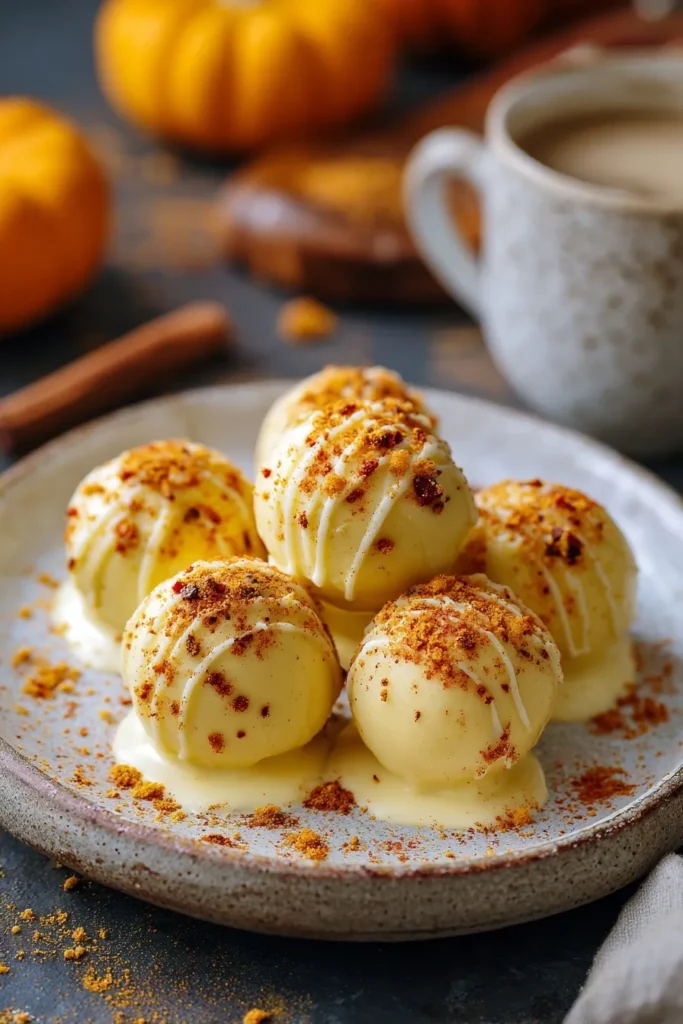
Looking for the perfect beverages and accompaniments to complete your fall dessert spread?
Serve with hot coffee or espresso to cut through the sweetness beautifully. The bitter notes enhance the pumpkin and spice flavors perfectly. Try my Dalgona Whipped Coffee Recipe for impressive presentation.
Hot apple cider or my Apple Cider Slushie Recipe pairs wonderfully with pumpkin spice notes. The complementary fall flavors create cohesive dessert experience. Serve both hot and cold versions for variety.
Arrange alongside my Pumpkin S’mores Cookies Recipe for complete fall dessert table. The different textures and presentations create visual interest guests love. Together they offer variety everyone appreciates.
Cold milk works perfectly for kids who prefer classic beverage pairings. The creamy milk balances the rich chocolate coating. My Pumpkin Spice Milk Recipe adds seasonal flair to plain milk.
Storage and Freezing Guide
Refrigerator Storage
Store no-bake pumpkin cheesecake balls in an airtight container in the refrigerator for up to 5 days. Layer parchment paper between stacked balls to prevent sticking together. They taste best served cold straight from the fridge.
Freezer Storage (Before Coating)
Freeze uncoated cheesecake balls on a parchment-lined baking sheet until solid, then transfer to freezer bags for up to 3 months. Thaw overnight in refrigerator before coating with chocolate. This method gives you freshest chocolate coating.
Freezer Storage (After Coating)
Freeze chocolate-coated balls wrapped individually in plastic wrap for up to 1 month. Thaw in refrigerator for 2-3 hours before serving. The chocolate may develop slight condensation but still tastes delicious.
Pro Storage Tips
• Always store in refrigerator as cream cheese filling is perishable and must stay cold
• Let balls come to room temperature for 10 minutes before serving for softer texture if desired
• Keep away from strong-smelling foods as cream cheese absorbs odors readily through chocolate coating
Recipe Variations
Want to customize these pumpkin cheesecake balls for different flavors and occasions?
Dark Chocolate Coating Version
Use dark chocolate with 60-70% cocoa content for sophisticated, less sweet coating. The bitter chocolate balances the sweet filling beautifully. Perfect for adult gatherings where less sweetness is preferred.
Oreo Pumpkin Cheesecake Balls
Replace graham cracker crumbs with crushed Oreo cookies for cookies-and-cream twist. The chocolate cookie bits add depth of flavor. Use my Ultimate No-Bake Oreo Cheesecake technique.
Maple Pumpkin Balls
Replace ½ cup powdered sugar with pure maple syrup for deeper fall flavor. The maple enhances pumpkin taste beautifully. Reduce graham cracker crumbs slightly if mixture becomes too wet.
Spiced Rum Ball Style (Adults Only)
Add 1 tablespoon pure maple syrup to filling for richness that mimics rum ball flavor without the heaviness. The sweetness enhances all the spices perfectly. Great for grown-up parties.
Mini Pumpkin Cheesecake Bites
Roll mixture into tiny ½-inch balls for bite-sized party appetizers. Use candy melts for colorful orange coating. Perfect for large gatherings where smaller portions work better.
Protein-Packed Pumpkin Balls
Add ¼ cup vanilla protein powder and reduce powdered sugar to ½ cup. These become healthier post-workout snacks. Use my Easy Pumpkin Protein Balls Recipe for more protein inspiration.
P.S. Want more recipes like this? My new cookbook features more than 25 Thanksgiving sides with make-ahead tips. →Download now
Pro Tips & Tricks
Curious about the techniques that guarantee perfectly shaped, non-crumbly cheesecake balls every time?
• Use softened cream cheese exclusively as cold cream cheese creates lumps that won’t blend no matter how long you mix
• Add graham cracker crumbs gradually rather than all at once so you can control consistency and avoid dry, crumbly mixture
• Chill balls thoroughly before dipping or they’ll fall apart in warm chocolate and create frustrating mess
• Keep chocolate warm during dipping by reheating briefly in microwave if it starts to thicken and harden
• Work quickly when adding toppings as chocolate sets fast once it contacts cold cheesecake balls from refrigerator
• Use fork with thin tines for dipping so minimal chocolate clings and coating stays thin and delicate
• Don’t skip second chilling after chocolate coating or balls will be sticky and messy when served
• Make balls uniform size using cookie scoop for professional appearance and even chocolate coverage throughout
Frequently Asked Questions
Q: Can you make pumpkin cheesecake balls ahead of time?
Absolutely! Make and roll balls up to 2 days ahead and refrigerate covered until ready to coat. Dip in chocolate right before serving for freshest flavor. The uncoated balls actually improve after a day as flavors meld together.
Q: How long do pumpkin cheesecake balls last in the fridge?
Store in an airtight container in the refrigerator for up to 5 days with excellent taste and texture. The cream cheese filling stays fresh and delicious throughout. Always keep refrigerated as they’re perishable.
Q: Can you freeze pumpkin cheesecake balls?
Yes! Freeze uncoated balls for up to 3 months or chocolate-coated balls for up to 1 month. Thaw uncoated balls overnight before coating with fresh chocolate. Coated balls thaw in refrigerator for 2-3 hours before serving.
Q: What to serve with pumpkin cheesecake balls?
Serve with hot coffee, apple cider, or my Festive Christmas Chai Latte for perfect beverage pairings. Arrange on dessert tables with other fall treats for variety. They’re also delicious on their own as portable snacks.
Q: Why are my cheesecake balls too soft to roll?
The mixture needs more graham cracker crumbs for structure—add 1 tablespoon at a time until rollable. Alternatively, chill the mixture for 30 minutes before rolling to firm it up. Pumpkin puree moisture content varies by brand affecting consistency.
Q: Can you use pumpkin pie filling instead of puree?
Plain pumpkin puree works best as pumpkin pie filling contains added spices and sugar that throw off balance. Using pie filling makes them overly sweet and incorrectly spiced. Stick with plain puree for best control.
Q: What chocolate works best for coating?
White chocolate, milk chocolate, or dark chocolate all work beautifully—choose based on preference. Candy melts are easier for beginners as they melt smoothly and set quickly. Quality chocolate chips create richer flavor.
Q: How do you prevent chocolate from seizing while melting?
Melt chocolate in short 30-second intervals stirring thoroughly between each to distribute heat evenly. Never let water contact chocolate or it will seize immediately. Keep chocolate warm but not hot.
Q: Can you make these dairy-free?
Use dairy-free cream cheese alternative and ensure chocolate chips or coating are dairy-free. The texture stays remarkably similar to traditional version. My Easy Homemade Vegan Cream Cheese works perfectly.
Q: Why did my chocolate coating crack after chilling?
The cheesecake balls were too cold when dipped causing thermal shock to chocolate coating. Let balls sit at room temperature for 5 minutes before dipping. Alternatively, the chocolate may have overheated during melting.
Q: How many cheesecake balls does one recipe make?
One batch makes approximately 24-30 balls depending on size you roll them. For parties, smaller ¾-inch balls stretch the recipe further. Most people eat 2-3 balls per serving.
Q: Can kids help make these cheesecake balls?
Absolutely! Rolling the balls is perfect kid-friendly activity that keeps little hands busy. Let adults handle the chocolate dipping as melted chocolate can burn. This is a fun family baking project.
Ready to Make These Easy Treats?
This no-bake pumpkin cheesecake balls recipe delivers impressive results with minimal effort and zero oven time. The creamy pumpkin filling and chocolate coating create irresistible bite-sized treats perfect for fall.
Pin this recipe for your fall entertaining—you’ll make them on repeat! Leave a comment if you try them and share with friends who love easy no-bake desserts.







