
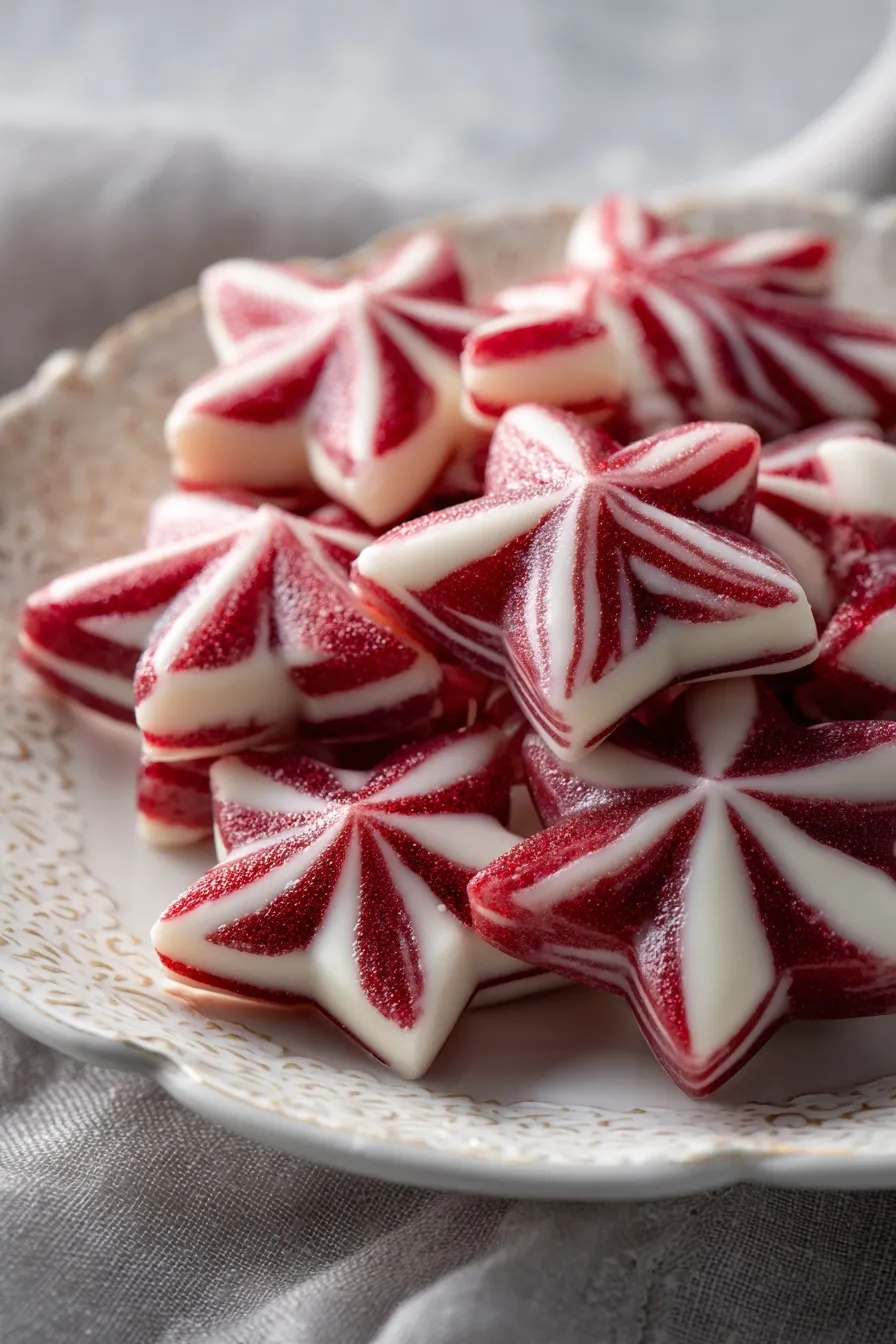
Old-fashioned butter mints melt on your tongue with creamy sweetness and a cool peppermint finish—no baking required, just 20 minutes of mixing and shaping. Perfect for weddings, baby showers, or holiday candy trays when you need something elegant fast.
Since you’re here, make sure to check out these related recipes:
- Christmas Cranberry Orange Cookies
- Peppermint Brownies Recipe
- Gingerbread Crinkle Cookies
- Forgotten Cookies Recipe
- Christmas Sugar Cookie Bars
Why this old-fashioned butter mints recipe works
Struggling to find a quick, elegant treat that looks impressive without requiring special skills? These homemade butter mints take just 20 minutes of active work—no oven, no candy thermometer, no complicated techniques.
The combination of room temperature butter (halal-certified) with powdered sugar creates that signature melt-in-your-mouth texture. You’re getting the same creamy consistency as expensive store-bought mints but with way better flavor.
Peppermint extract adds that refreshing coolness without being overpowering. The drying process firms up the outside while keeping the inside soft and creamy.
Pastel food coloring makes these mints wedding-worthy without extra effort. You’ll have beautiful, professional-looking candies that people assume came from a fancy bakery.
Ingredients for old-fashioned butter mints recipe
Need to whip up elegant party favors or wedding mints without spending a fortune? You’ll need just six basic ingredients to make this old-fashioned butter mints recipe shine.
For the mints:
- ½ cup unsalted butter (softened to room temperature, halal-certified)
- 4 cups powdered sugar (plus extra for kneading)
- 1 tablespoon heavy cream or whole milk
- ½ teaspoon peppermint extract (alcohol-free, adjust to taste)
- 1 pinch salt
- Gel food coloring (optional, for pastel colors)
Room temperature butter blends smoothly without lumps—take it out of the fridge 30 minutes before starting. Cold butter won’t cream properly and you’ll end up with a grainy texture.
Powdered sugar creates that silky-smooth consistency that makes these mints so special. Granulated sugar won’t work here since it doesn’t dissolve the same way.
Heavy cream adds richness while keeping the dough pliable. Peppermint extract brings that classic cooling sensation—start with ½ teaspoon and add more if you want stronger mint flavor.
Step-by-step instructions
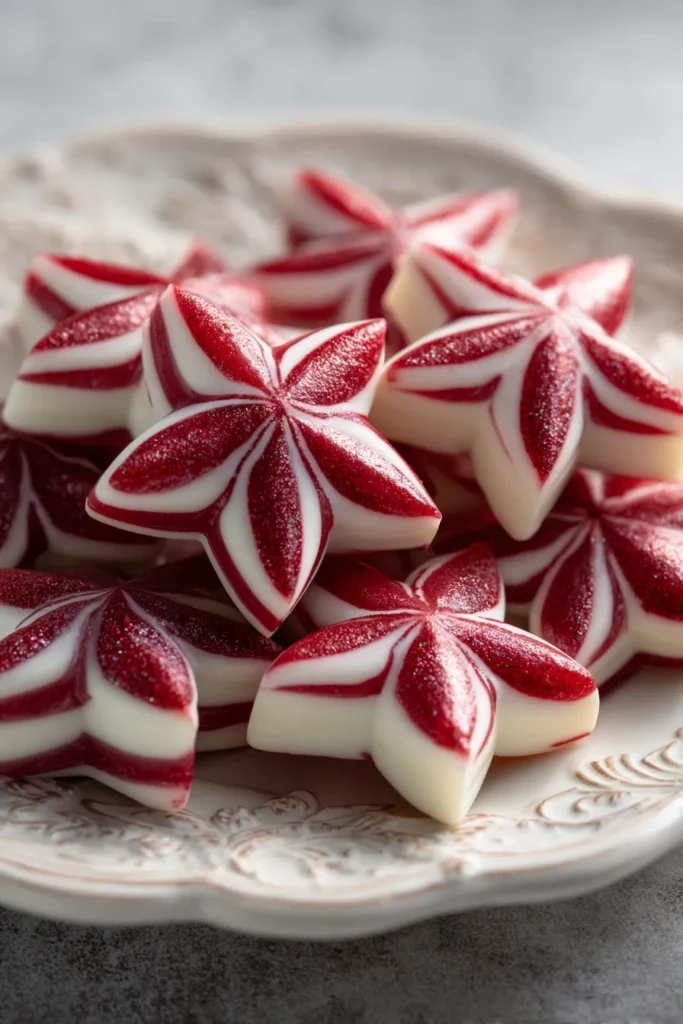
1. Cream the butter by beating softened butter (halal-certified) in a large bowl with an electric mixer on medium speed for 2-3 minutes until it’s light and fluffy. The butter should look pale and increase slightly in volume.
2. Add flavorings by mixing in peppermint extract (alcohol-free), heavy cream, and salt until everything’s completely combined. Scrape down the sides of the bowl with a spatula to make sure nothing gets missed.
3. Mix in sugar one cup at a time, starting on low speed to prevent a sugar cloud from exploding in your kitchen. Once the first cup is incorporated, add the remaining sugar and beat until a soft dough forms that’s similar to playdough consistency.
4. Divide and color the dough into 3-4 portions if you want multiple colors. Add just one tiny drop of gel food coloring to each portion and knead by hand until the color is evenly distributed throughout.
5. Roll into ropes by dusting your work surface with powdered sugar and rolling each colored portion into thin ropes about ½ inch thick. If the dough sticks to your hands or the counter, add a little more powdered sugar while kneading.
6. Cut into pieces using a bench scraper or sharp knife to slice the ropes into small bite-sized squares about ½ inch long. You can also roll them into small balls if you prefer round mints.
7. Dry completely by spreading the cut mints in a single layer on parchment paper-lined trays, making sure they don’t touch each other. Let them air-dry uncovered at room temperature for 8 hours or overnight until they develop a slight crust on the outside.
Essential equipment
Electric hand mixer
Creaming butter to the right fluffy consistency takes power that whisking by hand can’t deliver efficiently. An electric mixer breaks down the butter in minutes instead of the 10-15 minutes of arm-killing work with a whisk.
Bench scraper or sharp knife
Cutting uniform pieces ensures all your mints look professional and elegant on serving trays. A bench scraper gives you clean, straight cuts that make each mint look store-bought perfect.
Parchment paper (PREMIUM)
Lining your drying trays prevents mints from sticking during the overnight drying process. Premium parchment paper is non-stick and reusable, saving you money and cleanup time compared to wax paper that sometimes sticks.
What to serve with old-fashioned butter mints
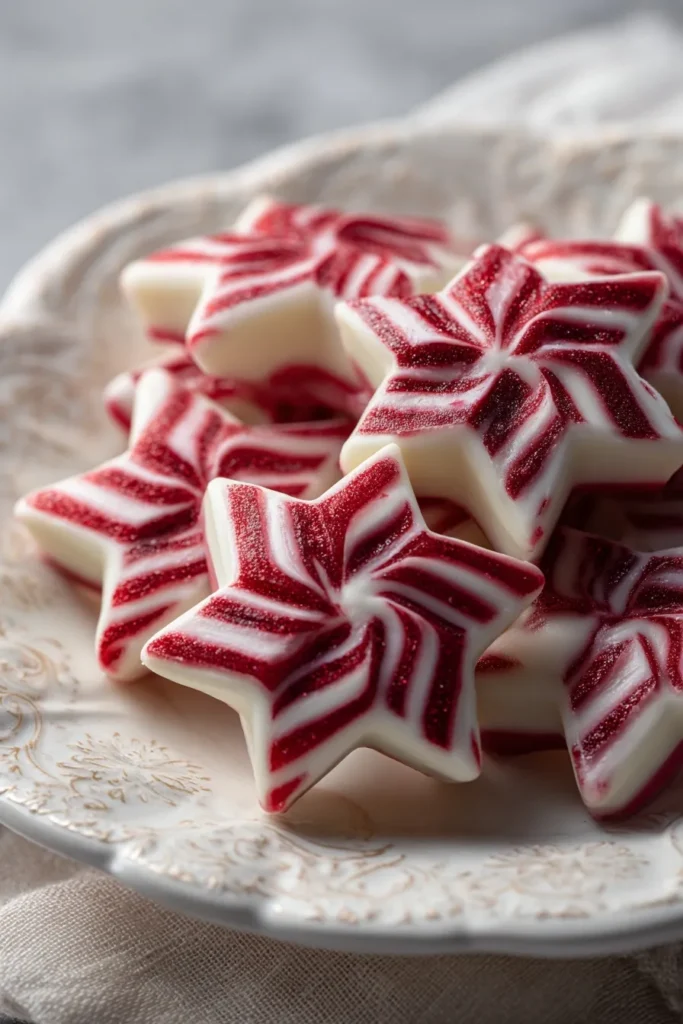
Need ideas for incorporating these elegant candies into your menu? These rich dishes pair beautifully with the cool, refreshing peppermint flavor.
Christmas Stuffed Turkey Recipe makes a perfect main course because the savory, herb-rubbed meat contrasts wonderfully with sweet butter mints served afterward. Your guests will appreciate having something light and minty to cleanse their palate after the heavy meal.
Serve these mints alongside Perfect Prime Rib Recipe at elegant dinner parties. The rich, beefy flavors make the cool peppermint taste even more refreshing as an after-dinner treat.
Herb Butter Turkey Recipe works great because you can make both the turkey and the mints ahead of time. Check out our Christmas Gooey Butter Cookies for more make-ahead dessert options.
Storage and reheating guide
Refrigerator storage
Keep your old-fashioned butter mints in an airtight container at room temperature for up to 2 weeks. The mints stay perfectly soft and creamy, though they might develop a slightly firmer outer shell over time.
Freezer storage
You can freeze these mints for up to 3 months in freezer-safe containers with parchment paper between layers. Let them thaw at room temperature for 30 minutes before serving so they regain that creamy texture.
Reheating instructions
Don’t reheat these mints since they’re meant to be served at cool room temperature. If they’ve been refrigerated, let them sit out for 15-20 minutes before serving for the best melt-in-your-mouth texture.
Old-fashioned butter mints recipe variations
Want to switch up this classic candy recipe? Try these easy variations that use the same simple base.
Vanilla butter mints: Replace peppermint extract with pure vanilla extract (alcohol-free) for a sweeter, less minty flavor. You’ll get that same creamy texture with a more subtle taste that kids absolutely love.
Lemon butter mints: Use ½ teaspoon lemon extract instead of peppermint and add yellow food coloring. These tangy mints are perfect for spring baby showers and Easter celebrations.
Almond butter mints: Swap peppermint for almond extract (alcohol-free) and leave them white or add pale pink coloring. Check out our Almond Sugar Cookies Recipe for more almond-flavored treats.
Pro tips and tricks
Want to make these elegant butter mints even better? Use these simple tricks I’ve learned from making hundreds of batches for weddings and parties.
Soften butter properly by leaving it at room temperature for 30-45 minutes—it should dent easily when pressed but not be greasy or melting.
Start with less extract because peppermint flavor is very strong and you can always add more but you can’t take it away once it’s mixed in.
Use gel food coloring instead of liquid because gel doesn’t add extra moisture that can make your dough too sticky to work with.
Knead on powdered sugar instead of flour so you don’t alter the texture or taste of the finished mints.
Frequently asked questions
Can you make old-fashioned butter mints recipe ahead of time?
Yes! Make these mints up to 2 weeks ahead and store them in airtight containers at room temperature. They actually taste better after a day or two when the flavors have melded together.
Why is my butter mint dough too sticky?
Your butter might have been too warm or you need more powdered sugar. Knead in additional powdered sugar 1 tablespoon at a time until the dough is soft but not sticky.
How do I make butter mints without heavy cream?
Substitute whole milk, half-and-half, or even water in the same amount. Heavy cream gives the richest texture, but milk works perfectly fine and tastes nearly identical.
Can you use liquid food coloring instead of gel?
You can, but liquid coloring adds extra moisture that makes the dough stickier. If using liquid, add it drop by drop and be prepared to knead in more powdered sugar.
How long do old-fashioned butter mints recipe last?
These mints stay fresh at room temperature for 2 weeks, refrigerated for 1 month, or frozen for 3 months. The texture stays perfect as long as they’re stored in airtight containers.
What’s the best way to shape butter mints?
Rolling them into ropes and cutting squares is fastest for large batches. For fancier shapes, use small candy molds or cookie cutters pressed lightly into flattened dough.
Why you’ll love this recipe
Ready to impress everyone at your next event without spending hours in the kitchen? These old-fashioned butter mints deliver elegant, bakery-quality results in just 20 minutes of active work.
The creamy texture rivals expensive store-bought mints but costs a fraction of the price. Make these beautiful pastel mints ahead of time so you can actually enjoy your own party.
📌 Save this old-fashioned butter mints recipe for your next celebration—they’re guaranteed to impress every single guest!







