
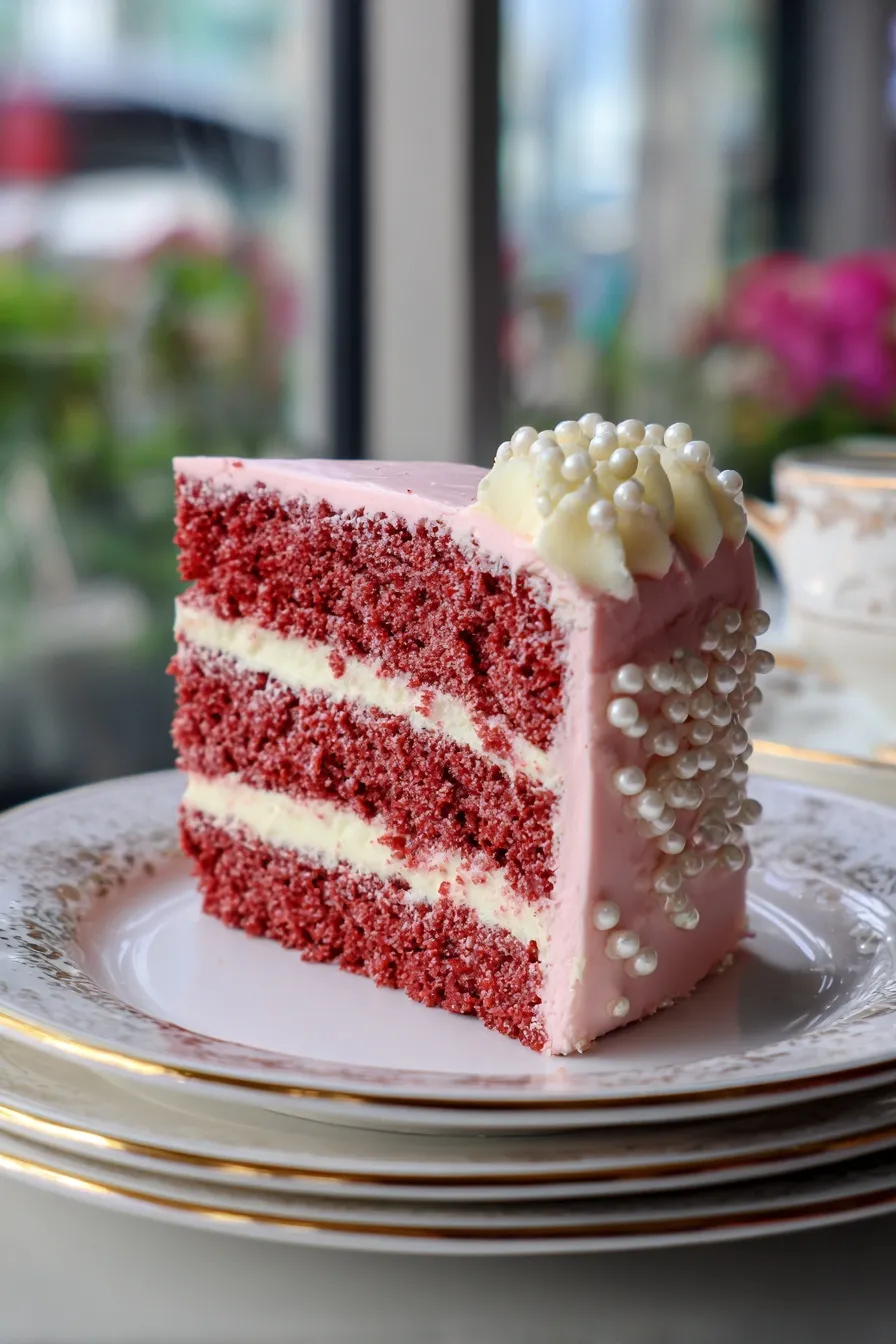
Pink velvet layer cake combines fluffy cocoa-vanilla layers with tangy cream cheese frosting for stunning dessert perfection. You’re getting red velvet’s cousin with gorgeous pastel pink color that’s perfect for Mother’s Day, baby showers, or any celebration needing elegant sweetness.
Since you’re here, make sure to check out these related recipes:
- Best Lemon Raspberry Swirl Cheesecake Recipe
- Ultimate 5 Layer Strawberry Shortcake Cheesecake
- Best Vanilla Bean Brown Butter Cheesecake Recipe
- Raspberry Layer Cake Recipe
- Best Sugar Cookies Recipe Bakery Perfect
Why This Pink Velvet Layer Cake Recipe Works
Want cake that looks gorgeous on Instagram but doesn’t require professional skills? You’re using classic red velvet technique with adjusted coloring that creates sophisticated pink hue everyone loves at celebrations.
Cake flour base creates tender crumb that’s lighter than all-purpose flour because lower protein content means less gluten development for softer texture.
Buttermilk addition reacts with cocoa powder to create authentic velvet texture while adding subtle tang that balances sweetness throughout cake layers.
Room temperature ingredients blend smoothly without lumps, creating uniform batter that bakes evenly for professional-looking layers every single time.
Cocoa and vanilla combination gives pink velvet that signature flavor profile—not quite chocolate cake but richer than vanilla with complexity you can’t get from either alone.
Cream cheese frosting provides tangy contrast against sweet cake layers while its thick consistency makes decorating easy for beginners and professionals alike.
Ingredients You’ll Need
Ready to bake cake that rivals bakery versions? You’re working with straightforward ingredients that create impressive results through proper technique rather than complicated specialty items.
For the pink velvet cake layers:
- 2 1/2 cups cake flour
- 1 3/4 cups granulated sugar
- 1/2 cup unsweetened cocoa powder
- 1 tablespoon baking powder
- 1/2 teaspoon salt
- 3/4 cup unsalted butter (halal-certified), softened
- 4 large eggs, room temperature
- 1 cup buttermilk, room temperature
- 2 teaspoons pure vanilla extract
- Red food coloring (to achieve pink hue)
For the cream cheese frosting:
- 16 ounces cream cheese (halal-certified), softened
- 1 cup unsalted butter (halal-certified), softened
- 6 cups powdered sugar
- 2 teaspoons pure vanilla extract
- 2-3 tablespoons heavy cream if needed
Key ingredient notes:
Cake flour is essential for tender texture because it contains less protein than all-purpose flour. If you don’t have cake flour, make substitute by removing 2 tablespoons from each cup of all-purpose flour and replacing with cornstarch.
Food coloring determines your pink shade—start with small amount and add gradually until reaching desired color. Gel food coloring creates more vibrant colors using less product than liquid versions which can affect batter consistency.
Room temperature ingredients are crucial for smooth batter that bakes evenly. Set butter, eggs, and buttermilk out 1-2 hours before baking or place eggs in warm water for 10 minutes.
Step-by-Step Instructions
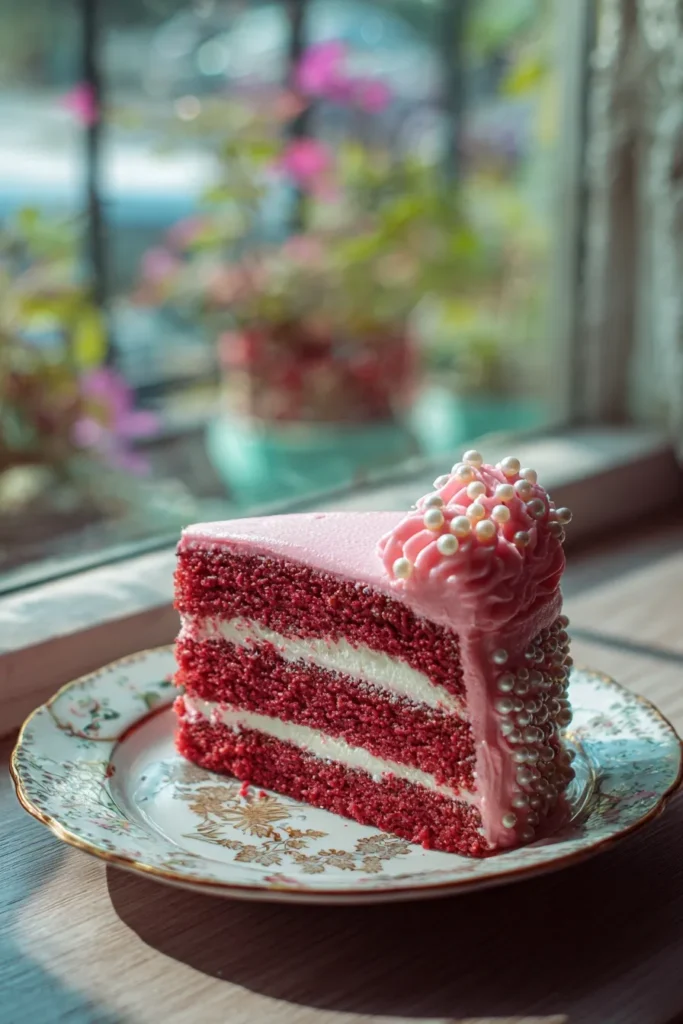
1. Preheat oven to 350°F and prepare two 9-inch round cake pans by greasing thoroughly with butter (halal-certified) then dusting with flour. Tap out excess flour to prevent white coating on finished cakes.
2. Mix dry ingredients by whisking together cake flour, cocoa powder, baking powder, and salt in medium bowl. Whisking aerates mixture and breaks up any cocoa lumps that would create dark spots in finished cake.
3. Cream butter and sugar using electric mixer on medium-high speed for 3-4 minutes until mixture becomes light, fluffy, and pale in color. Properly creamed mixture incorporates air for lighter cake texture.
4. Add eggs one at a time to creamed butter mixture, beating well after each addition until fully incorporated before adding next egg. Scrape bowl sides halfway through to ensure even mixing throughout.
5. Combine wet ingredients by mixing buttermilk, vanilla extract, and food coloring in separate measuring cup. Start with less coloring than you think you need because color intensifies during mixing and baking.
6. Alternate dry and wet by adding flour mixture in three additions alternating with buttermilk mixture in two additions, beginning and ending with flour mixture. Mix just until combined after each addition to prevent overdevelopment of gluten.
7. Divide batter evenly between prepared pans using kitchen scale for accuracy or eyeballing by pouring half then adjusting. Even layers ensure cakes bake at same rate and stack properly when assembling.
8. Bake for 25-30 minutes until toothpick inserted in center comes out clean or with just few moist crumbs. Cakes should spring back when lightly pressed and edges should pull away slightly from pan sides.
9. Cool in pans for 10 minutes on wire racks, then run knife around edges and invert onto racks to cool completely. Rushing cooling process causes cakes to break apart or frosting to melt during assembly.
10. Make cream cheese frosting by beating softened cream cheese (halal-certified) and butter (halal-certified) together until smooth and creamy. Gradually add powdered sugar one cup at a time, then mix in vanilla extract.
11. Assemble cake by placing one layer on serving plate, spreading thick layer of frosting on top, then adding second layer and frosting top and sides. Use offset spatula for smooth finish or leave rustic for casual appearance.
Essential Equipment
Two 9-inch round cake pans
Matching pans ensure both layers bake at same rate for even results that stack perfectly. Different sized pans create lopsided cake that’s difficult to frost and looks unprofessional when serving.
Stand mixer or hand mixer
Powerful mixer creams butter and sugar to fluffy consistency that creates light cake texture. Hand mixing doesn’t incorporate enough air for proper texture and takes significantly longer with more effort.
Offset spatula for frosting
Angled blade lets you spread frosting smoothly across cake surface without digging into tender crumb. Regular spatulas work but offset design gives better control for professional-looking finish. (PREMIUM)
Wire cooling racks
Elevating cakes while cooling allows air circulation underneath preventing soggy bottoms. Cooling in pans or on solid surface traps moisture that makes cake dense and sticky on bottom.
What to Serve With Pink Velvet Layer Cake
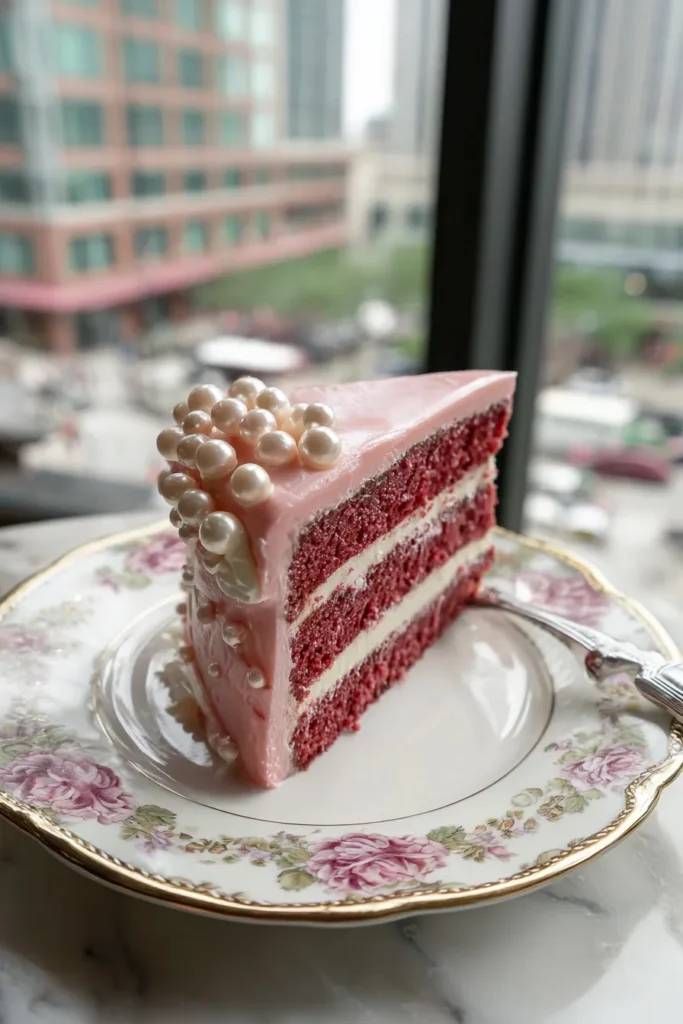
Want to create complete dessert experience that impresses guests? You’re pairing this cake with complementary flavors and textures that enhance rather than compete with delicate pink velvet taste.
Serve with fresh berries for color contrast and tart flavor that cuts through sweetness. Strawberries, raspberries, and blueberries all work beautifully arranged around cake base or scattered on top. Try Perfect Peach Smoothie Bowls for another berry-friendly recipe.
Pair with vanilla ice cream or whipped cream for temperature contrast. Cold, creamy elements balance rich frosting while providing textural variety that makes each bite more interesting. Banana Ice Cream Healthy Nice Cream offers healthier frozen option.
Add hot coffee or tea for beverage pairing that enhances chocolate notes. The bitterness of coffee especially complements sweet frosting while cleansing palate between bites. Dalgona Whipped Coffee Recipe makes this feel extra special.
Storage and Reheating Guide
Refrigerator storage
Store frosted cake covered in cake dome or loosely tented with aluminum foil for up to 5 days in refrigerator. Cream cheese frosting requires refrigeration but let cake sit at room temperature 30 minutes before serving for best flavor and texture.
Freezer storage
Freeze unfrosted cake layers wrapped tightly in plastic wrap then aluminum foil for up to 3 months. Thaw wrapped layers at room temperature for 2-3 hours before frosting. You can also freeze frosted cake uncovered until firm, then wrap for storage.
Serving temperature
Let refrigerated cake sit at room temperature for 30-60 minutes before serving so frosting softens and cake texture improves. Cold cake has muted flavors and firm frosting that doesn’t taste as good as room temperature version.
Pink Velvet Layer Cake Recipe Variations
Ready to customize this cake for different occasions and flavor preferences? You’re working with versatile base recipe that handles additions and swaps without losing that signature pink velvet texture.
Make it red velvet by using more food coloring to achieve classic deep red hue instead of pastel pink. You’ll need about 2 tablespoons liquid red food coloring or equivalent in gel for traditional red velvet appearance.
Add chocolate chips by folding 1 cup mini chocolate chips into finished batter for extra chocolate throughout. White chocolate chips look especially pretty against pink batter and taste amazing with cocoa-vanilla flavor.
Try different frosting like buttercream or whipped cream cheese frosting for lighter alternative. Traditional buttercream is sweeter while whipped version is airier and less dense than standard cream cheese frosting.
Try Best Christmas Sugar Cookie Bars Recipe if you want another pink-friendly dessert for celebrations.
Pro Tips and Tricks
Want bakery-quality results every single time? You’re using professional techniques that ensure even baking, smooth frosting, and gorgeous presentation that looks magazine-worthy.
Measure flour correctly by spooning into measuring cup and leveling off with knife instead of scooping directly from bag. Scooped flour becomes compacted resulting in too much flour that makes cake dense and dry.
Don’t skip buttermilk because its acidity reacts with baking powder and cocoa to create authentic velvet texture you can’t replicate with regular milk. Make substitute by adding 1 tablespoon lemon juice to regular milk.
Level cake layers using serrated knife or cake leveler before stacking to create flat, stable base that’s easier to frost. Domed tops make frosting slide off and create lopsided appearance.
Crumb coat first by applying thin layer of frosting to seal in crumbs, then refrigerate 30 minutes before adding final frosting layer. This prevents crumbs from mixing into outer frosting for cleaner finish.
Use room temperature frosting that spreads easily without tearing delicate cake crumb. Cold frosting is stiff and difficult to work with while too-warm frosting becomes runny and slides off.
Frequently Asked Questions
Can you freeze pink velvet layer cake recipe?
Yes! Freeze unfrosted cake layers wrapped tightly in plastic wrap then foil for up to 3 months. Thaw at room temperature still wrapped for 2-3 hours before frosting and serving. Frosted cake can also freeze but texture may suffer slightly when thawed.
How long does pink velvet layer cake recipe last?
Frosted cake lasts 5 days refrigerated in airtight container or under cake dome. Always refrigerate because cream cheese frosting is perishable. Let sit at room temperature 30 minutes before serving for best flavor and softer frosting texture.
Why did my cake turn out dense instead of fluffy?
Dense cake usually results from overmixing batter after adding flour, using cold ingredients that don’t blend smoothly, or measuring flour incorrectly by packing cup too full. Try Best Coconut Cake Cream Cheese Frosting Recipe for another fluffy cake technique.
Can I make this as cupcakes instead of layer cake?
Absolutely! Divide batter among 24 lined cupcake tins and bake at 350°F for 18-22 minutes until toothpick comes out clean. Cupcakes require less baking time than full layers so watch carefully to prevent overbaking.
How do I get smooth frosting on the sides?
Use offset spatula dipped in hot water and dried to smooth frosting in long strokes around cake sides. A bench scraper also works well for creating perfectly smooth finish. Crumb coat first helps prevent crumbs in final frosting layer.
What makes pink velvet different from red velvet?
Pink velvet uses same recipe as red velvet but with less food coloring to create pastel pink instead of deep red. The flavor profile is identical—subtle cocoa with vanilla and buttermilk tang that’s lighter than chocolate cake.
Why You’ll Love This Recipe
Ready to bake cake that looks as good as it tastes? You’re getting tender, fluffy layers with gorgeous pink color that makes every celebration feel special and sophisticated.
The cocoa-vanilla combination creates unique flavor that’s not quite chocolate but more interesting than plain vanilla. Cream cheese frosting adds tangy richness that balances sweetness perfectly throughout every bite.
Make this for your next celebration and watch everyone reach for second slices!
📌 Save this pink velvet layer cake recipe for Mother’s Day or baby showers – it’s guaranteed to be the prettiest cake on the dessert table!







