
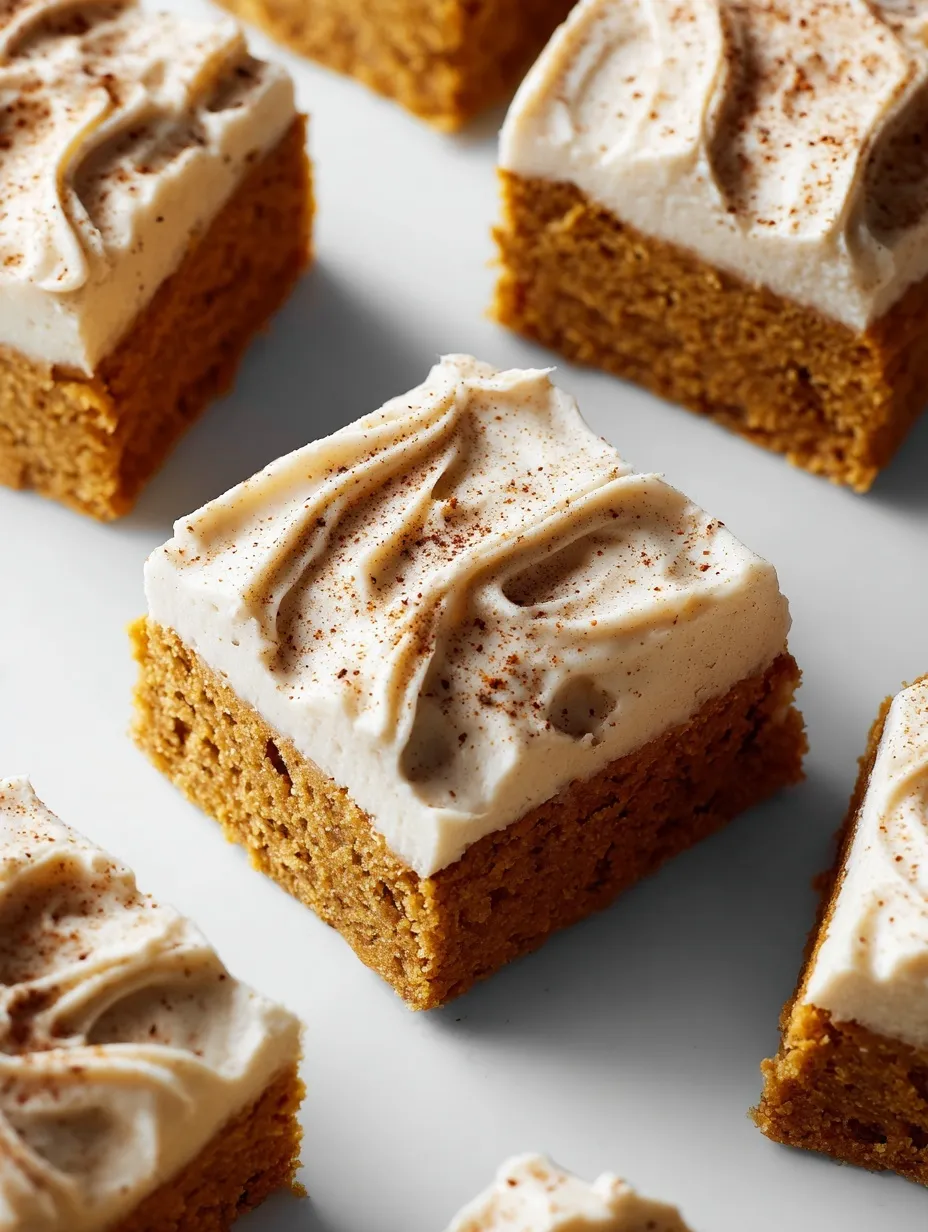
These thick, frosted beauties just made pumpkin pie officially obsolete for potluck season – and we’re not even sorry about it.
Since you are here, make sure to check out these irresistible pumpkin treats:
- Ultimate Easy Carrot Cake Bars
- Lemon Oatmeal Crumble Bars Recipe Easy Dessert
- Salted Caramel Apple Crumble Bars
- Cinnamon Roll Cheesecake Bars
- Easy Salted Caramel Pretzel Bark
Why These Bars Are Fall Perfection
Let’s be honest – pumpkin pie is great and all, but have you ever tried to transport one to a potluck? Or cut clean slices for a crowd? These pumpkin bars just solved all your fall dessert problems while somehow managing to taste even better than the pie that inspired them.
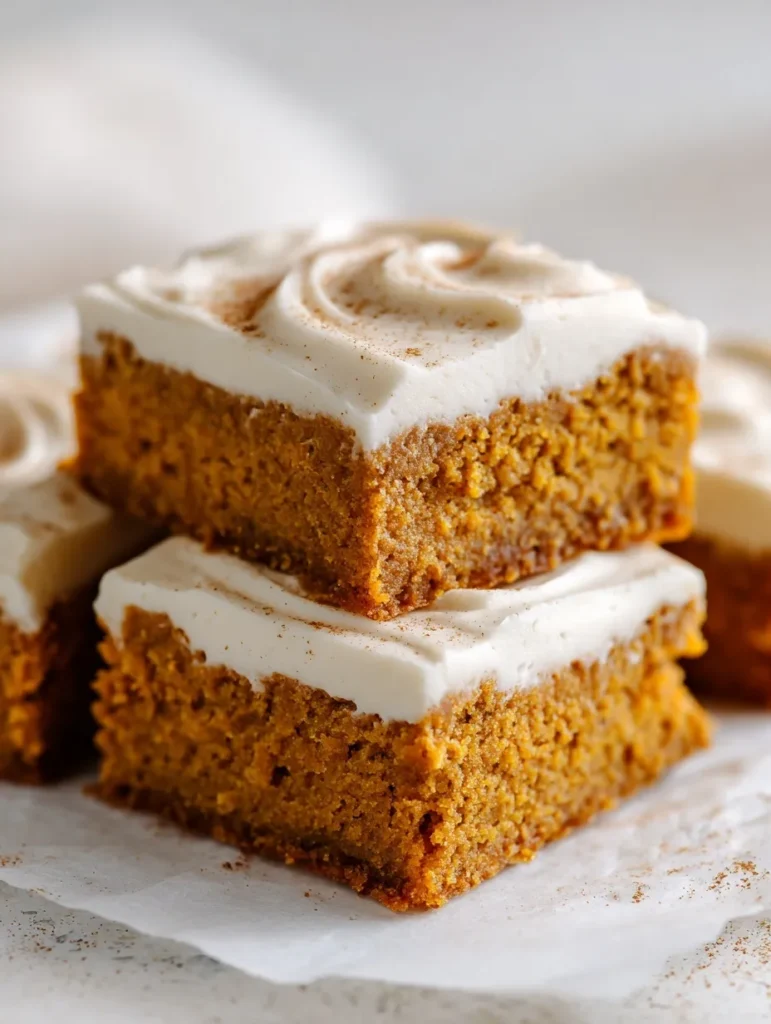
The magic happens in that perfect balance of thick, spiced pumpkin cake and luscious brown sugar frosting. We’re talking about bars that are soft and moist without being cake-like, topped with frosting that has this incredible slight crunch from the brown sugar – like eating the best parts of pumpkin pie and cookie dough combined.
But here’s what really sets these apart: they’re ridiculously easy to make. No mixer needed for the bars, no complicated techniques, no stress about whether your pie crust will cooperate. Just mix, bake, frost, and watch people lose their minds over how good they are.
Ever notice how some bar recipes promise easy but deliver disappointing results? These actually live up to the hype. The bars stay perfectly moist for days, the frosting doesn’t get overly sweet or slide off, and they travel like champions. It’s comfort food that actually comforts 🙂
What Makes This Recipe Actually Brilliant
One-bowl bar base: No electric mixer needed for the bars themselves. Just melt butter, mix, and bake. Revolutionary for busy fall schedules.
Brown sugar frosting magic: Unlike typical powdered sugar buttercream, this frosting retains a slight crunch that adds incredible textural interest.
Perfect moisture balance: The pumpkin puree keeps these bars incredibly moist without making them soggy or dense.
Crowd-pleasing portions: One 8×8 pan cuts into perfect squares that feed a crowd, or double it for a 9×13 pan.
Make-ahead friendly: These actually taste better the day after making them, perfect for holiday meal planning.
Ingredients That Don’t Mess Around
The Bar Foundation:
- 1 stick unsalted butter (richness base)
- ⅔ cup light brown sugar, packed (molasses depth)
- 1 large egg (binding and moisture)
- 1 teaspoon vanilla extract (flavor enhancement)
- 1 cup pumpkin puree (the star – not pie filling!)
- 1½ cups all-purpose flour (structure without heaviness)
- 1 teaspoon ground cinnamon (classic pumpkin spice)
- ¼ teaspoon ground ginger (warming heat)
- ¼ teaspoon ground nutmeg (essential fall flavor)
- ¼ teaspoon baking soda (gentle lift)
- ¼ teaspoon fine sea salt (flavor enhancer)
The Brown Sugar Frosting:
- 1 stick unsalted butter, room temperature (creamy base)
- ¼ cup light brown sugar, packed (the crunchy magic)
- ½ teaspoon ground cinnamon (spice continuation)
- ⅛ teaspoon fine sea salt (balance)
- 1½ cups powdered sugar, sifted (sweetness and structure)
- ½ teaspoon vanilla extract (flavor depth)
- 1 tablespoon milk, plus more if needed (consistency control)
Instructions That Won’t Stress You Out
Step 1: Prep Like a Pro
Preheat your oven to 350°F and line an 8×8-inch light-colored metal baking pan with foil or parchment paper, leaving some overhang for easy removal. Trust me, this step saves you so much hassle later.
Step 2: Create the Bar Base
Melt the butter in a microwave-safe bowl and let it cool until just warm (about 80°F). Once cooled, whisk in brown sugar, egg, vanilla, and pumpkin puree until smooth and well combined.
Step 3: Mix the Dry Squad
In a large bowl, combine flour, cinnamon, ginger, nutmeg, baking soda, and salt. Make sure everything is evenly distributed.
Step 4: Combine and Bake
Add the butter mixture to the flour mixture, stirring just until combined. The batter will be thick – that’s perfect! Spread it evenly in your prepared pan and bake for 25 minutes until a cake tester comes out clean. Don’t overbake!
Step 5: Cool Completely
Set the pan on a wire rack and let it cool completely before frosting. This is crucial – warm bars will melt your frosting.
Step 6: Make the Magic Frosting
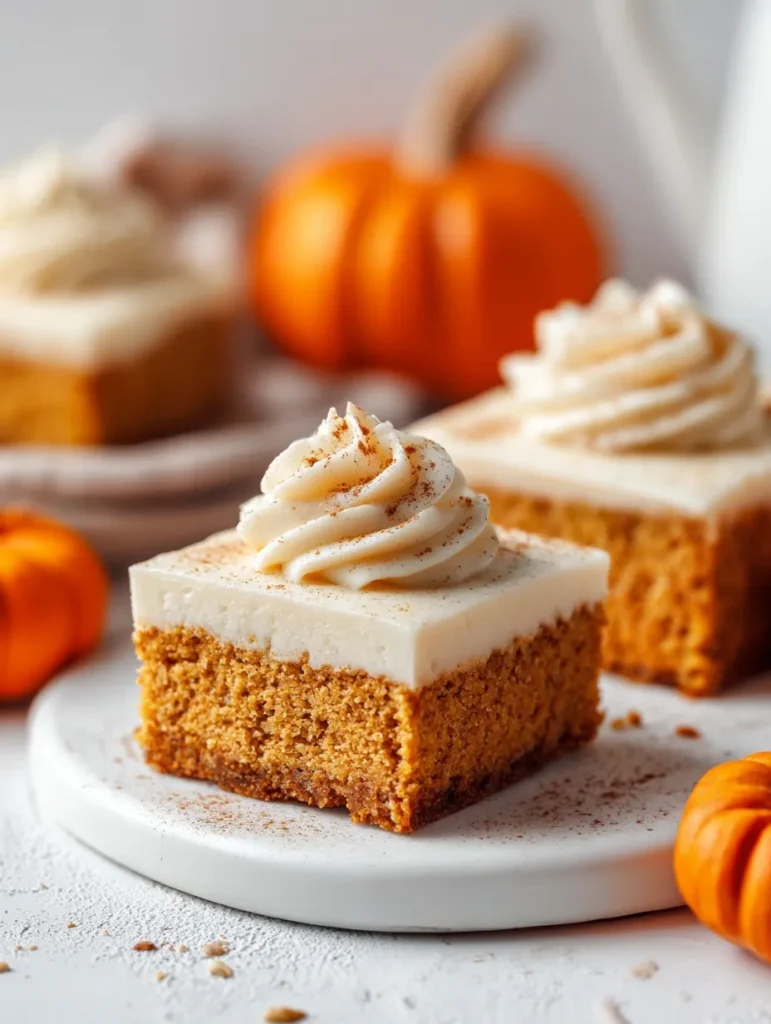
Beat butter and brown sugar with an electric mixer on medium-high speed until light and fluffy. Add cinnamon and salt, then gradually add powdered sugar on low speed. Add vanilla and milk, then beat on medium-high for 2-3 minutes until very light and fluffy.
Step 7: Frost and Serve
Spread the frosting evenly over the cooled bars. Cut into squares and prepare for the compliments to roll in.
Pro Tips That Actually Matter
Butter temperature matters: For the bars, let melted butter cool to about 80°F before adding other ingredients. For frosting, room temperature butter is crucial.
Don’t overbake: These bars continue cooking slightly in the hot pan. Better to slightly underbake than dry them out.
Frosting consistency: If it’s too thick, add milk a teaspoon at a time. Too thin? Add more powdered sugar.
Clean cuts: Use a sharp knife and wipe it clean between cuts for perfect squares.
Storage strategy: These keep better covered in the fridge, but let them come to room temperature before serving for best texture.
Flavor Variations Because We’re Not One-Dimensional
Cream cheese frosting version: Replace brown sugar frosting with cream cheese frosting if you prefer classic flavors.
Spice it up: Add a pinch of cardamom or allspice to the bar batter for more complex spice notes.
Maple twist: Replace some of the brown sugar in the frosting with maple syrup for fall flavor depth.
Nutty addition: Fold chopped pecans or walnuts into the bar batter for extra texture.
Chocolate drizzle: Drizzle melted chocolate over the frosted bars for extra indulgence.
Perfect Serving Situations
Potluck hero: These travel beautifully and feed a crowd without the stress of transporting pie.
Holiday dessert table: Perfect alongside other fall treats, but different enough to stand out.
Office parties: Cut into small squares for perfect single-serving treats that won’t make a mess.
Weekend baking: Great for when you want something special but don’t want to spend all day in the kitchen.
Care packages: These ship well and taste like home to anyone missing fall flavors.
Storage and Make-Ahead Strategy
Room temperature: Good for up to 1 day covered tightly, though they’re better refrigerated.
Refrigerated: Keep for up to 5 days in the fridge. Let come to room temperature before serving for best texture.
Freezer friendly: Freeze frosted bars for up to a month. Thaw in the fridge overnight, then bring to room temperature.
Double batch wisdom: This recipe doubles beautifully for a 9×13 pan – just add a few extra minutes to the baking time.
Why Kids and Adults Both Obsess
Familiar flavors: Tastes like the best pumpkin pie filling in easy-to-eat bar form.
Perfect sweetness: Not too sweet, not too spiced – hits that perfect balance everyone loves.
No utensils needed: Easy finger food that doesn’t require plates and forks.
Visual appeal: That thick layer of frosting makes these look incredibly inviting.
Troubleshooting Common Bar Disasters
Dry bars: Usually from overbaking or expired spices. Check doneness at 25 minutes exactly.
Frosting too runny: Your butter might have been too warm, or you added too much milk. Add more powdered sugar to thicken.
Bars sticking to pan: Make sure you line the pan with parchment or foil with overhang for easy removal.
Uneven frosting: Make sure bars are completely cool, and use an offset spatula for smooth application.
FAQs Because Fall Baking Can Be Tricky
Q: Can I use pumpkin pie filling instead of pumpkin puree? A: No! Pumpkin pie filling has added sugars and spices that will throw off the recipe. Use plain pumpkin puree only.
Q: What’s the difference between this brown sugar frosting and regular buttercream? A: The brown sugar creates a slight crunch and deeper flavor than traditional powdered sugar buttercream.
Q: Can I make these ahead for Thanksgiving? A: Absolutely! They’re actually better the day after making them. Store covered in the fridge.
Q: Why do my bars seem dense? A: Don’t overmix the batter, and make sure your baking soda is fresh. Overmixing develops gluten and creates dense bars.
Q: Can I halve this recipe? A: This recipe is already sized for an 8×8 pan, which is pretty small. If you need less, consider making the full batch and freezing half.
Here’s the Real Deal
These pumpkin bars with brown sugar frosting have completely changed how I think about fall desserts. They’re everything I love about pumpkin pie – the spiced filling, the sweet indulgence, the comfort food factor – but in a format that actually makes sense for real life.
The brown sugar frosting is absolutely addictive. That slight crunch paired with the creamy sweetness creates this texture that’s completely unique and totally irresistible. People always ask what makes the frosting so special, and when you tell them it’s brown sugar instead of all powdered sugar, they have this “aha!” moment.
They’re also incredibly practical, which matters when you’re juggling fall entertaining or holiday meal prep. They travel well, cut cleanly, feed a crowd, and actually improve in flavor overnight. It’s the kind of recipe that makes you look like a baking genius without requiring genius-level skills.
Whether you’re looking for the perfect potluck contribution, need a crowd-pleasing Thanksgiving alternative to pie, or just want to fill your house with the most amazing pumpkin-spice aroma, these bars deliver every single time. They’re proof that sometimes the simplest recipes create the most memorable moments.
So grab that can of pumpkin puree, fire up your mixer (just for the frosting!), and get ready to make something that’ll have everyone asking for the recipe. Because once people taste these bars, regular pumpkin desserts just won’t cut it anymore.







