
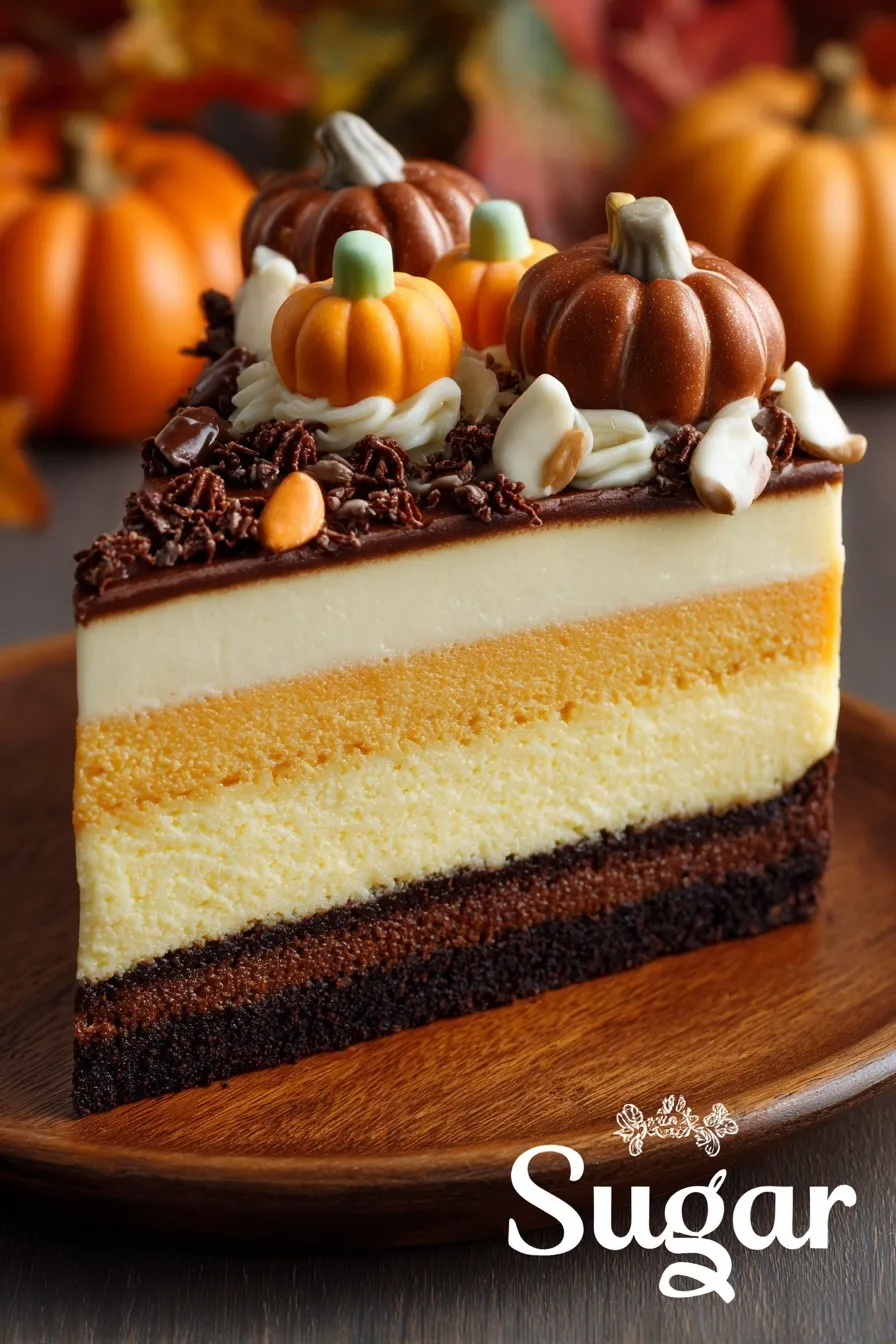
Four dreamy mousse layers that’ll make you the dessert legend of every gathering!
Since you are here, make sure to check out these amazing show-stopping desserts:
- Ultimate 5 Layer Strawberry Shortcake Cheesecake
- Thanksgiving Piecaken Recipe Ultimate Guide
- Ultimate Pumpkin Spice Cake
- No Bake Pumpkin Tiramisu
- Sugar Cookie Cheesecake
Note: This recipe has been adapted to be halal-compliant using alcohol-free vanilla extract.
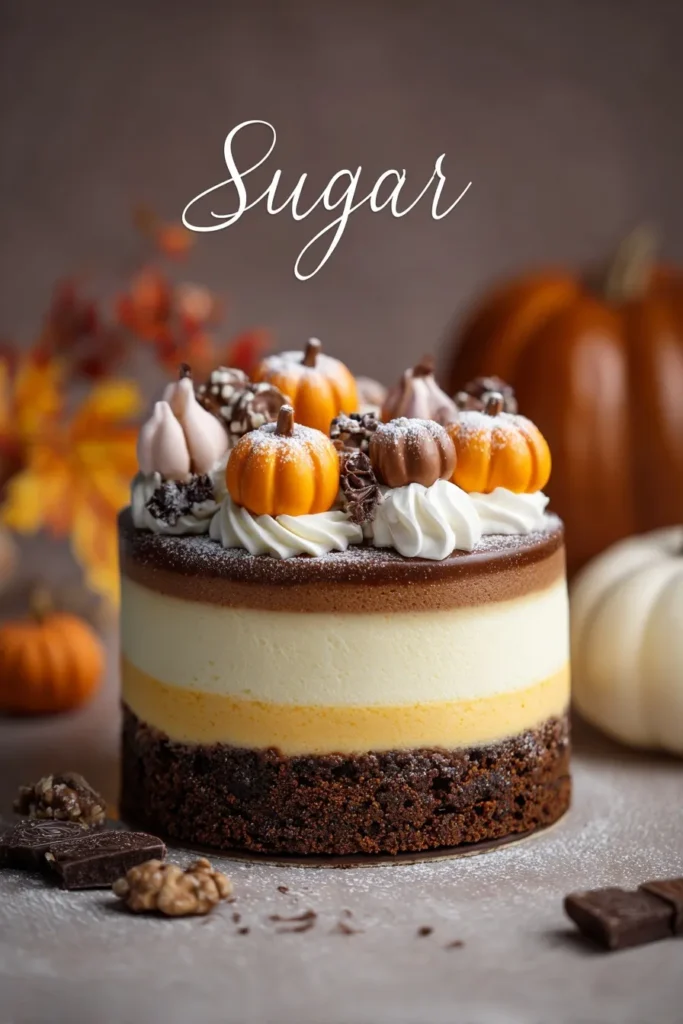
Okay, let’s be honest—this cake is absolutely extra, and I’m not apologizing for it. We’re talking about a four-layer mousse masterpiece that combines chocolate cake with cinnamon mousse, pumpkin-butterscotch mousse, salted caramel mousse, AND chocolate ganache. It’s like fall decided to throw a party and invited every delicious flavor to join the celebration.
Yes, it looks intimidating. Yes, there are multiple steps. But here’s the thing—all three mousse layers use the exact same technique, so once you master one, you’ve got them all. Plus, this is the ultimate make-ahead dessert that actually improves as it sits in the fridge. Your future self will thank you for making something this impressive! 🙂
Ingredients
This beauty comes in several parts, so grab your shopping list!
Chocolate Cake Base
- 2 ounces unsalted butter, room temperature
- ¼ cup granulated sugar
- ¼ cup brown sugar, packed
- 1 large egg, room temperature
- 1 teaspoon pure vanilla extract (alcohol-free)
- ½ cup buttermilk, room temperature
- ⅔ cup all-purpose flour
- ⅓ cup unsweetened cocoa powder
- ½ teaspoon baking soda
- ¼ teaspoon salt
Cinnamon Mousse Layer
- 9 ounces cinnamon chips (or white chocolate chips + ground cinnamon)
- 1½ cups heavy cream, divided
- ⅓ cup pumpkin puree
- Pinch of salt
- 2 teaspoons unflavored gelatin
- 2 tablespoons water
- 1 teaspoon ground cinnamon
Pumpkin-Butterscotch Mousse Layer
- 9 ounces butterscotch chips
- 1½ cups heavy cream, divided
- ⅓ cup pumpkin puree
- Pinch of salt
- 2 teaspoons unflavored gelatin
- 2 tablespoons water
Salted Caramel Mousse Layer
- 9 ounces white chocolate chips
- 1½ cups heavy cream, divided
- ⅓ cup thick salted caramel sauce
- Pinch of salt
- 2 teaspoons unflavored gelatin
- 2 tablespoons water
- 1 teaspoon pure vanilla extract (alcohol-free)
Chocolate Ganache & Decoration
- ½ cup heavy cream
- 3 ounces semi-sweet chocolate, finely chopped
- Whipped cream for piping
- Ground cinnamon for dusting
Instructions
Step 1: Master the Chocolate Cake
Preheat oven to 350°F and line a 9-inch pan with parchment paper.
Cream butter and both sugars until light and fluffy (about 5 minutes). Add egg and vanilla, beating until incorporated.
Sift together flour, cocoa, baking soda, and salt in a separate bowl. Alternate adding dry ingredients and buttermilk to the butter mixture, beginning and ending with dry ingredients.
Bake 22-25 minutes until a toothpick comes out with just a few moist crumbs. Cool completely before using.
Step 2: Prep Your Assembly Station
Set up a 9-inch springform pan or cake pan with removable bottom. Line the sides with acetate collar or parchment paper that extends above the rim—this creates those gorgeous smooth sides.
Place cake on a cardboard round, then into your prepared pan. This makes the final transfer so much easier.
Step 3: Make the Cinnamon Mousse (Your Template)
Combine cinnamon chips, pumpkin puree, ½ cup cream, and salt in a microwave-safe bowl. Microwave in 30-second intervals, stirring between, until smooth. Cool to room temperature.
Sprinkle gelatin over water in a small bowl and let bloom. Microwave bloomed gelatin for 15 seconds until melted, then whisk into cooled cinnamon mixture along with ground cinnamon.
Whip remaining 1 cup cream to firm peaks. Fold half the whipped cream into cinnamon mixture, then gently fold in remaining cream.
Spread over cake and refrigerate 25 minutes until set enough for the next layer.
Step 4: Repeat the Magic (Butterscotch Mousse)
Follow the exact same process with butterscotch chips, pumpkin puree, cream, and salt. Layer over cinnamon mousse and refrigerate again.
Step 5: Final Mousse Layer (Salted Caramel)
Same technique with white chocolate chips, cream, caramel sauce, salt, and vanilla. Layer over butterscotch mousse and refrigerate at least 30 minutes.
Step 6: The Ganache Crown
Heat cream to a simmer, then pour over chopped chocolate. Whisk until smooth and glossy. Let cool slightly, then pour over cake and spread to edges. Refrigerate at least 4 hours or overnight.
Step 7: The Grand Reveal
Remove from pan and unwrap collar. Pipe whipped cream rosettes around the edge, dust with cinnamon, and top with decorative candies if desired.
Why This Cake Is Worth The Effort
Ultimate showstopper: This is the cake that makes people gasp when you bring it out. Instagram-worthy doesn’t even cover it.
Make-ahead miracle: Actually improves over 2-3 days in the fridge as flavors meld together.
Perfect slicing: When chilled and cut with a hot, clean knife, you get gorgeous, defined layers every time.
Flavor complexity: Each bite hits different notes—chocolate, cinnamon warmth, pumpkin earthiness, butterscotch richness, and caramel sweetness.
Pro Tips for Mousse Success
Temperature control: Let each melted mixture cool to room temperature before adding gelatin—hot mixtures kill gelatin’s setting power.
Gelatin technique: Always bloom gelatin in cold water first, then melt briefly. This prevents lumps and ensures smooth mousse.
Whipped cream consistency: Firm peaks hold up better in mousse than soft peaks. Don’t overwhip though—you’ll get butter!
Layer patience: Let each mousse layer set before adding the next. Rushing creates muddy, mixed layers instead of distinct ones.
Cutting strategy: Use a large, sharp knife dipped in warm water and wiped clean between cuts for perfect slices.
Complete FAQ
Can I make this smaller?
Cut the recipe in half and use a 6-inch pan. Reduce cake baking time and watch carefully for doneness.
What if I can’t find specialty chips?
Use white chocolate chips and add extracts—cinnamon extract for the first layer, butterscotch extract for the second. Start with 1 teaspoon and adjust to taste.
Can I make this without gelatin?
The gelatin is what makes the mousse set properly and hold its shape. Without it, you’ll have more of a pudding consistency.
How far ahead can I make this?
Up to 3 days ahead! The flavors actually improve as they meld together in the fridge.
My mousse layer is too soft—what happened?
Either the base mixture was too warm when you added gelatin, or the gelatin wasn’t properly bloomed and melted. Make sure gelatin dissolves completely and base mixture is room temperature.
This pumpkin chocolate mousse cake is what happens when you decide that regular desserts just aren’t impressive enough. It’s complex, beautiful, and guaranteed to make you the hero of any gathering. Plus, once you master this technique, you can create endless flavor variations. Now go forth and create some serious dessert magic!







