
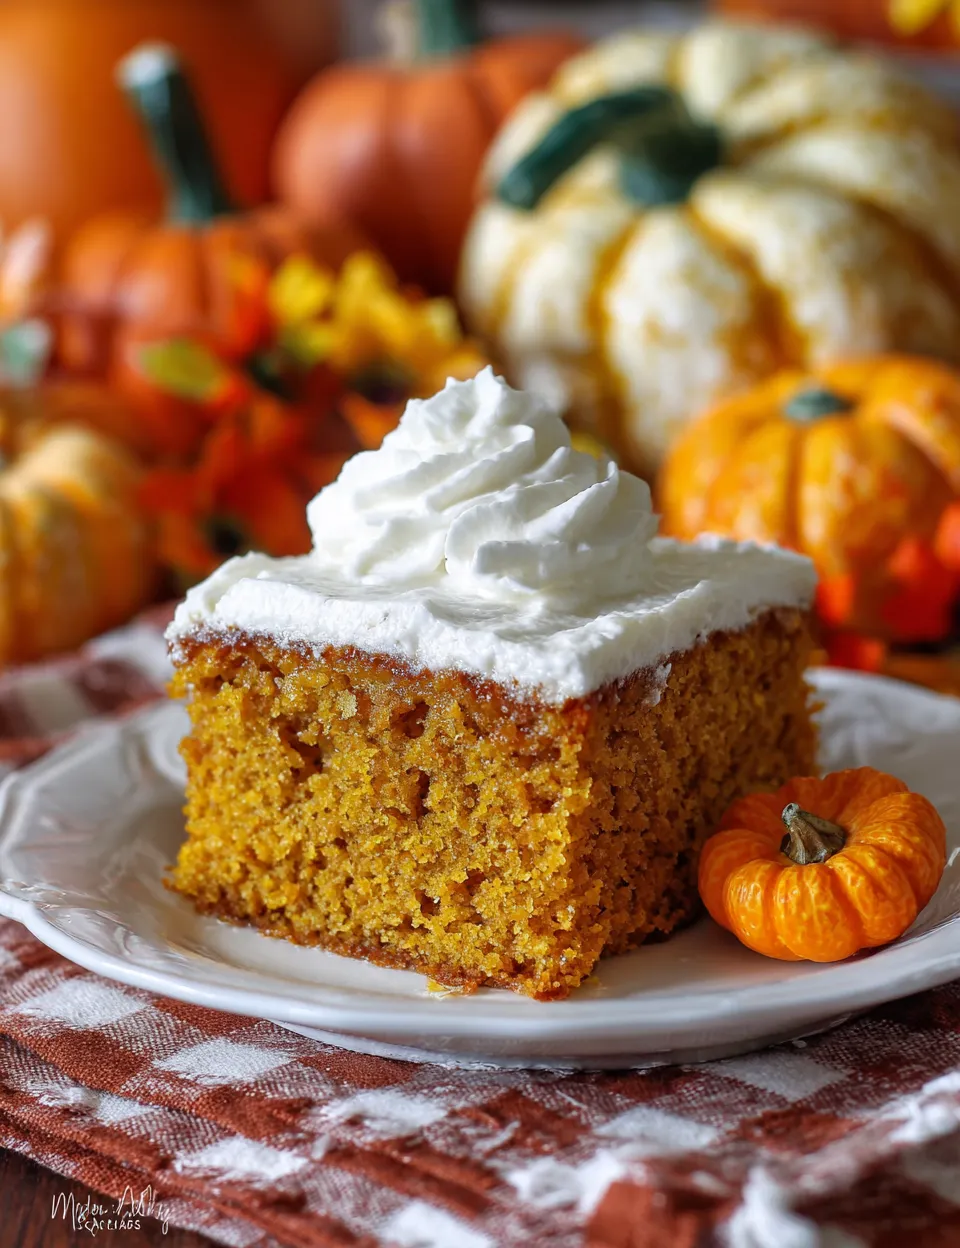
This foolproof pumpkin dump cake delivers all the cozy flavors of traditional pumpkin pie with zero fuss – perfect for busy holiday hosts who want impressive results without the stress.
When October rolls around and my neighbor starts asking for “that amazing pumpkin dessert” from last year’s potluck, I know it’s time to share this game-changing recipe. During my years working in restaurant kitchens, I learned that the best desserts often come from the simplest techniques, and this pumpkin pie dump cake proves exactly that.
Why This Pumpkin Dump Cake Works Every Time
This recipe solves the biggest challenge busy families face during fall entertaining – creating a show-stopping dessert without spending hours in the kitchen. After testing this recipe countless times for family gatherings and community events, I’ve perfected every detail to ensure consistent, restaurant-quality results.
The magic happens when pumpkin pie filling meets buttery cake mix in one pan, creating layers of texture that taste like you spent all day baking. My culinary training taught me that great desserts balance sweet, spiced, and creamy elements – and this dump cake delivers all three effortlessly.
What Makes This Recipe Special
No mixing required: Simply layer ingredients and let the oven work its magic
Feeds a crowd: Perfect 9×13 pan serves 12+ people generously
Make-ahead friendly: Tastes even better the next day
Beginner-proof: Impossible to mess up with proper layering
Budget-conscious: Uses pantry staples and one can of pumpkin
During those hectic weeks when I’m managing work deadlines and holiday prep, recipes like this keep me sane. The easy pumpkin pasta might be my weeknight go-to, but this dump cake is my secret weapon for impressive entertaining.
Essential Ingredients for Perfect Results
Pumpkin Layer Foundation
- 1 can (15 oz) pumpkin puree – Pure pumpkin, not pie filling
- 1 can (12 oz) evaporated milk – Creates rich, creamy texture
- 3 large eggs – Room temperature for best mixing
- 3/4 cup granulated sugar – Balances pumpkin’s earthiness
- 1 teaspoon vanilla extract – Pure extract makes a difference
Signature Spice Blend
- 1 1/2 teaspoons cinnamon – The star of fall baking
- 1/2 teaspoon ginger – Adds warmth and depth
- 1/4 teaspoon nutmeg – Freshly grated if possible
- 1/4 teaspoon cloves – Use sparingly for best balance
- 1/2 teaspoon salt – Enhances all other flavors
Cake Layer Magic
- 1 box yellow cake mix – Any brand works perfectly
- 1 cup butter – Melted, for easy distribution
- 1/2 cup chopped pecans – Optional but recommended
Professional tip: I always use butter instead of margarine – my restaurant experience showed me that real butter creates superior flavor and texture in baked goods.
Step-by-Step Instructions for Success
Preparation Phase
Preheat oven to 350°F and grease a 9×13 inch baking pan thoroughly. After years of hosting holiday dinners, I’ve learned that proper pan preparation prevents sticking disasters.
Creating the Pumpkin Base
In a large mixing bowl, whisk together pumpkin puree, evaporated milk, eggs, sugar, and vanilla until completely smooth. The mixture should have no lumps – this creates the silky texture that makes people think you made pie from scratch.
Add all spices and salt, whisking until evenly distributed. During my culinary training, we learned that spices bloom better when mixed thoroughly into wet ingredients rather than just sprinkled on top.
Assembly Technique That Never Fails
Pour the pumpkin mixture into your prepared baking pan, spreading evenly to all corners. This becomes your creamy bottom layer.
Sprinkle the entire box of cake mix evenly over the pumpkin layer. Don’t stir – the magic happens when these layers stay separate during baking.
Drizzle melted butter evenly across the cake mix, ensuring every spot gets coverage. Sprinkle pecans over the entire surface for added texture and visual appeal.
Baking for Perfect Texture
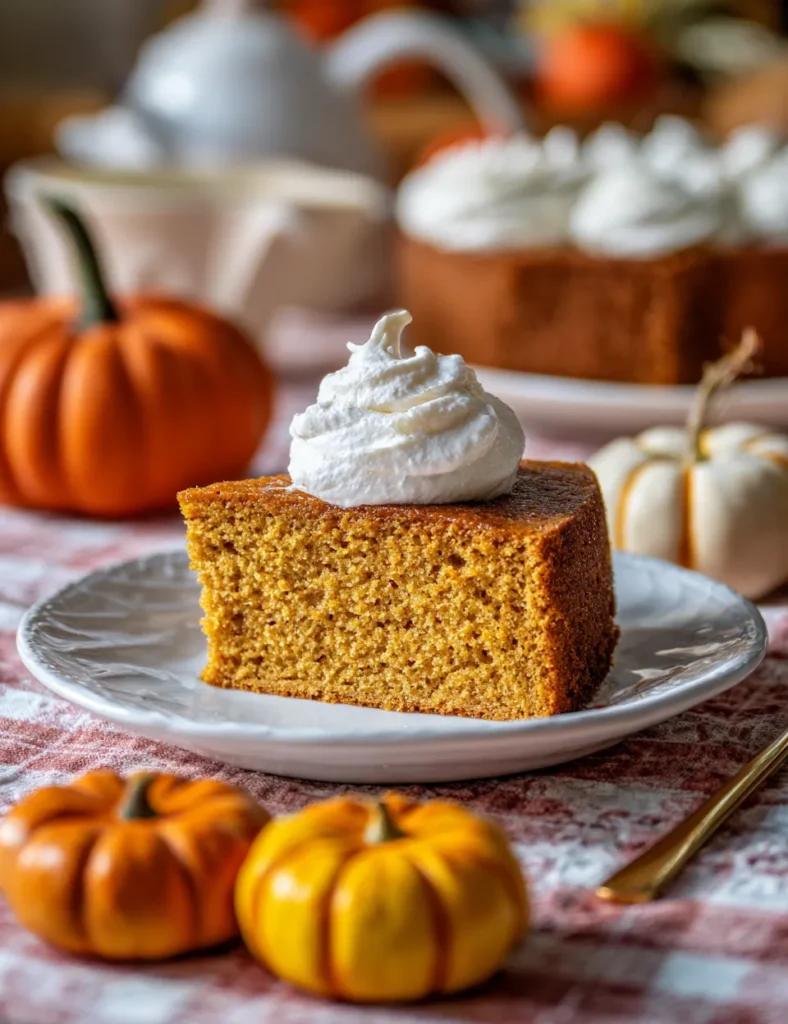
Bake for 50-60 minutes until the top is golden brown and a toothpick inserted in center comes out with just a few moist crumbs. The edges should pull slightly away from the pan.
My testing showed that underbaking leaves the middle too wet, while overbaking creates a tough texture. Set your timer for 50 minutes, then check every 5 minutes until perfectly done.
Cooling and Serving Guidelines
Allow the dump cake to cool completely in the pan – at least 2 hours at room temperature. This cooling time lets the layers set properly, creating distinct textures that make each bite interesting.
For holiday entertaining, I often make this the day before serving. The flavors meld beautifully overnight, and you can focus on other dishes on the actual day.
Serving Suggestions That Impress
Classic Presentations
- Vanilla ice cream – The temperature contrast is divine
- Whipped cream dollop – Light and airy balance
- Caramel sauce drizzle – Adds elegant restaurant touch
Creative Variations
This base recipe adapts beautifully to different preferences. My healthy pumpkin cheesecakes taught me that pumpkin pairs wonderfully with cream cheese – try swirling in softened cream cheese before baking.
For chocolate lovers, substitute chocolate cake mix and add mini chocolate chips. The combination reminds me of the pumpkin cookies with cream cheese frosting that always disappear first at bake sales.
Storage and Make-Ahead Tips
Refrigerator Storage
Cover tightly and refrigerate for up to 5 days. The texture actually improves as flavors meld together.
Freezing Instructions
Wrap individual portions in plastic wrap, then foil. Freeze for up to 3 months. Thaw overnight in refrigerator before serving.
Make-Ahead Strategy
Prepare completely up to 2 days ahead. Store covered at room temperature for same-day serving, or refrigerate for longer storage.
Troubleshooting Common Issues
Soggy Bottom Prevention
Ensure your oven is fully preheated and bake on the center rack. If your kitchen tends to be humid, extend baking time by 5-10 minutes.
Dry Top Layer Solutions
If the cake mix layer seems too dry during baking, tent loosely with foil for the final 15 minutes. This prevents over-browning while allowing proper cooking.
Even Browning Techniques
Rotate the pan halfway through baking for even color development, especially if your oven has hot spots.
Perfect Occasions for This Dessert
This dump cake shines at fall gatherings, Thanksgiving dinners, and holiday potlucks. It travels well and serves a crowd, making it ideal for office parties and community events.
The warm spices make it perfect alongside other autumn favorites like maple pumpkin donuts for a complete fall dessert spread.
Nutritional Benefits Worth Noting
Pumpkin provides beta-carotene, fiber, and potassium while the eggs add protein. Using evaporated milk instead of heavy cream reduces fat content without sacrificing richness.
Seasonal Timing for Best Results
Peak season: October through December
Ingredient availability: Canned pumpkin stocks are highest in fall
Holiday planning: Perfect for Thanksgiving, Christmas gatherings
The beauty of this recipe lies in its accessibility – you can find all ingredients year-round, but the flavors shine brightest during autumn’s cozy season.
Frequently Asked Questions
Q: Can I use fresh pumpkin instead of canned?
A: Yes, use 1 3/4 cups fresh pumpkin puree. Make sure it’s well-drained to avoid excess moisture that can make the dessert soggy.
Q: What if I don’t have evaporated milk?
A: Substitute with 3/4 cup heavy cream plus 1/4 cup whole milk. The texture will be slightly different but still delicious.
Q: Can this be made gluten-free?
A: Absolutely! Use your favorite gluten-free cake mix. The results are just as impressive as the traditional version.
Q: How do I know when it’s perfectly done?
A: The top should be golden brown and spring back lightly when touched. A toothpick should come out with just a few moist crumbs.
Q: Can I double this recipe for a larger crowd?
A: Yes, use two 9×13 pans rather than one larger pan. Baking time remains the same, but check both pans as ovens can have hot spots.
Final Success Tips
After making this recipe for countless family dinners and potluck contributions, I’ve learned these key points ensure perfect results every time:
- Don’t skip the cooling time – rushing leads to messy servings
- Use real butter for superior flavor and texture
- Trust the process – resist the urge to stir layers together
- Test doneness properly – the center should be just set, not firm
This foolproof pumpkin pie dump cake proves that impressive desserts don’t require complicated techniques. Whether you’re feeding your own family or contributing to a holiday gathering, this recipe delivers consistently delicious results that keep people coming back for more.
The combination of familiar flavors presented in an unexpected format makes this dessert memorable enough to become your signature fall contribution. After years of professional cooking and home entertaining, I can confidently say this recipe belongs in every busy cook’s repertoire.







