
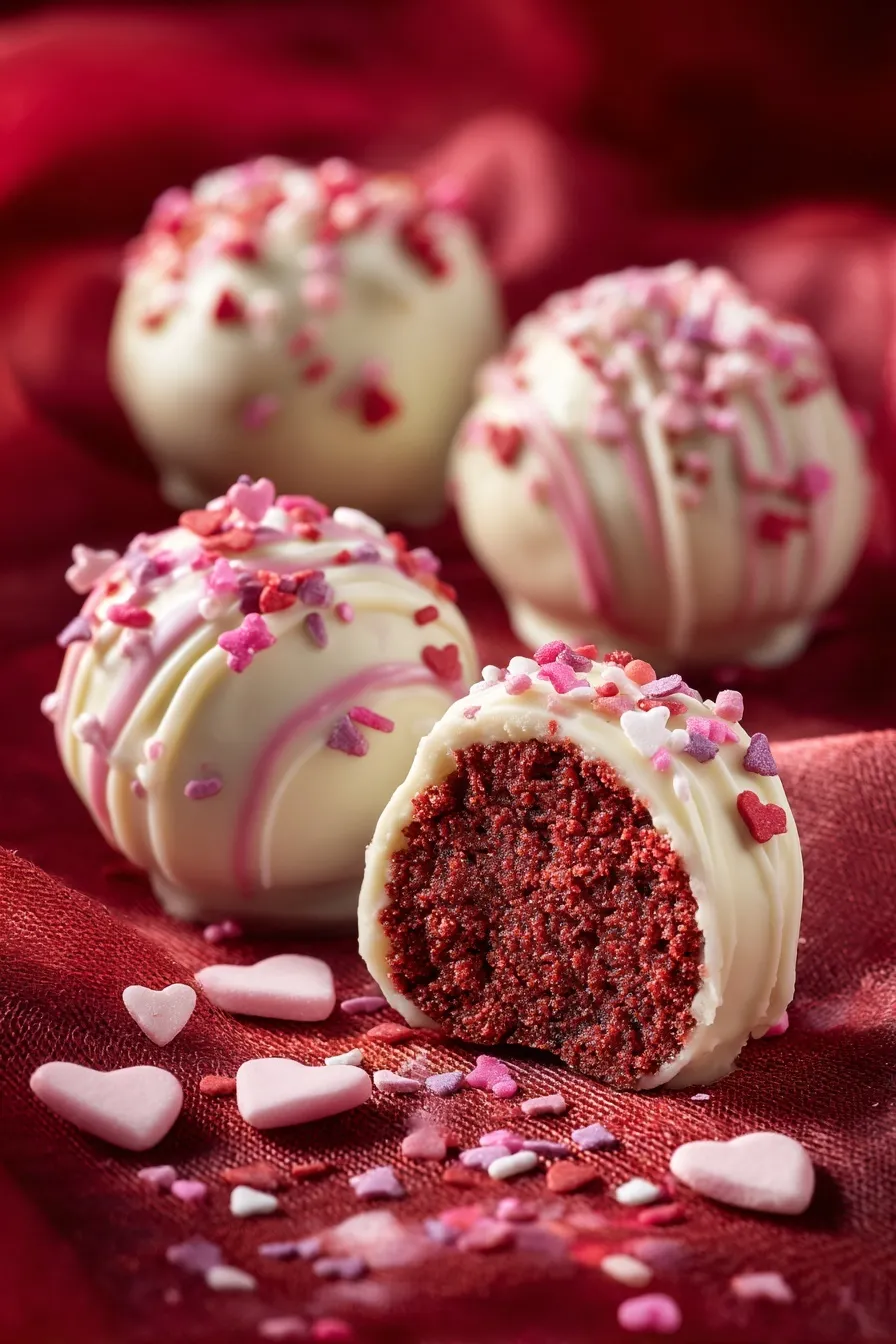
Red velvet cake balls are elegant little truffles coated in white chocolate that melt in your mouth. You’re mixing crumbled red velvet cake with cream cheese frosting, rolling them into perfect spheres, then dipping them in chocolate for the prettiest Valentine’s or Christmas treat. I’ve made these at least 50 times and they disappear at every single party.
Since you’re here, make sure to check out these related recipes:
- Red Velvet Cream Cheese Cookies
- Little Debbie Christmas Tree Cake Truffles
- No Bake Pumpkin Cheesecake Balls
- Cookie Dough Truffles
- Red Velvet Crinkle Cookies
Why These Red Velvet Cake Balls Work
Want to know why everyone goes crazy for these gorgeous truffles? The combination of tangy cream cheese and rich chocolate creates an addictive bite-sized treat.
- Perfect texture balance from the moist cake mixed with cream cheese frosting that creates a truffle-like consistency
- Elegant presentation with smooth white chocolate coating that makes them look bakery-quality
- Easy to customize since you can drizzle dark chocolate, add sprinkles, or switch up the coating flavors
- Make-ahead friendly because freezing them before dipping makes the whole process easier and they store beautifully
Ingredients You’ll Need
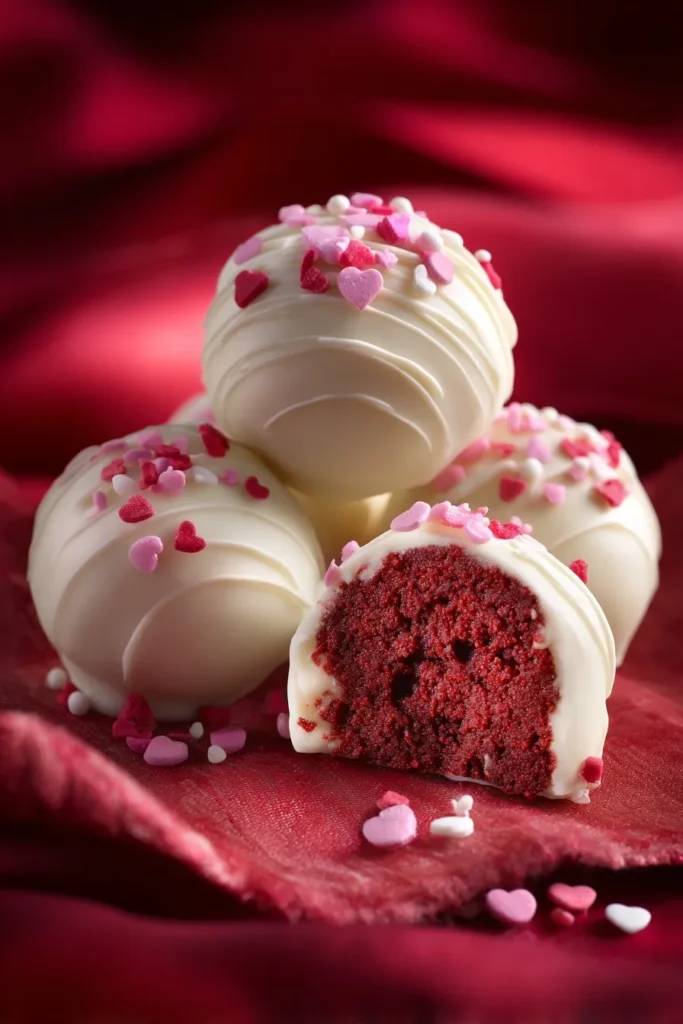
Ready to make the best red velvet cake balls? Here’s everything you need for these elegant truffles that look impressive but are surprisingly simple.
For the cake balls:
- 1 box red velvet cake mix (plus ingredients listed on box: eggs, oil, water)
- 1 to 1 1/3 cups cream cheese frosting (store-bought or homemade)
- 24 ounces white chocolate or vanilla almond bark
- Sprinkles or dark chocolate for decorating (optional)
The red velvet cake mix is honestly perfect here because I can’t bring myself to add that much red food coloring to anything homemade. The box mix gives you consistent results every time with that gorgeous color.
Cream cheese frosting works best because the tangy flavor complements the red velvet perfectly. You might not need the full amount—start with 1 cup and add more if your mixture feels too dry.
White chocolate or vanilla almond bark melts smoothly and creates that beautiful coating. Almond bark is actually easier to work with than chocolate chips since it melts to the perfect consistency without tempering.
Step-by-Step Instructions
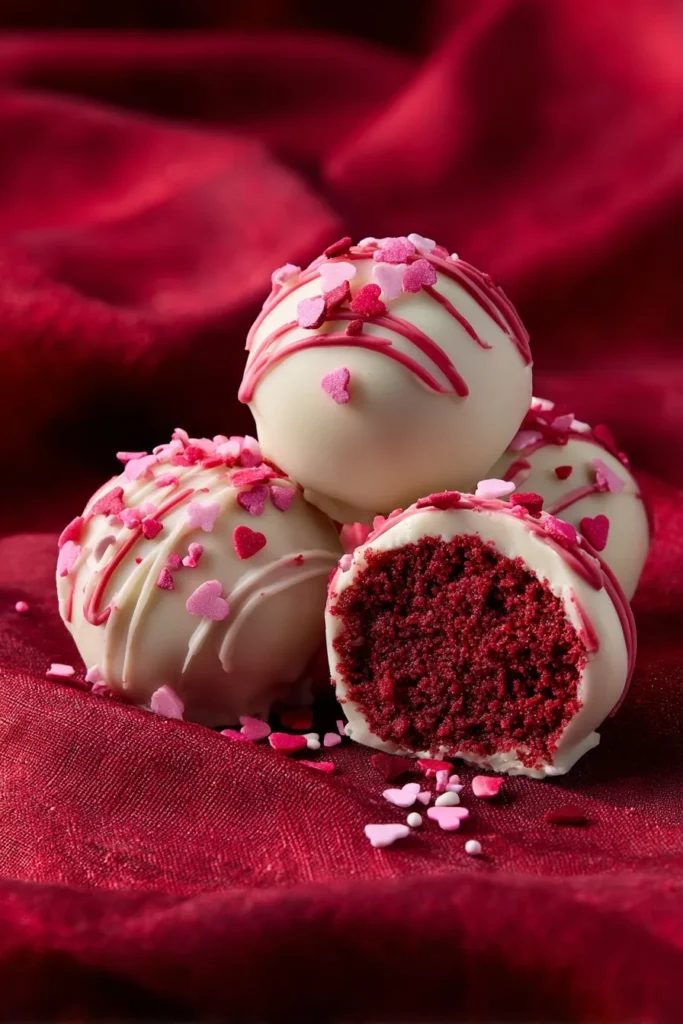
1. Bake the cake according to package directions and let it cool completely on a wire rack. Trying to work with warm cake will create a mushy mess instead of nice firm balls.
2. Crumble the cooled cake into a large mixing bowl, breaking it up with your hands or a fork until there are no large chunks left. You want fine, even crumbs throughout.
3. Add 1 cup of frosting and mix with a wooden spoon or electric mixer until combined. The mixture will look dry at first but give it 5 minutes to let the cake absorb moisture.
4. Check the consistency after resting—it should feel like stiff cookie dough that holds together when squeezed. Add more frosting a spoonful at a time if it’s still too crumbly.
5. Roll into 1-inch balls using your palms to create smooth, round shapes. Place them on a parchment-lined baking sheet as you go, spacing them so they don’t touch.
6. Freeze for 1 hour until completely solid. Freezing is crucial because it prevents the balls from falling apart when you dip them in warm chocolate.
7. Melt the white chocolate in a double boiler over low heat, stirring constantly until smooth. You can also microwave in 30-second bursts, stirring between each interval.
8. Dip each frozen ball using a toothpick or fork, coating it completely in melted chocolate. Tap off excess chocolate gently against the bowl’s edge.
9. Place on parchment paper to harden, adding sprinkles immediately if using. The chocolate sets quickly on the frozen balls so work fast with decorations.
10. Drizzle with dark chocolate if desired once the white chocolate hardens completely. Use a fork or piping bag for pretty decorative lines across the top.
11. Store in the fridge for up to 2 days or freeze for several weeks. They’re honestly best served slightly chilled since the coating stays crisp.
Essential Equipment
Double Boiler
A double boiler melts chocolate gently without burning or seizing up. You can make your own by placing a heat-safe bowl over a pot of simmering water—works perfectly every time.
Cookie Scoop (1-inch)
A small cookie scoop creates uniformly sized balls that look professional and dip evenly. It’s so much faster than rolling by hand and gives you consistent results.
Parchment Paper (PREMIUM)
Quality parchment paper prevents chocolate-coated balls from sticking when they harden. Reusable silicone mats work too, but parchment makes cleanup easier for sticky projects like this.
What to Serve with Red Velvet Cake Balls

Looking for ways to serve these gorgeous truffles? I love creating dessert displays that make everyone smile at parties and gatherings.
Arrange them on a tiered serving platter alongside Christmas Gooey Butter Cookies and Peppermint Brownies for a holiday dessert table. The mix of textures and flavors keeps guests coming back for more.
Pair these with hot chocolate or coffee for a cozy winter treat. The rich chocolate coating melts slightly in your mouth when you take a sip of hot coffee—it’s honestly the best combination.
Create a Valentine’s dessert spread by including Strawberry Crinkle Cookies and Pink Velvet Layer Cake to keep the red and pink theme going. Your guests will love the variety of sweet treats.
Storage and Reheating Guide
Refrigerator Storage
Store red velvet cake balls in an airtight container with parchment paper between layers to prevent sticking. They’ll stay fresh in the fridge for up to 2 days but honestly taste best within 24 hours.
Freezer Storage
Freeze cake balls in a single layer on a baking sheet for 2 hours until solid, then transfer to a freezer-safe container. They’ll keep beautifully for several weeks—just thaw at room temperature for 15-20 minutes before serving.
Serving Instructions
Serve these truffles slightly chilled straight from the fridge since the coating stays crisp and the inside stays perfectly soft. Room temperature works too but the chocolate coating may get soft in warm rooms.
Red Velvet Cake Balls Variations
Want to customize these elegant truffles for different occasions? Here are my favorite ways to switch things up and make them special.
Try dipping half in white chocolate and half in dark chocolate for variety. I love offering both options at parties since everyone has their chocolate preference.
Add peppermint extract to the cake mixture for a holiday twist that tastes like chocolate peppermint bark. Use about 1/2 teaspoon and crush candy canes to sprinkle on top.
Make them mini by rolling 1/2-inch balls instead of 1-inch. You’ll get twice as many truffles and they’re perfect for dessert platters where people want to sample lots of treats.
Use homemade red velvet cake instead of a mix if you prefer. Simply bake your favorite 2-layer red velvet cake recipe and proceed with step 2 once it’s completely cooled.
Pro Tips & Tricks
Want to nail these red velvet cake balls on your first try? Here’s what I’ve learned after making them dozens of times for parties.
Freeze before dipping because frozen balls stay intact when you dip them in warm chocolate. Room temperature balls fall apart or get mushy—trust me on this one.
Use a toothpick for dipping by inserting it into each ball and coating in chocolate. The frozen ball won’t fall off the toothpick and the chocolate flash-freezes to create a smooth coating.
Work quickly with decorations since chocolate hardens fast on frozen balls. Have sprinkles or decorations ready before you start dipping so you can add them immediately.
Don’t add too much frosting or your mixture will be too wet and sticky to roll. Start with 1 cup, let it rest 5 minutes, then add more only if needed.
Let cake cool completely before crumbling or the moisture will make your mixture too wet. I usually bake the cake the day before and let it sit overnight.
Frequently Asked Questions
Can I use homemade red velvet cake?
Absolutely! Bake your favorite 2-layer red velvet cake recipe, let it cool completely, then proceed with crumbling and mixing in frosting. The results taste amazing with homemade cake.
Why do my cake balls fall apart when dipping?
They’re probably not frozen solid enough or your mixture has too much frosting. Make sure balls freeze for at least 1 hour and use just enough frosting to bind the crumbs.
Can I use chocolate chips instead of almond bark?
Yes, but you’ll need to add 1 tablespoon of coconut oil per cup of chips to thin the chocolate. Almond bark melts to the perfect consistency without any additions.
How far ahead can I make these?
You can make the cake balls up to 2 days ahead and keep them in the fridge, or freeze them for several weeks. Just dip them in chocolate the day of serving for best results.
What’s the best way to drizzle chocolate?
Melt dark chocolate and transfer to a small ziplock bag, snip off a tiny corner, and drizzle back and forth over hardened white chocolate. A fork also works great for creating decorative lines.
Can I make these without cream cheese frosting?
Yes, but cream cheese frosting works best for red velvet since the tangy flavor complements the cake. You could use vanilla buttercream but the taste won’t be as traditional.
Why You’ll Love This Recipe
Ready to make the prettiest truffles ever? These red velvet cake balls deliver rich flavor with an elegant presentation that impresses everyone.
They’re perfect for Valentine’s Day, Christmas parties, or any time you want something special. The smooth white chocolate coating and vibrant red cake create a stunning treat.
Grab your ingredients and get rolling because these gorgeous truffles disappear fast!
📌 Save this red velvet cake balls recipe for holidays—they’re guaranteed to be the star of any dessert table!







