
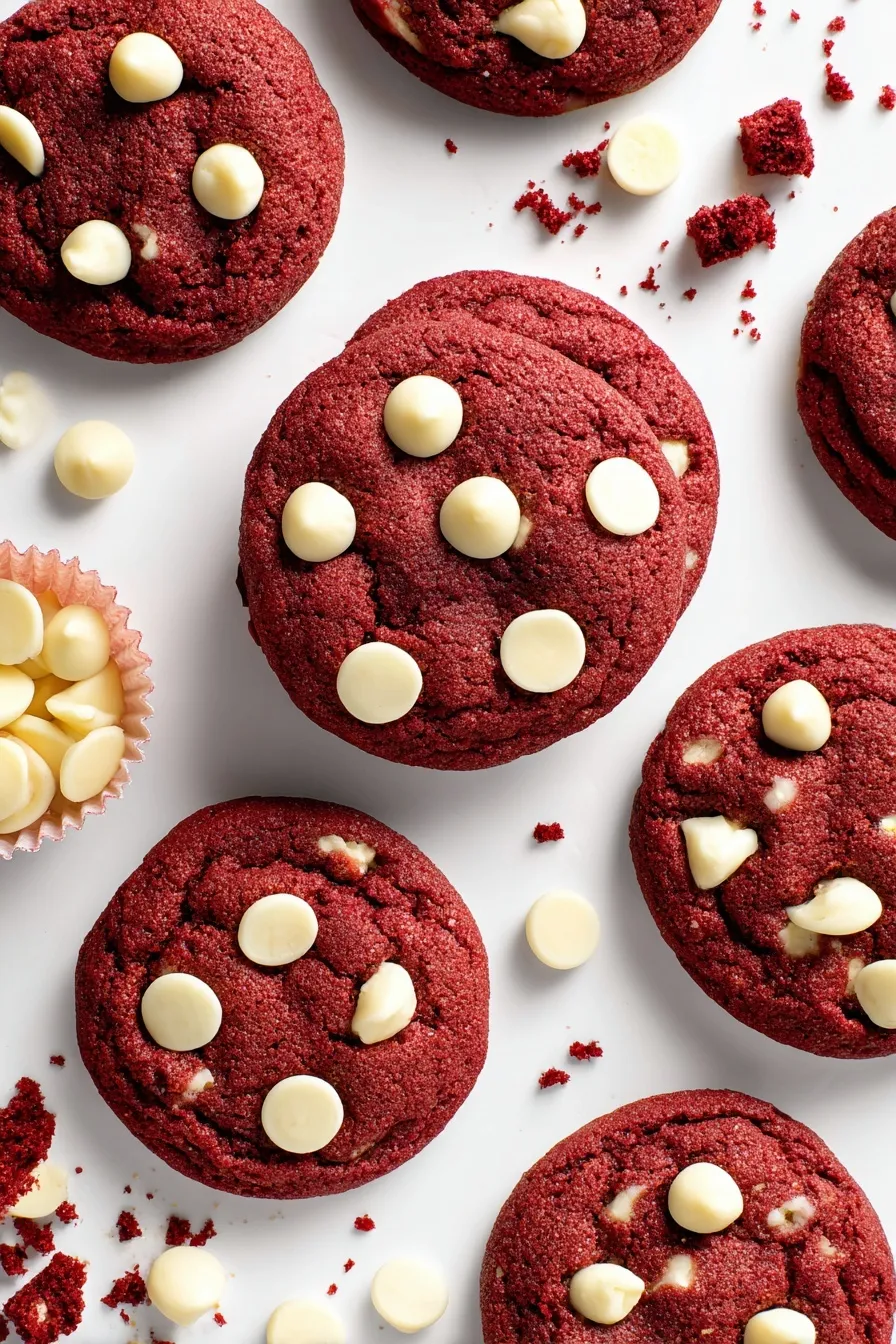
Red velvet white chocolate cookies are soft, fudgy, and loaded with melty white chocolate in every bite. The rich cocoa flavor meets sweet white chocolate chunks while that gorgeous red color makes them perfect for Valentine’s Day or Christmas. I’ve made these at least 30 times and they disappear within hours every single time.
Since you’re here, make sure to check out these related recipes:
- Christmas Cranberry Orange Cookies
- Gingerbread Cheesecake Cookies
- Brown Sugar Pop Tart Cookies
- Sour Cream Sugar Cookies
- Pink Velvet Layer Cake
Why These Red Velvet White Chocolate Cookies Work
Want to know why everyone goes crazy for these cookies? The combination of soft texture and rich flavor creates an addictive cookie you’ll make on repeat.
- Perfect soft and chewy texture from the right balance of butter and sugars that keeps edges slightly crisp while centers stay fudgy
- Rich red velvet flavor thanks to cocoa powder and that gorgeous red color that makes them look as good as they taste
- Melty white chocolate chunks create pockets of sweetness throughout every bite
- Easy to customize since you can swap chocolates, add nuts, or change up the color for any occasion
Ingredients You’ll Need
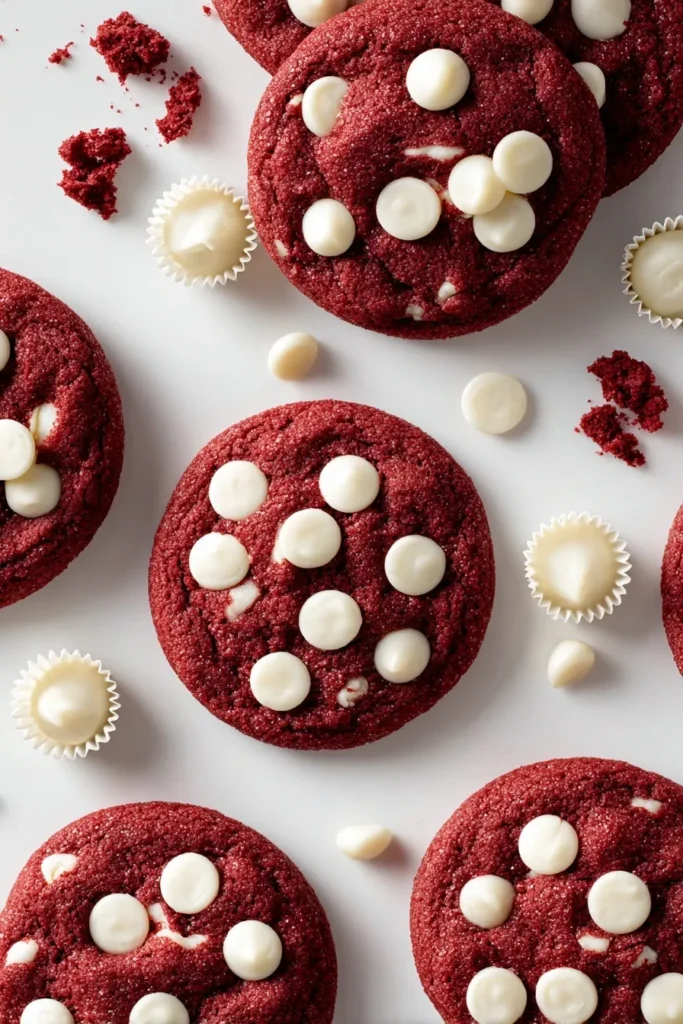
Ready to make the best red velvet white chocolate cookies? Here’s everything you need for soft, fudgy cookies loaded with white chocolate.
For the cookie dough:
- 1 cup unsalted butter (halal-certified), softened to room temperature
- 3/4 cup light brown sugar, packed
- 1/2 cup granulated sugar
- 2 large eggs
- 2 teaspoons vanilla extract
- 1 tablespoon red gel food coloring
- 2 3/4 cups all-purpose flour
- 1/4 cup natural unsweetened cocoa powder
- 1 teaspoon baking soda
- 1/4 teaspoon salt
- 1 1/2 cups white chocolate, chopped (or white chocolate chips)
The unsalted butter (halal-certified) at room temperature is crucial here because it creams properly with the sugars to create that light, fluffy texture. I pull mine out about two hours before baking so it’s soft enough to press your finger into easily.
Use gel food coloring instead of liquid because it gives you that vibrant red without thinning your dough. Liquid food coloring can make your cookies spread too much and lose their beautiful thick shape.
Step-by-Step Instructions

1. Preheat your oven to 350°F and line baking sheets with parchment paper or silicone mats. This prevents sticking and helps cookies bake evenly without burning the bottoms.
2. Cream the butter and sugars in a large bowl with a hand mixer or stand mixer on medium speed for about 2 minutes. The mixture should look light, fluffy, and slightly pale—this incorporates air for tender cookies.
3. Beat in the eggs and vanilla on low speed until fully incorporated. Add the red gel food coloring and continue beating until the batter turns a uniform, vibrant red color.
4. Whisk the dry ingredients together in a separate medium bowl—flour, cocoa powder, baking soda, and salt. This distributes everything evenly and prevents lumps in your dough.
5. Gradually add dry to wet ingredients on low speed, mixing just until combined. Don’t overmix or your cookies will turn out dense instead of soft and tender.
6. Fold in white chocolate gently, reserving about 1/4 cup of chunks for topping. Folding instead of mixing keeps the dough from getting overworked.
7. Scoop and roll the dough using a medium cookie scoop (about 1.5-2 tablespoons per cookie). Roll each ball between your palms until smooth—this creates bakery-style uniform cookies with pretty edges.
8. Space cookies about 2 inches apart on prepared baking sheets. They’ll spread slightly during baking so don’t crowd them or they’ll merge together.
9. Bake for 8-11 minutes until edges look slightly browned but centers still appear soft or slightly underdone. They’ll continue cooking as they cool on the pan.
10. Press reserved white chocolate gently on top of each hot cookie right after removing from the oven. This makes them look gorgeous and adds extra chocolate in every bite.
11. Cool on baking sheet for 5 minutes to let them firm up, then transfer to a wire cooling rack. Moving them too soon can cause breaking since they’re delicate when hot.
Essential Equipment
Stand Mixer or Hand Mixer
Creaming butter and sugar properly requires a good mixer to incorporate enough air. This creates that light, tender texture you want in soft cookies instead of dense pucks.
Cookie Scoop (Medium Size)
A 1.5-2 tablespoon spring-loaded scoop creates perfectly uniform cookies that bake evenly. It’s so much faster than using spoons and gives you professional-looking results every time.
Silicone Baking Mats (PREMIUM)
Reusable silicone mats ensure cookies release perfectly without sticking or burning. They’re honestly worth the investment if you bake cookies regularly since they last for years.
What to Serve with Red Velvet White Chocolate Cookies
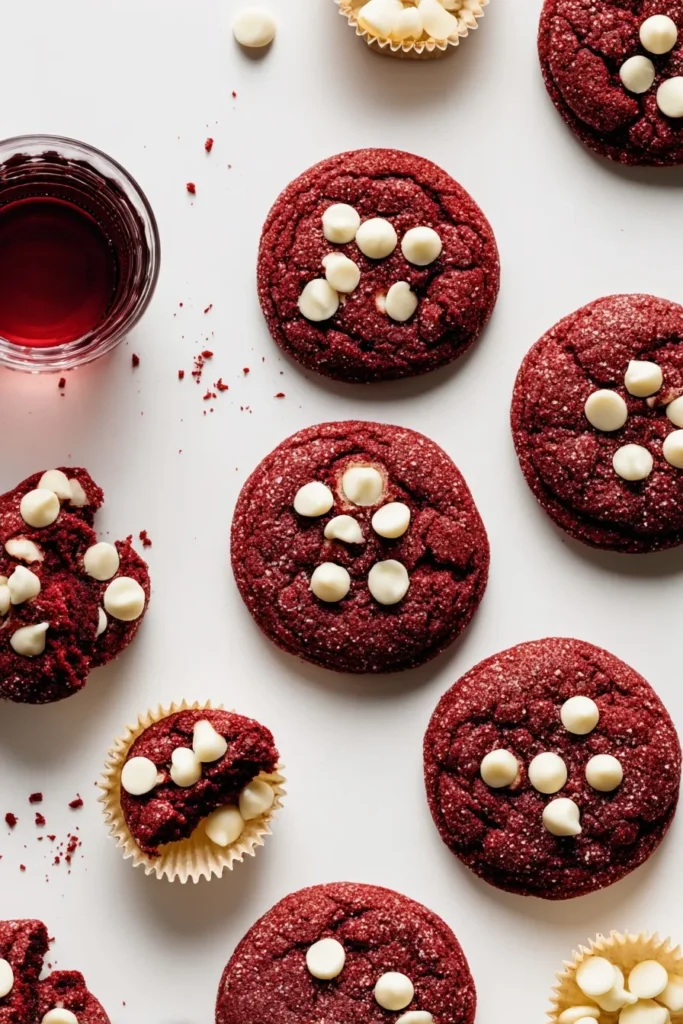
Looking for the perfect pairings for these gorgeous cookies? I love creating a full dessert spread that keeps everyone coming back for more.
Serve these alongside Christmas Gooey Butter Cookies for a texture contrast—the gooey centers play beautifully against these soft, fudgy cookies. Add Strawberry Crinkle Cookies to keep the red and pink color theme going for Valentine’s Day or Christmas.
For drinks, cold milk is classic, but I also love serving hot chocolate topped with whipped cream. The white chocolate in the cookies pairs perfectly with creamy, rich hot cocoa.
Create a cookie platter by including Cinnamon Roll Cookies and Sugar Cookie Cups for variety. Your guests will love having different flavors and textures to choose from.
Storage and Reheating Guide
Refrigerator Storage
Store completely cooled cookies in an airtight container with parchment paper between layers to prevent sticking. They’ll stay soft at room temperature for about 3 days or in the fridge for up to a week.
Freezer Storage
Scoop and roll cookie dough balls, then freeze on a lined baking sheet for 1-2 hours until solid. Transfer to a freezer-safe bag and store for up to 3 months—bake straight from frozen, adding 1-2 extra minutes to the baking time.
Reheating Instructions
Warm leftover cookies in the microwave for 10-15 seconds to soften them and make the white chocolate melty again. You can also heat them in a 300°F oven for about 5 minutes for that fresh-baked texture.
Red Velvet White Chocolate Cookies Variations
Want to customize these cookies for different occasions? Here are my favorite ways to switch things up and make them your own.
Try adding chopped pecans or walnuts for a lovely crunch that contrasts nicely with the soft cookie texture. I usually add about 1/2 cup of chopped nuts when I’m feeling fancy.
Make them dairy-free by using coconut oil instead of butter and dairy-free white chocolate chips. The texture changes slightly but they’re still delicious and work great for people with sensitivities.
Add extra color by sprinkling red sanding sugar or white chocolate chips on top before baking. This makes them even more festive for holidays and special occasions.
Create a small batch by halving the entire recipe if you’re baking just for yourself. You’ll get about 12-14 cookies instead of 24-27, which is perfect for satisfying a craving without overdoing it.
Pro Tips & Tricks
Want to nail these red velvet white chocolate cookies on your first try? Here’s what I’ve learned after making them dozens of times.
Use room temperature ingredients because butter and eggs at room temp mix more smoothly and create better texture. Cold ingredients don’t incorporate properly and can make your cookies dense.
Don’t overbake them or they’ll lose that soft, fudgy center. Pull cookies when edges are set but centers still look slightly underdone—they firm up perfectly as they cool.
Roll dough into smooth balls by gently rolling scooped dough between your palms. This creates uniform, bakery-style cookies with pretty edges instead of rough, uneven shapes.
Chill the dough for 15-30 minutes if your kitchen is warm or if dough feels too soft. This prevents excessive spreading and keeps cookies thick and beautiful.
Use gel food coloring instead of liquid for vibrant red without thinning your dough. Gel colors are concentrated so you need less and they won’t affect your cookie texture.
Frequently Asked Questions
Can I use milk chocolate instead of white chocolate?
Yes! Milk chocolate or dark chocolate chunks work great if you prefer a different flavor profile. Just keep in mind the sweetness level changes, so you might want to reduce the sugar slightly if using very bitter chocolate.
What’s the best way to get vibrant red color?
Use gel or paste food coloring instead of liquid—it’s more concentrated so you get deep red without adding extra moisture. Liquid colors can thin your dough and affect the texture.
How do I prevent cookies from spreading too much?
Make sure your butter is softened to room temperature but not melted or overly soft. Chilling the dough for 15-30 minutes before baking also helps control spreading and keeps cookies thick.
Can I freeze the cookie dough?
Absolutely! Scoop and roll dough balls, freeze until solid on a baking sheet, then transfer to a freezer bag. They’ll keep for up to 3 months and you can bake them straight from frozen anytime you want fresh cookies.
Why did my cookies turn out cakey instead of chewy?
Overbaking is usually the culprit—pull cookies when edges are set but centers still look soft. Using too much flour can also make them cakey, so measure carefully by spooning flour into cups and leveling off.
Can I make these vegan or dairy-free?
Yes! Use plant-based butter or coconut oil, flax eggs (1 tablespoon ground flaxseed + 3 tablespoons water per egg), and vegan white chocolate chips. The texture changes slightly but they’re still delicious.
Why You’ll Love This Recipe
Ready to bake the most gorgeous cookies ever? These red velvet white chocolate cookies deliver soft, fudgy texture with melty white chocolate in every bite.
They’re perfect for Valentine’s Day, Christmas, or any time you want something special. The vibrant red color and sweet white chocolate make them as beautiful as they are delicious.
Grab your ingredients and get baking because these cookies never last long!
📌 Save this red velvet white chocolate cookies recipe for holidays—they’re guaranteed to impress everyone!







