
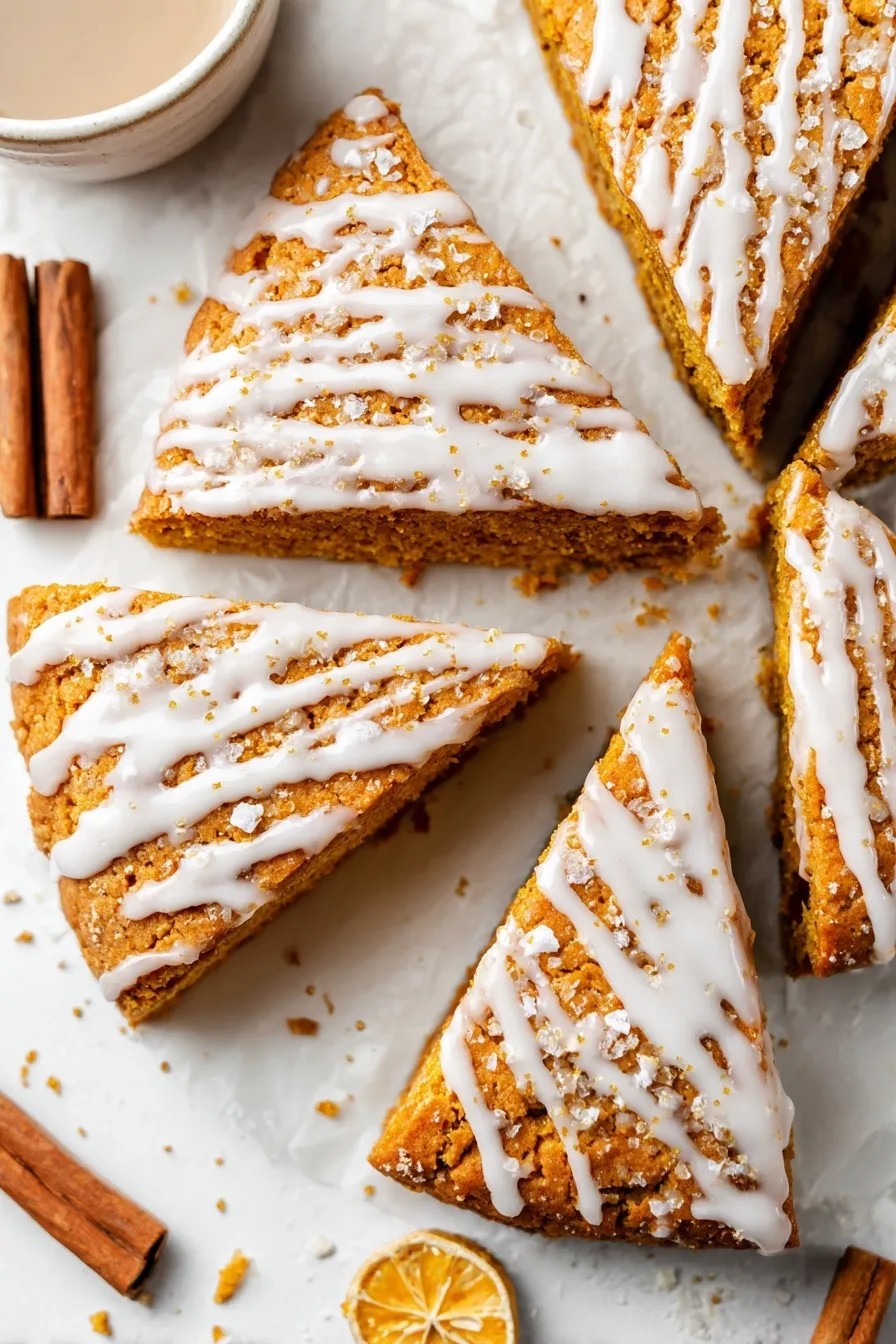
These copycat Starbucks pumpkin scones taste even better than the original – fluffy, spiced perfection with that iconic double glaze everyone loves.
Since you are here, make sure to check out this collection of fall bakery favorites:
- Pumpkin Chocolate Chip Scones
- Copycat Starbucks Pumpkin Cream Cheese Muffins
- Easy Cinnamon Twists Recipe
- Pumpkin Cream Cheese Danish
- Apple Cider Cupcakes
I’m still bitter about Starbucks discontinuing their pumpkin scones. Like, seriously Starbucks? You give us pumpkin spice lattes year-round now, but you take away the one fall pastry that actually tasted good? The audacity.
But here’s the thing – after making these copycat pumpkin scones at home, I’m actually grateful they discontinued them. Because these homemade versions are SO much better. My family devoured the entire batch in one afternoon, and my neighbor asked if I was opening a bakery (I’m considering it).
Why These Beat the Original Every Time
Starbucks pumpkin scones were good, but they had that “mass-produced” texture that never quite hit the mark. These homemade beauties are different. They’re tender, actually moist (shocking for scones!), and packed with real pumpkin flavor instead of just tasting like cinnamon with a hint of orange.
The secret weapon? That double glaze situation. The first layer is pure sweet vanilla heaven, and the second is this gorgeous pumpkin-spiced drizzle that makes them look absolutely bakery-professional.
Ingredients
For the Scones:
- 2½ cups all-purpose flour
- 1 tbsp baking powder
- ½ tsp baking soda
- ½ tsp salt
- 1 tsp ground cinnamon
- ¼ tsp ground nutmeg
- ¼ tsp ground ginger
- ½ cup unsalted butter, very cold and cubed
- ¾ cup pumpkin puree (NOT pumpkin pie filling!)
- ½ cup light brown sugar
- 1 large egg
- ¼ cup heavy cream, plus extra for brushing
For the Double Glaze:
- 2-2½ cups powdered sugar
- 4-5 tbsp heavy cream
- 1 tbsp pumpkin puree
- ¼ tsp ground cinnamon
Instructions
Step 1: Dry Ingredient Dream Team In a large bowl, whisk together flour, baking powder, baking soda, salt, cinnamon, nutmeg, and ginger. This spice blend is what makes them taste exactly like fall.
Step 2: Butter Magic Add those cold butter cubes and cut them into the flour mixture using a pastry cutter (or two butter knives if you’re fancy like that). Keep going until the biggest pieces are pea-sized. This is what creates those tender, flaky layers.
Step 3: Wet Ingredient Symphony In a separate bowl, whisk together pumpkin puree, brown sugar, egg, and heavy cream until smooth. No lumps allowed here, people.
Step 4: The Gentle Combination Add wet ingredients to dry ingredients and stir until JUST combined. The dough will be sticky and look a bit rough – that’s exactly what we want. Overmixing = tough scones, and nobody has time for that.
Step 5: Shape Like a Pro Turn the sticky dough onto a well-floured surface, sprinkle flour on top, and use floured hands to shape into an 8-inch disc. Cut into 8 wedges with a sharp knife.
Step 6: The Crucial Chill Transfer wedges to a parchment-lined baking sheet and chill in the fridge while your oven preheats to 400°F. This step prevents spreading and helps create height.
Step 7: Bake to Golden Perfection Brush tops with heavy cream (for that gorgeous golden color) and bake 12-15 minutes until a toothpick comes out clean and bottoms are lightly golden.
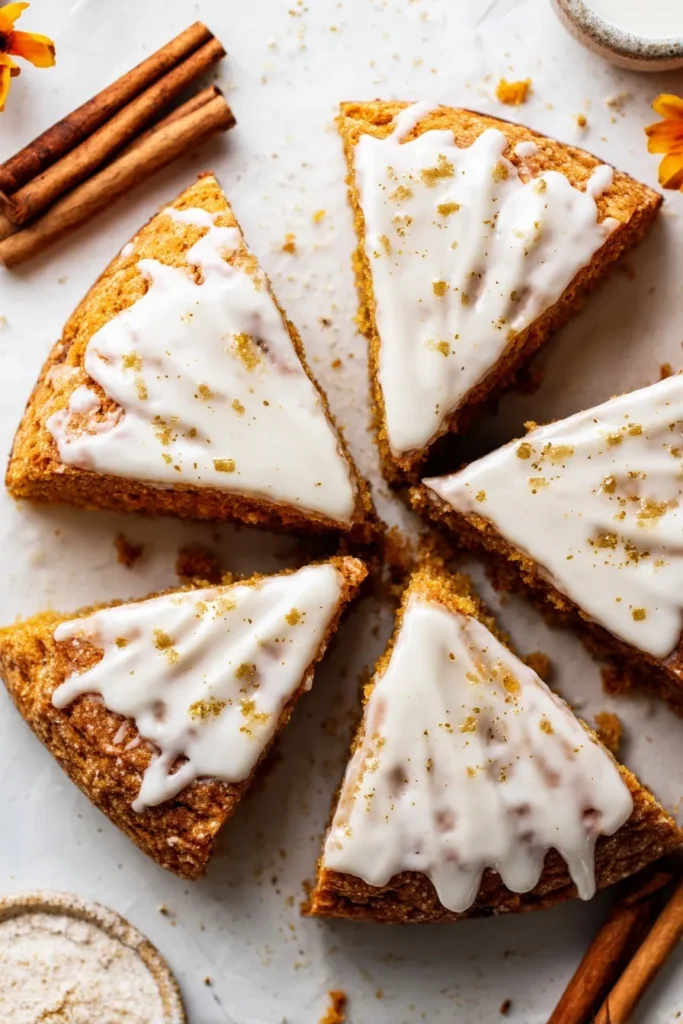
Step 8: Double Glaze Glory While scones bake, whisk 2 cups powdered sugar with heavy cream until spreadable. Once scones are completely cool, spread this first glaze over each one.
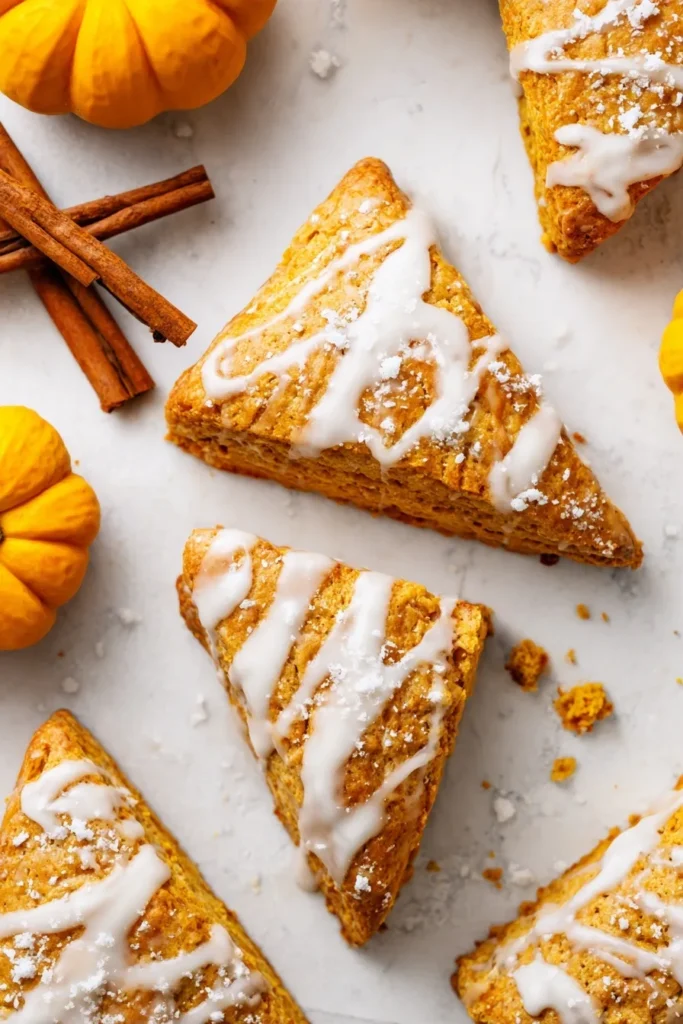
Step 9: The Pumpkin Finale Add pumpkin puree and cinnamon to remaining glaze. Drizzle this orange-y goodness over the set first layer in a zigzag pattern. Chef’s kiss
Pro Tips for Scone Perfection
Cold Butter is Non-Negotiable: Just like pie crust, cold butter creates steam pockets that make scones flaky. Room temperature butter = dense scones.
Don’t Overwork the Dough: Mix until you barely see flour streaks, then stop. Tough scones are the enemy of happiness.
Flour Everything: This dough is sticky by design. Flour your hands, flour your surface, flour your knife – embrace the flour life.
Chill Before Baking: Those few minutes in the fridge help the scones hold their shape and rise tall instead of spreading wide.
Troubleshooting Scone Disasters
Scones Are Dense: You overmixed the dough or your butter wasn’t cold enough. Next time, handle less and chill more.
Spreading Too Much: Dough was too warm when it went in the oven. Always chill those shaped scones before baking.
Glaze Too Thin: Add more powdered sugar gradually until it’s spreadable but not drippy.
Not Enough Pumpkin Flavor: Make sure you’re using pure pumpkin puree and consider adding an extra ¼ teaspoon of spices.
Customization Ideas for Your Inner Rebel
Chocolate Chip Upgrade: Fold in ½ cup mini chocolate chips because everything’s better with chocolate Maple Glaze: Replace some heavy cream with maple syrup in the glaze for extra fall vibes Cranberry Addition: Add ½ cup dried cranberries for tart contrast Orange Zest: Add 1 teaspoon orange zest to the dough for brightness Pecan Perfection: Sprinkle chopped toasted pecans on top before baking
Make-Ahead Magic for Busy Mornings
Freeze the Dough: Shape scones, freeze on baking sheet until solid, then store in freezer bags for up to 1 month. Bake straight from frozen, adding 2-3 extra minutes.
Make and Freeze Baked: Fully baked and glazed scones freeze beautifully for up to 2 months. Thaw overnight in the fridge.
Prep the Night Before: Make dough, shape, and refrigerate overnight. Bake fresh in the morning for that amazing smell to wake up to.
Storage That Actually Works
Room Temperature: Store in airtight container for up to 2 days (if they last that long) Freezer Method: Wrap individually after glazing sets completely Refresh Trick: Day-old scones can be warmed in a 300°F oven for 3-4 minutes to crisp up again
Why Homemade Wins Every Time
Let me break down why these destroy the Starbucks version:
- Actual Moisture: Real pumpkin puree creates tender, moist scones instead of dry hockey pucks
- Fresh Ingredients: You control every single ingredient – no preservatives or weird additives
- Perfect Spice Balance: Adjust the spices to your exact preferences
- Better Value: One batch costs less than two Starbucks scones
- Bragging Rights: You made these with your own hands!
Perfect Fall Occasions
These aren’t just for missing Starbucks runs. They’re perfect for:
- Weekend brunch with friends who’ll think you’re a baking goddess
- Fall potluck contributions that actually get eaten
- Cozy morning coffee dates at home
- Impressing your mother-in-law (works every time)
- Using up that can of pumpkin puree in your pantry
The Science Behind the Magic
The combination of baking powder AND baking soda gives these scones the perfect lift. The pumpkin puree adds natural moisture and subtle sweetness, while the brown sugar brings molasses notes that complement the spices beautifully.
The cold butter technique creates steam pockets during baking, resulting in those coveted flaky layers that make scones special instead of just sweet biscuits.
Honest Talk About This Recipe
Here’s the real deal – these pumpkin scones have completely ruined me for store-bought versions. The texture is everything scones should be: tender, slightly crumbly, but never dry. The flavor is pure fall comfort without being overwhelming.
The double glaze isn’t just for looks (though they do look bakery-professional). The first layer adds sweetness and moisture, while the pumpkin drizzle brings extra flavor and that signature Starbucks appearance.
This recipe is forgiving enough for beginners but impressive enough to wow experienced bakers. Plus, your house will smell absolutely incredible while they’re baking – better than any candle you could buy.
Whether you’re mourning the loss of Starbucks pumpkin scones or just want to fill your fall mornings with something special, these copycat beauties deliver every single time. They’re comfort food that happens to be socially acceptable for breakfast, and honestly, what more could you want?
So grab that pumpkin puree, get your hands floury, and prepare to make the best fall decision ever. Trust me, once you try these, you’ll never miss the Starbucks version again! 🎃
Complete FAQs
Q: Can I use pumpkin pie spice instead of individual spices? A: Absolutely! Use 1½ teaspoons of pumpkin pie spice to replace the cinnamon, nutmeg, and ginger. The flavor will be slightly different but still delicious.
Q: What if I don’t have heavy cream? A: You can substitute with whole milk, but the scones will be slightly less tender. For the glaze, milk works fine but may need extra powdered sugar to thicken.
Q: Can I make these without a pastry cutter? A: Yes! Use two butter knives in a crisscross motion, or even your fingers to rub the butter into the flour. Just work quickly to keep the butter cold.
Q: How do I know when the scones are done? A: They should be lightly golden on the bottom and a toothpick inserted in the center should come out clean or with just a few moist crumbs.
Q: Can I cut these into different shapes? A: Definitely! Try squares, rectangles, or even use a large round cutter. Just keep the thickness similar (about 1 inch) for even baking.







