
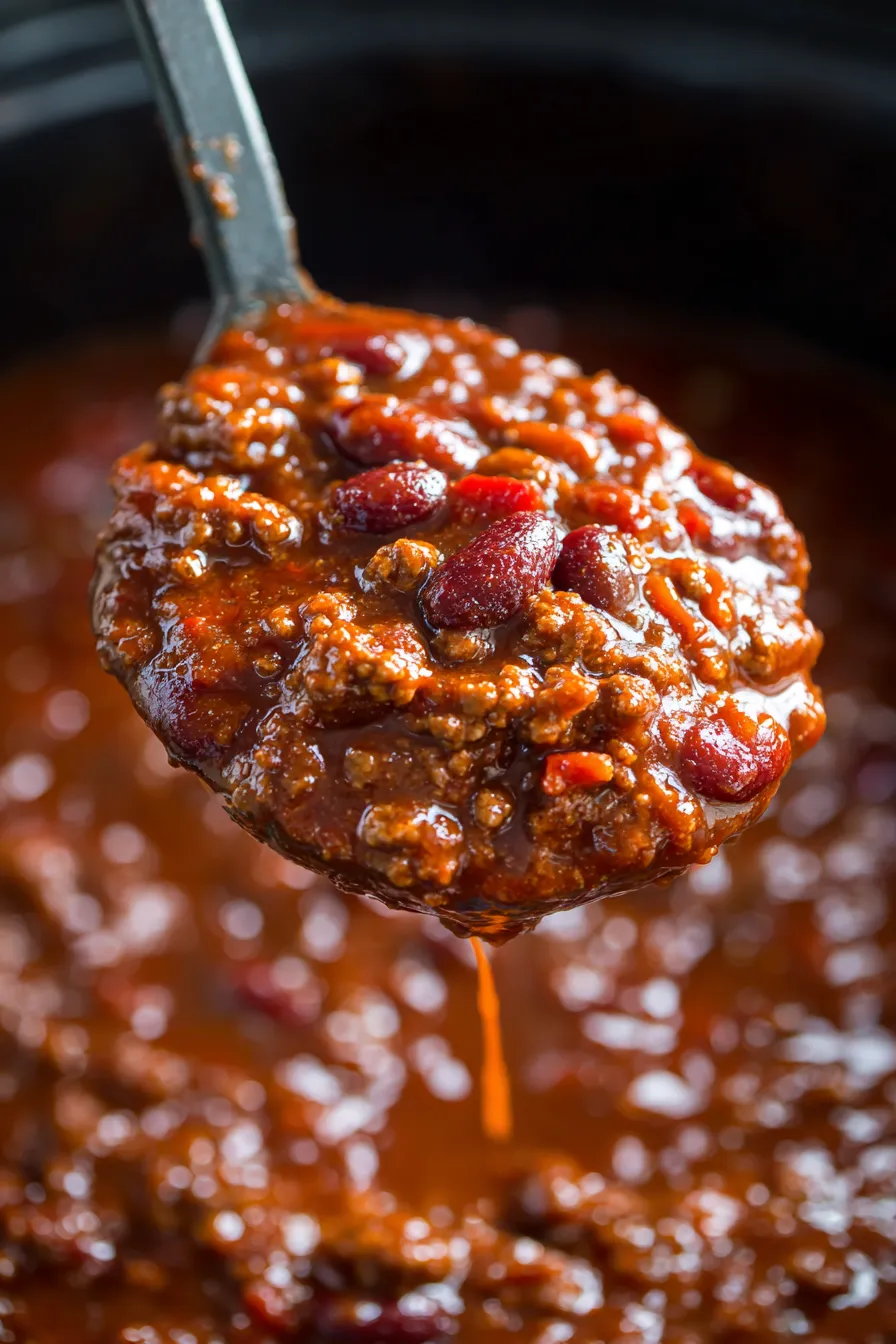
Let me tell you about the chili recipe that changed everything in my kitchen. After years of making watery, bland chili that left my family reaching for the hot sauce bottle, I finally cracked the code to that perfect bowl—thick, rich, and loaded with layers of flavor that make you close your eyes on the first spoonful.
This isn’t just another chili recipe. It’s the result of countless Sunday afternoons spent perfecting the balance between heat and sweetness, testing different spice combinations, and learning the professional techniques that separate good chili from absolutely incredible chili.
The secret? It’s all about building those deep, complex flavors from the ground up and knowing exactly when to add each ingredient for maximum impact.
Why This Chili Recipe Creates Food Obsessions
During my restaurant days, I watched our head chef make chili that had a two-week waiting list. People would literally call ahead to reserve bowls. The difference wasn’t exotic ingredients or complicated techniques—it was understanding how to layer flavors and create that velvety, thick consistency that hugs every bean and piece of meat.
What makes this chili absolutely irresistible:
- Brown sugar secret balances the heat with subtle sweetness
- Fire-roasted tomatoes add incredible smoky depth
- Two-bean combination creates perfect texture contrast
- Slow-simmered technique develops restaurant-quality complexity
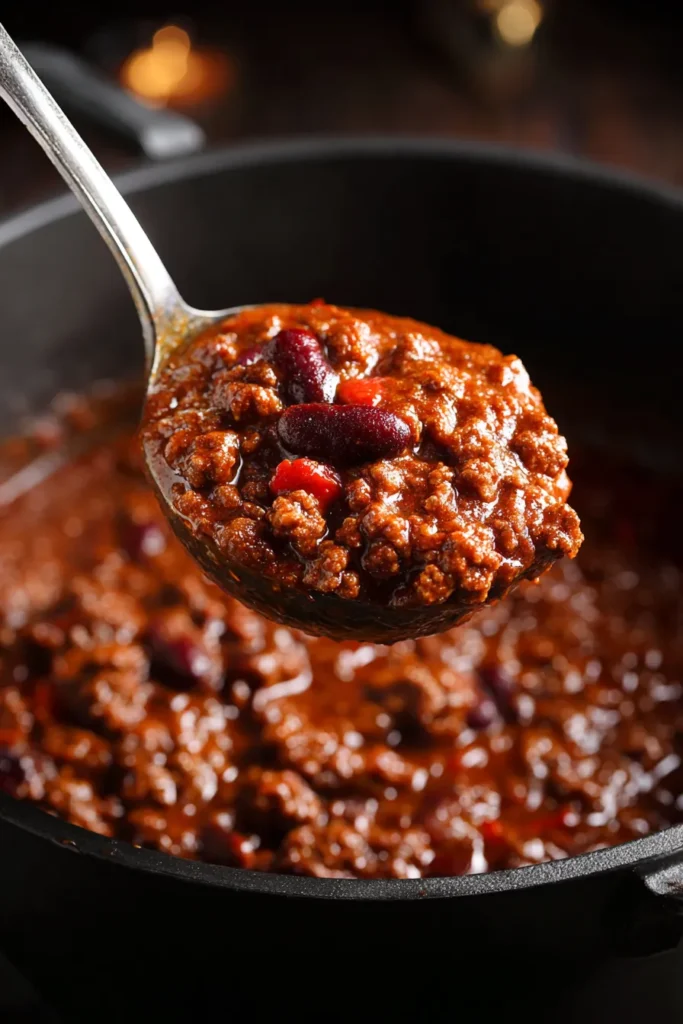
The Game-Changing Ingredient List
Every single ingredient in this recipe serves a specific purpose. I’ve tested this with dozens of families, from my picky-eater neighbor’s kids to my book club ladies who consider themselves serious cooks. Every component has been chosen for maximum flavor impact.
The Foundation That Makes Everything Work
Lean ground beef (1 pound) provides rich, meaty backbone without excess grease. I learned this from a Texas pit master: the quality of your meat determines 50% of your chili’s success.
Yellow onion (1 medium) creates the sweet, caramelized base that balances all the heat. Those first few minutes of proper sautéing are absolutely crucial—rushed onions equal flat chili.
The Spice Blend That Creates Magic
- Chili powder (1-2 tablespoons) – Your primary heat source
- Ground cumin (1 tablespoon) – Adds that earthy, warm depth
- Dried oregano (1 teaspoon) – Brings Mediterranean warmth
- Brown sugar (1 tablespoon) – The game-changer ingredient
Professional tip: I always toast my spices for 30 seconds before adding liquids. This simple step awakens the oils and creates exponentially deeper flavor.
The Tomato Trio That Builds Richness
Tomato paste (3 tablespoons) concentrates tomato flavor and naturally thickens the chili. Fire-roasted crushed tomatoes (28 oz can) add that smoky complexity you simply can’t get from regular tomatoes. The fire-roasting process caramelizes the tomato sugars, creating depth that makes people ask, “What’s your secret ingredient?”
The Bean Situation
Red kidney beans and pinto beans (15 oz cans each) give you the perfect texture combination—kidney beans hold their shape beautifully while pinto beans partially break down, naturally thickening the chili.
Step-by-Step Perfection Method
Here’s where my professional training really pays off. I’ve streamlined this process to give you maximum flavor with foolproof results.
Building Your Flavor Foundation (8 minutes)
Heat 1 tablespoon olive oil in your heaviest pot—I swear by my cast iron Dutch oven for this, though any large, heavy pot works beautifully.
Sauté your chopped onion for 2 minutes until it starts softening. Don’t rush this step—properly softened onions provide the sweet foundation that balances all your heat.
The Meat Mastery Stage
Add your ground beef and cook until browned, about 5 minutes. Break it into bite-sized chunks, but don’t over-stir. Let those pieces develop a nice crust—that’s where your flavor lives.
Drain excess grease, then add minced garlic and cook for 30 seconds until fragrant. Burned garlic ruins everything, so watch carefully.
The Critical Spice Moment
Here’s where restaurant technique makes all the difference. Add chili powder, cumin, brown sugar, oregano, salt, pepper, and tomato paste directly to the hot meat mixture. Stir constantly for 30 seconds to toast those spices and bloom the tomato paste.
This step transforms ordinary ingredients into something extraordinary. I learned this from a chef who’d worked in Mexico—toasting spices in the meat fat creates flavors you simply cannot achieve otherwise.
The Liquid Integration
Pour in beef broth and scrape up any browned bits from the bottom of the pot—that’s pure gold for flavor. Add your fire-roasted tomatoes and both types of beans (drained and rinsed).
This is when I usually start my perfect cornbread to serve alongside.
The Patience-Rewarding Simmer
Bring everything to a boil, then reduce to low heat and simmer for 1-2 hours, stirring occasionally. Cover for the first hour, then uncover during the last 30 minutes to achieve that perfect thick consistency.
This slow simmer allows the flavors to meld completely and creates that velvety texture that makes people think you’ve been cooking all day.
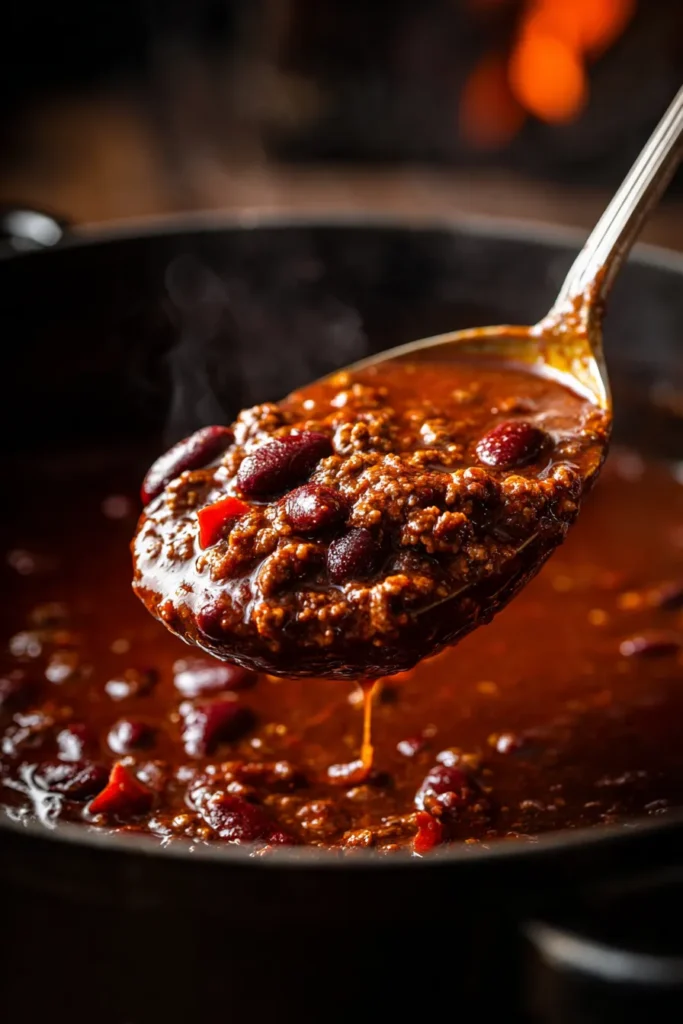
Pro Tips That Separate Good from Incredible
After teaching this recipe to countless home cooks, I’ve learned exactly where people struggle and how to guarantee success every time.
The Consistency Control Method
If your chili is too thin after the full simmer, mix 1 tablespoon cornmeal with cold water and stir it in during the last 15 minutes. This creates natural thickening without affecting flavor.
If it’s too thick, add warm broth gradually until you reach that perfect ladling consistency.
The Sweet Spot Balance
That tablespoon of brown sugar isn’t just a quirky addition—it’s scientifically balancing the acidity of the tomatoes and the heat of the spices. During my culinary training, I learned that a touch of sweetness allows you to taste all the other flavors more clearly.
Trust me on this—even if you’re skeptical about sugar in chili, try it once. Your taste buds will thank you.
Ultimate Toppings Bar Setup
After hosting dozens of chili nights for friends and family, I’ve perfected the art of the toppings bar. This turns a simple bowl of chili into an interactive, customizable feast.
The Essential Four
- Shredded sharp cheddar for that melty richness
- Cool sour cream to tame the heat
- Fresh diced avocado for creaminess
- Chopped cilantro for bright freshness
The Flavor Boosters
Sliced jalapeños for extra heat lovers, diced red onions for crunch, and crumbled tortilla chips for texture contrast.
Pro hosting tip: Set everything up in small bowls with spoons. People love customizing their perfect bowl, and it takes pressure off you as the host.
Make-Ahead Magic for Busy Families
This chili is practically designed for meal prep and busy schedules. The flavors actually improve after sitting overnight, making it perfect for Sunday batch cooking.
Storage Solutions That Actually Work
Refrigerator: Keeps beautifully for 4-5 days in airtight containers Freezer: I portion into individual servings for up to 3 months of easy weeknight dinners
Reheating Like a Professional
Always reheat gently on the stovetop, adding a splash of broth if needed. The slow reheat preserves the texture and prevents the beans from breaking apart.
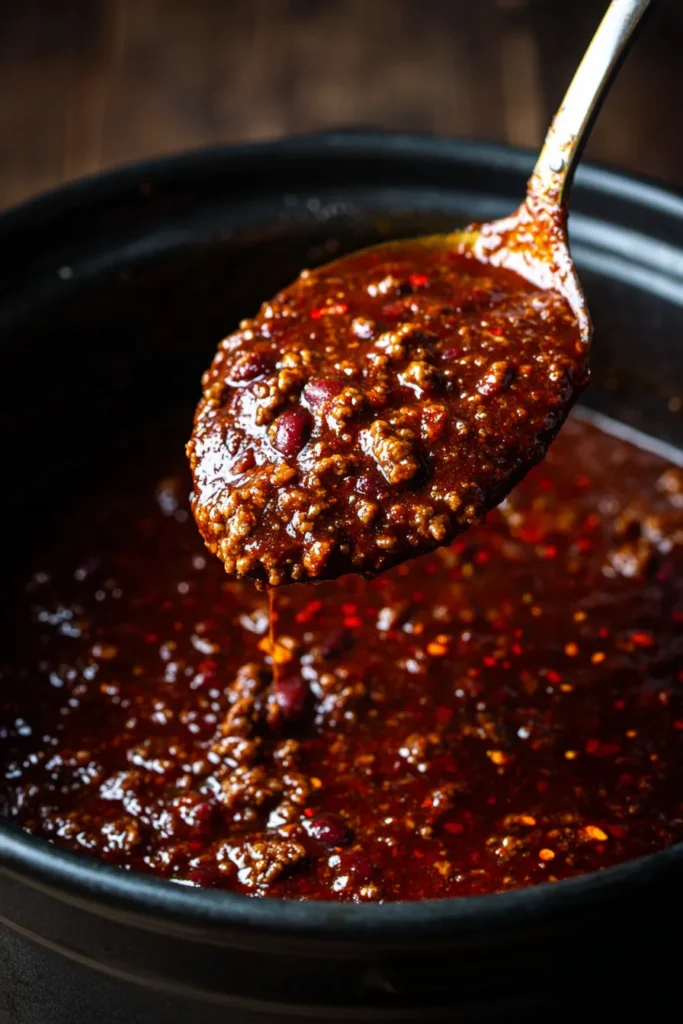
Perfect Pairing Ideas for Complete Meals
This chili shines as part of larger menus. For family dinners, I serve it over fluffy baked potatoes or alongside my honey cornbread recipe.
For entertaining, it pairs beautifully with Mexican street corn salad and fresh guacamole for a complete Southwestern feast.
Customization Options for Every Family
Heat Level Adjustments
Mild version: Use 1 tablespoon chili powder and add a diced bell pepper for sweetness Fire lover’s edition: Use 2 tablespoons chili powder plus diced jalapeños with the onions
Dietary Modifications That Work
Bean-free version: Double the meat and add diced mushrooms for substance Vegetarian adaptation: Skip the meat, add extra beans and mushrooms for umami Slow cooker method: Brown everything first, then cook on LOW for 6-8 hours
The Science Behind Perfect Chili Texture
Here’s something most home cooks don’t know: the order of ingredient addition affects your final texture dramatically. Adding beans too early makes them mushy, while adding them too late means they never absorb the flavors.
The two-hour simmer time allows the meat proteins to break down naturally, creating that silky, thick consistency without any artificial thickeners.
Beyond Basic: Restaurant-Quality Finishing Touches
Want to elevate this from great to absolutely spectacular? Here are my professional secrets:
The Acid Balance Test
After your final simmer, taste for flatness. If the chili tastes properly seasoned but somehow bland, add 1 teaspoon apple cider vinegar. This brightens all the flavors without making it taste vinegary.
The Umami Enhancement
For even deeper flavor, stir in 1 tablespoon Worcestershire sauce during the last 30 minutes of cooking. This adds incredible depth that makes people wonder about your secret technique.
Seasonal Variations That Keep Things Exciting
Fall/Winter: Add diced butternut squash with the onions for natural sweetness Summer: Incorporate fresh corn kernels and garden peppers for seasonal flair Holiday version: A pinch of cocoa powder and cinnamon creates warming complexity
Common Mistakes That Ruin Chili (And How I Fixed Them)
After years of teaching this recipe, I’ve seen the same errors repeatedly:
Mistake 1: Skipping the spice toasting—eliminates 50% of your flavor development Mistake 2: Not browning the meat properly—loses all those caramelized compounds Mistake 3: Adding beans too early—results in mushy, broken beans Mistake 4: Rushing the simmer time—prevents proper flavor melding
Why My Family Considers This “The Best Ever”
My teenage son, who used to survive on pizza and cereal, now requests this chili for his birthday dinner. My neighbor Sarah, who claims she “can’t cook anything,” has successfully made this recipe four times with perfect results each time.
The true test came when I brought this to our neighborhood potluck. Three different people asked if I’d cater their parties. That’s when I knew I’d created something special.
Meal Prep Strategies That Save Your Sanity
Individual portions: Freeze in single-serving containers for grab-and-go lunches Family portions: Use freezer bags laid flat—they stack efficiently and thaw quickly
Topping prep: Pre-shred cheese and store separately; prepare fresh toppings day-of
The key is portioning before freezing. Nobody wants to wrestle with a frozen brick of chili on a busy Tuesday night.
Leftover Magic Ideas
This chili transforms into completely different meals:
- Over baked sweet potatoes for healthy comfort food
- Mixed with pasta and cheese for instant chili mac
- As a base for loaded nachos for game day
The Temperature Sweet Spot
Here’s a professional tip most home cooks miss: chili tastes completely different at different temperatures. Serve it hot but not scalding—around 140°F is perfect. This temperature allows you to taste all the complex flavors without burning your tongue.
Frequently Asked Questions
Can I make this in a slow cooker? Absolutely! Brown the meat and sauté onions first, then transfer everything to your slow cooker. Cook on LOW for 6-8 hours or HIGH for 3-4 hours.
How do I make it less spicy for kids? Use only 1 tablespoon chili powder and add an extra tablespoon of brown sugar. You can also serve with plenty of sour cream and cheese to cool the heat.
What’s the best way to thicken watery chili? Simmer uncovered for longer, or mix 2 tablespoons cornmeal with cold water and stir into the chili during the last 10 minutes.
Can I substitute different beans? Yes! Navy beans, black beans, or cannellini beans all work beautifully. Just maintain the same total quantity for proper consistency.
How far ahead can I make this for entertaining? This chili is actually better the next day! Make it up to 2 days ahead and reheat gently before serving. The flavors continue developing.
The Final Taste Test
The real proof of any chili recipe is how it tastes on day two. This chili actually improves overnight as the flavors continue melding and deepening. The brown sugar caramelizes further, the spices bloom more completely, and that perfect thick consistency reaches its peak.
When my book club met at my house last month, I served this chili with fresh cornbread. The conversation stopped completely for the first five minutes while everyone just ate. That’s the power of a truly exceptional recipe.
This isn’t just chili—it’s comfort food that brings people together, creates lasting memories, and gives you that incredible feeling of cooking something truly special for the people you love.







