
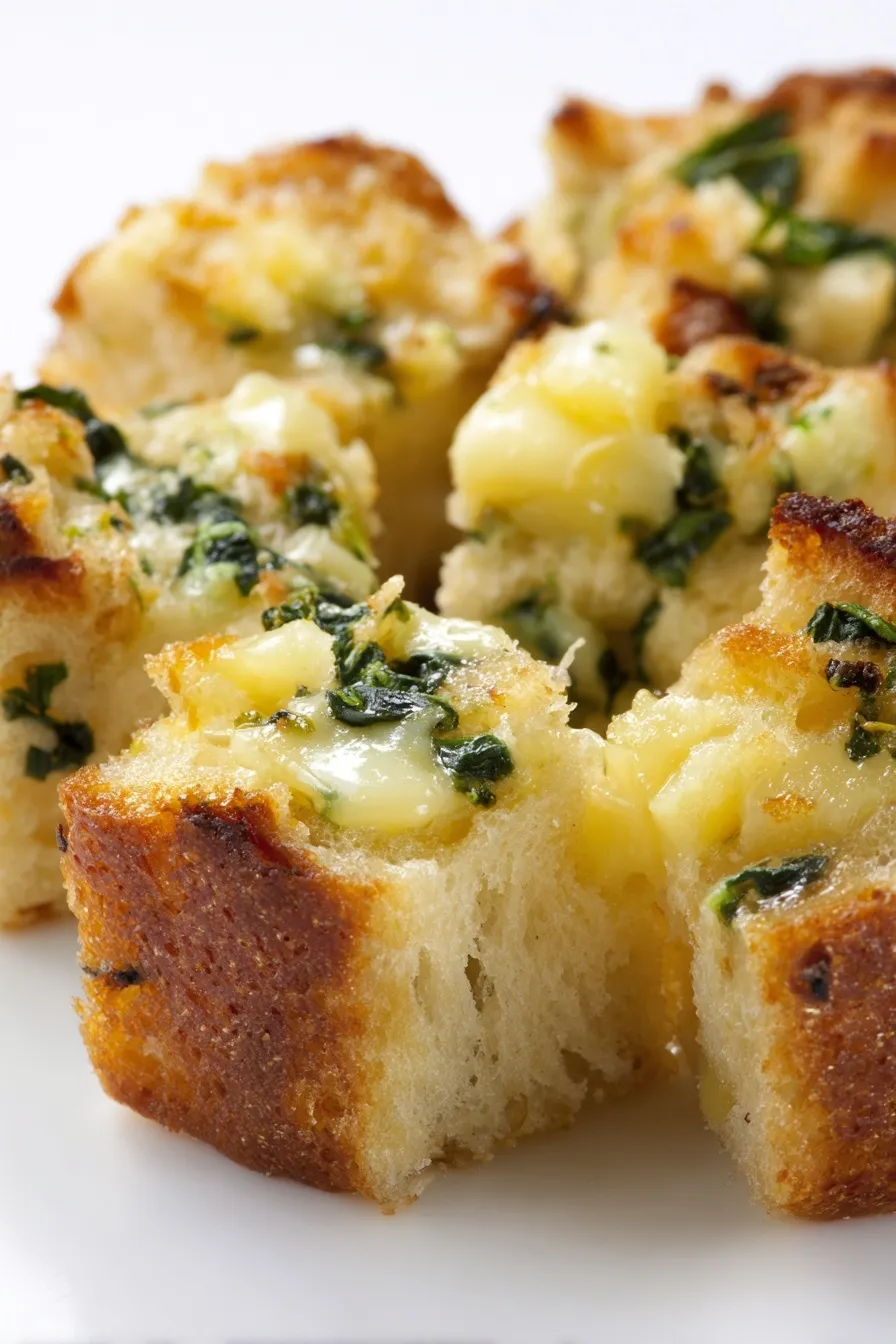
This buttery, herb-packed stuffing creates the most irresistible crispy edges!
Since you are here, make sure to check out these related recipes:
- Perfect Thanksgiving Stuffing – another amazing option
- Creamy Garlic Mashed Potatoes – perfect pairing
- Honey Butter Sweet Potatoes – sweet complement
- Sweet Christmas Cranberry Jam – festive spread
- Easy Turkey Stuffing Roll Ups – creative twist
Let’s talk about stuffing for a hot minute. Not the fancy cranberry-walnut-sausage version that looks pretty on Pinterest. I’m talking about real stuffing – the kind that tastes exactly like your grandmother’s, with those irresistible crispy edges that everyone fights over and that buttery, herb-packed center that makes you close your eyes on the first bite.
I used to be a stuffing skeptic (I know, I know), but this recipe completely converted me. It’s all about understanding that stuffing is basically butter-soaked bread crisped to perfection, and honestly, what’s not to love about that?
Why This Recipe Is Stuffing Perfection
Crispy Edge Magic: Those golden, crispy edges are what stuffing dreams are made of. This recipe maximizes them.
Butter is the Star: A whole cup of butter makes this incredibly rich and flavorful. No apologies here.
Perfect Herb Balance: That classic Simon & Garfunkel blend – parsley, sage, rosemary, and thyme – in just the right proportions.
Foolproof Technique: Clear instructions and pro tips ensure perfect results every single time.
Make-Ahead Friendly: Can be prepped overnight or frozen, making holiday meal planning stress-free.
The Secret to Incredible Stuffing
The magic happens in three crucial steps: properly toasting your bread (not just letting it go stale!), using the right amount of butter, and getting the moisture level exactly right. Too dry and it’s cardboard. Too wet and it’s mush. This recipe hits that perfect sweet spot.
Why This Method Works:
- Toasted bread absorbs flavors better than stale bread
- A full cup of butter creates richness and helps achieve crispy edges
- Fresh herbs provide incredible aromatic depth
- Proper liquid ratio ensures perfect texture
- High-quality stock makes all the difference
Ingredients for Stuffing Success
The Foundation:
- 1 pound good bread (white, ciabatta, Italian, or French)
- 1 cup butter (2 sticks) – don’t even think about reducing this!
- 1 large onion, chopped (about 3½ cups)
- 2 cups celery, diced
- 1 tablespoon softened butter for greasing
The Flavor Makers:
- 1/3 cup fresh parsley, chopped
- 1/4 cup fresh sage, chopped
- 1 tablespoon fresh rosemary, chopped very fine
- 1 tablespoon fresh thyme leaves
- 2 teaspoons kosher salt
- 1 teaspoon black pepper
- 2 cups high-quality halal-certified chicken or turkey broth
- 2 large eggs
- Extra 1/2 cup broth if needed
Step-by-Step to Stuffing Glory
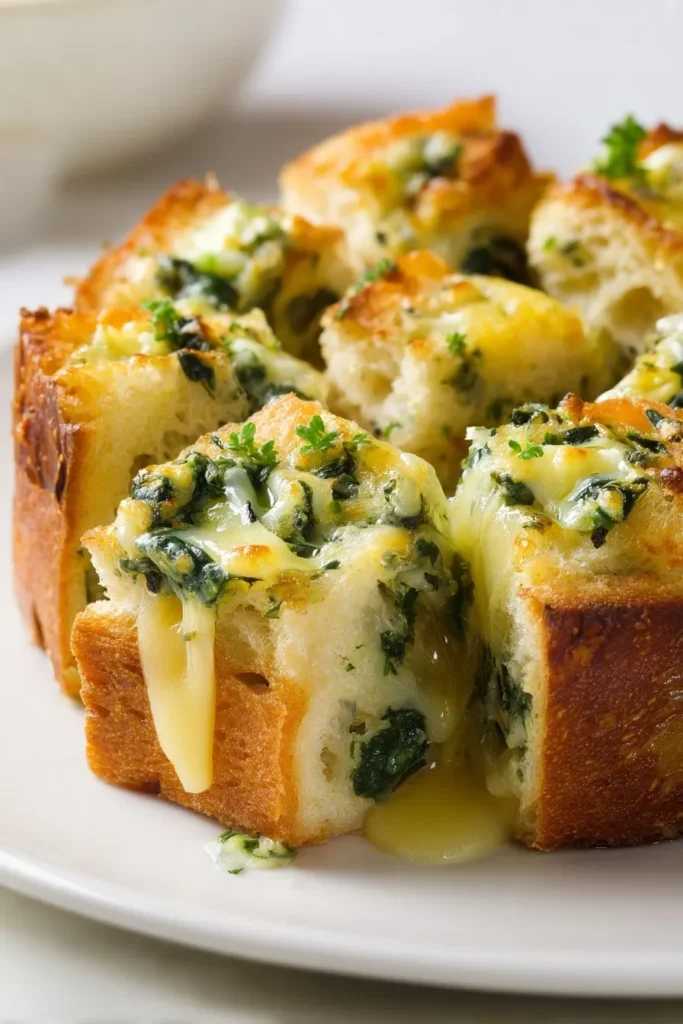
Toast Your Bread Right: Cut bread into 1-2 inch pieces and spread on dry pans. Bake at 250°F for about 1 hour, stirring occasionally. You want crispy and toasty, not brown. This step is crucial – stale bread is tough and leathery, but toasted bread is crispy yet tender.
Create the Buttery Vegetable Base: Preheat oven to 350°F. In a large skillet, melt that entire cup of butter over medium heat. Add chopped onion and celery, sautéing for 7-10 minutes until soft but not brown. The vegetables should be swimming in butter – that’s exactly what we want!
Chop Those Herbs: While vegetables cook, chop all your fresh herbs. Remember: you’re not a rabbit, so chop them small! We want flavor, not leaves.
Build the Magic: In a large bowl, combine toasted bread and all chopped herbs. Add the buttery vegetable mixture and stir to distribute all that golden goodness. Season with salt and pepper.
The Moisture Balance: In another bowl, whisk together 2 cups broth and 2 eggs. Slowly pour this over the bread mixture, using your hands to squeeze and mix. The bread should be moist but not soaked – no liquid pooling at the bottom! You might need that extra 1/2 cup of broth, but use your judgment.
Bake to Perfection: Butter a 9×13 pan generously. Spread stuffing evenly and cover with foil. Bake for 40 minutes, then remove foil and bake another 25-35 minutes until golden brown and crispy on top.
Pro Tips for Perfect Results
Bread Choice Matters: Whatever bread you choose, you WILL taste it. Choose wisely! Simple white bread with soft crust is classic.
Toast, Don’t Stale: Toasted bread absorbs better and has better texture than bread left out overnight.
Butter is Non-Negotiable: This recipe uses a full cup for a reason. Don’t reduce it!
Fresh Herbs Rule: They make a dramatic difference in flavor. If using dried, add them to the sautéing vegetables.
Test the Moisture: Squeeze a handful – it should hold together but not be soggy.
Quality Stock: Use the best chicken or turkey stock you can find. It makes a difference.
Smart Variations to Try
Dried Herb Version: Use 2 tablespoons parsley, 2 teaspoons sage, 1 teaspoon each thyme and rosemary.
Extra Crispy Edges: Use a brownie edge pan for maximum crispy bits!
Different Breads: Try brioche for richness, sourdough for tang, or mix two types.
Herb Adjustments: More parsley (up to 1/2 cup) is fine, but don’t overdo the stronger herbs.
Make-Ahead Magic
Overnight Method: Assemble in buttered pan, wrap tightly in plastic, refrigerate up to 24 hours. Bake as directed.
Freeze Before Baking: Wrap assembled stuffing well in foil and plastic. Freeze up to 3 months. Bake from frozen (add 10-15 minutes).
Freeze After Baking: Cool completely, wrap well, freeze up to 3 months. Reheat covered at 350°F for 45 minutes, then uncovered for 10-15 minutes.
Leftover Ideas That’ll Blow Your Mind
Turkey Sandwiches: Add stuffing to leftover turkey sandwiches for the ultimate post-holiday meal.
Breakfast Hash: Crisp leftovers in a skillet and serve with fried eggs.
Stuffing Waffles: Add broth to moisten, then crisp in a waffle iron. Serve with gravy!
Meatball Binder: Use chopped stuffing instead of breadcrumbs in meatballs or meatloaf.
Stuffed Peppers: Fill bell peppers with leftover stuffing and bake.
Storage and Reheating
Refrigerator: Keeps for 3-4 days in airtight containers.
Reheating: Cover with foil and warm at 350°F until heated through. Remove foil for last few minutes to re-crisp.
Freezing Tips: Cool completely before freezing to prevent ice crystals that ruin texture.
Complete FAQs
Q: Can I stuff this inside the turkey? A: Yes! Just make sure the stuffing reaches 160°F for food safety.
Q: What if I don’t have fresh herbs? A: Dried herbs work – use about 1/3 the amount and add them to the sautéing vegetables.
Q: How do I know if I have enough liquid? A: The mixture should hold together when squeezed but not be dripping wet.
Q: Can I make this in a different pan? A: Yes, but a 9×13 pan gives the perfect ratio of crispy edges to tender center.
Q: What if my stuffing is too wet? A: Bake uncovered longer to evaporate excess moisture.
Q: Can I use vegetable broth? A: Absolutely! Use the same amount for a vegetarian version.
What Makes This Special
This isn’t just a recipe – it’s a return to stuffing fundamentals. No fancy add-ins or complicated techniques, just butter, herbs, good bread, and proper technique creating something that tastes like childhood memories and family traditions.
The beauty is in the simplicity. When you use quality ingredients and proper technique, you don’t need bells and whistles. That crispy, golden top contrasting with the tender, herb-infused interior is textural perfection.
What I love most is how this recipe teaches you to cook by feel. You learn to recognize when the vegetables are properly sautéed, when the moisture level is just right, when the herbs are perfectly balanced. These skills transfer to countless other dishes.
And those crispy edges? They’re the stuff of legends. Every bite gives you a different texture – sometimes you get pure crispy goodness, sometimes tender center, sometimes the perfect combination. It’s what makes people hover around the stuffing dish, sneaking “just one more bite.”
This stuffing proves that sometimes the most powerful recipes are the simplest ones – traditional techniques, quality ingredients, and a lot of butter creating something that becomes the centerpiece of your holiday table.







