
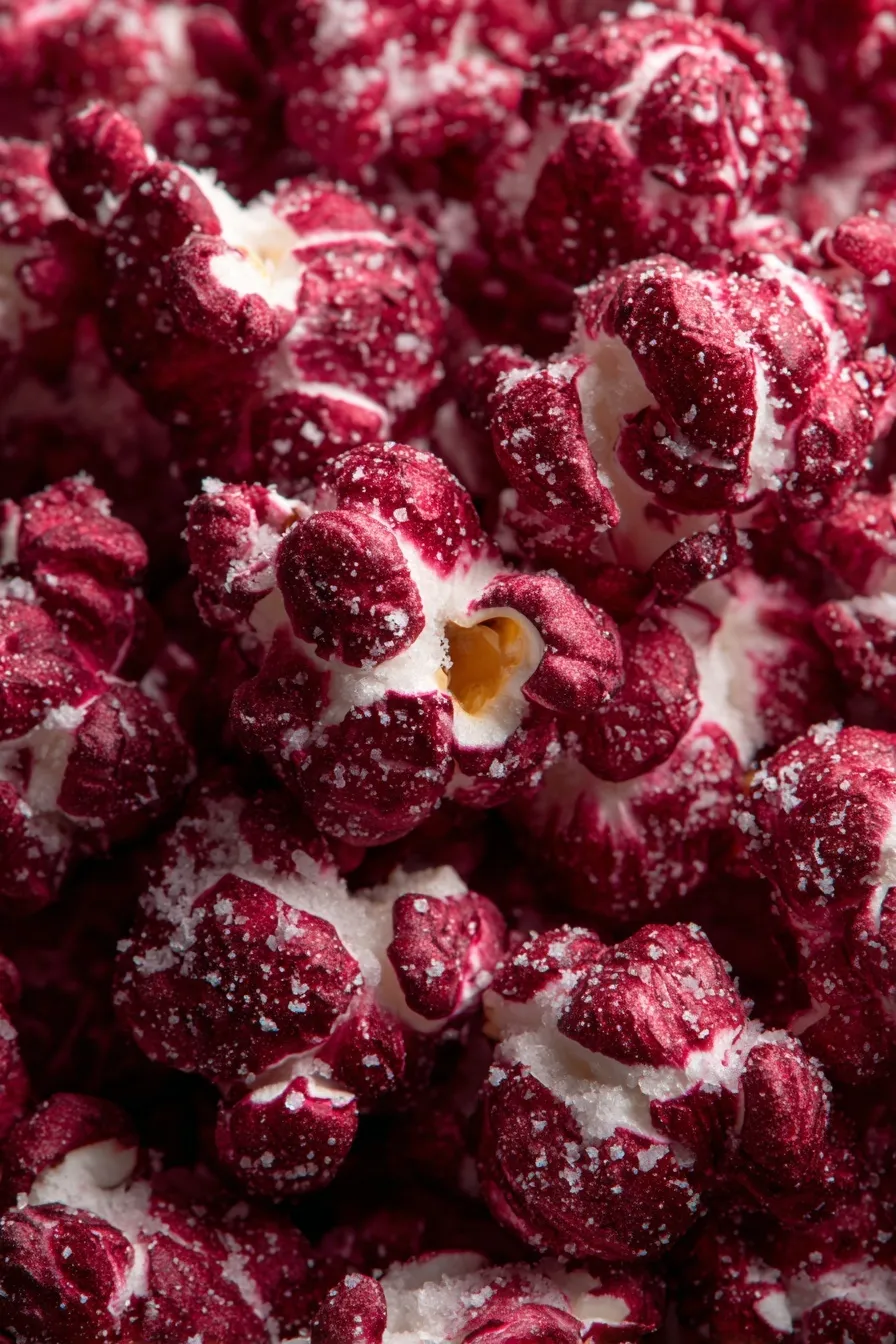
This wickedly delicious Halloween snack combines sweet red velvet flavors with crunchy popcorn for a treat that’s scary good and totally addictive.
Since you are here, make sure to check out this:
- Halloween Oreo Stuffed Chocolate Chip Cookies
- Halloween Cream Cheese Swirl Brownies
- Easy Halloween Brain Treats Recipe
- Halloween White Chocolate Oreo Bark
- Spooky Halloween Cookies
Can we talk about how brilliant this idea is? Taking regular popcorn and turning it into something that looks like it belongs in a horror movie but tastes like heaven? I’m obsessed. The first time I made this bloody red velvet popcorn, my kids literally shrieked with delight – partly because it looked so spooky, but mostly because it was ridiculously delicious.
This isn’t just regular popcorn with some food coloring thrown on it. We’re talking about a proper red velvet flavor experience – creamy white chocolate, rich cocoa, and that signature red color that makes everything look perfectly eerie for Halloween.
What Makes This Actually Scary Good
Here’s why this bloody red velvet popcorn is about to become your go-to Halloween treat:
Visual Impact That’s Insane: The deep crimson color looks genuinely spooky, like something straight out of a haunted house kitchen.
Red Velvet Flavor Profile: That perfect combo of white chocolate sweetness and subtle cocoa richness that makes red velvet cake so addictive.
Ridiculously Easy: Seriously, this takes maybe 20 minutes from start to finish, including the time to pop the popcorn.
Perfect Texture Combo: Crunchy popcorn meets creamy chocolate coating with a hint of powdered sugar sweetness.
Crowd Pleaser: Kids go crazy for the spooky look, adults go crazy for the sophisticated flavor.
Make-Ahead Friendly: Stores perfectly in airtight containers, so you can prep for parties days ahead.
Ingredients That Create the Magic
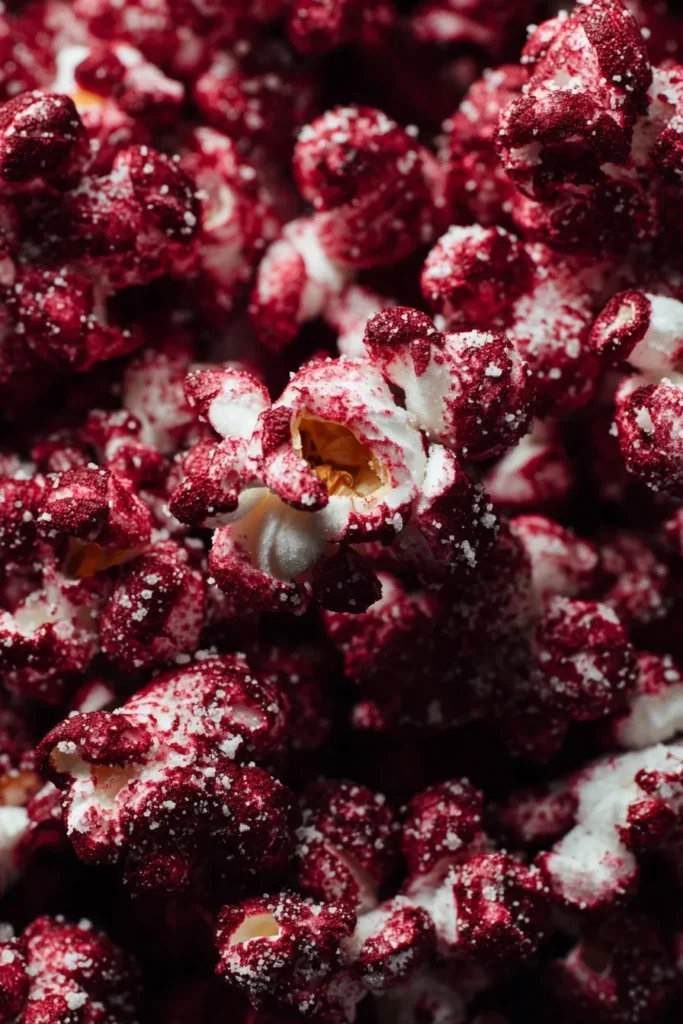
The Base:
- 1 cup popcorn kernels (or 8-10 cups pre-popped)
- 2 tablespoons oil (if popping from scratch)
The Red Velvet Coating:
- 1 cup white chocolate chips
- 1 tablespoon red food coloring
- 1 teaspoon unsweetened cocoa powder
- 1 cup powdered sugar
- Sea salt to taste
That’s it! Six simple ingredients that transform into something absolutely magical. The key is in the technique and getting that color just right.
Instructions That Actually Work
Step 1: Pop That Corn
If using kernels, heat oil in a large pot over medium heat. Add kernels, cover, and shake until popping slows down. Remove any unpopped kernels – nobody wants to break a tooth on Halloween!
Step 2: Chocolate Melting Magic
Melt white chocolate chips in a microwave-safe bowl in 30-second intervals, stirring between each interval. Don’t rush this – burnt chocolate is nobody’s friend.
Step 3: Create the Red Velvet Base
Once your chocolate is smooth and melted, stir in the red food coloring and cocoa powder. Mix until you get that gorgeous deep red color that screams “spooky season.”
Step 4: Coat Like a Pro
Pour your popped popcorn into a large mixing bowl and drizzle the red velvet chocolate mixture over it. Toss gently but thoroughly – you want every kernel coated in that gorgeous red goodness.
Step 5: Sugar Dust Magic
Sprinkle the powdered sugar over everything and toss again. This adds sweetness and creates these beautiful dusty clusters that look amazing.
Step 6: The Finishing Touch
Add sea salt to taste – this is what makes the whole thing sing. Sweet meets salty meets spooky.
Step 7: Set and Serve
Spread on a parchment-lined baking sheet to cool and set. Once it’s ready, break it into clusters and try not to eat it all before your guests arrive.
Pro Tips for Perfect Results
Food Coloring Secrets: Gel food coloring works better than liquid – it won’t thin out your chocolate and gives more vibrant color with less product.
Chocolate Temperature Matters: Don’t let your chocolate get too hot or it’ll seize up. Low and slow is the way to go.
Popcorn Quality: Freshly popped corn has the best crunch, but pre-popped works fine if you’re short on time. Just avoid the super buttery kinds – they don’t hold coating well.
Even Distribution: Use a large bowl and work in batches if needed. You want every kernel coated, not just some swimming in chocolate while others stay naked.
Salt Timing: Add the salt right before serving for the best crunch and flavor impact.
Spooky Presentation Ideas
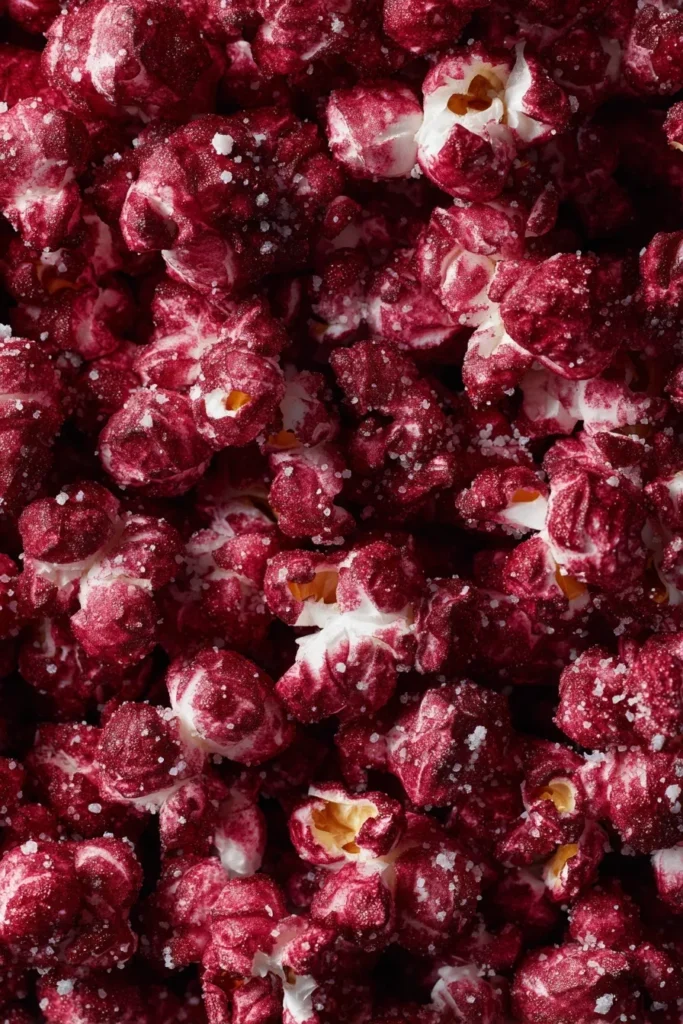
Black Cauldron Serve: Pile high in a black cauldron or Halloween-themed bowl for maximum spooky effect.
Party Favor Bags: Fill clear cellophane bags and tie with black ribbon for take-home treats that look professionally done.
Graveyard Scene: Scatter around Halloween decorations on your dessert table – it looks like bloody remnants from a horror movie (in the best way).
Glass Jars: Layer in clear mason jars with Halloween labels for an eerily elegant presentation.
Movie Night Bowls: Serve in individual bowls during Halloween movie marathons for the perfect themed snack.
Variations to Keep Things Interesting
Extra Spooky: Add edible black glitter or Halloween sprinkles while the chocolate is still wet.
Nutty Addition: Toss in some chopped almonds or peanuts for extra crunch and protein.
Chocolate Upgrade: Use a mix of white and dark chocolate for more complex flavor depth.
Natural Color: Use beet juice powder instead of food coloring for a more natural approach.
Spice It Up: Add a pinch of cinnamon or vanilla extract to the chocolate for extra flavor layers.
Storage and Make-Ahead Magic
Room Temperature: Store in airtight containers for up to 1 week Humidity Control: Keep away from moisture – it’ll make the popcorn soggy Portion Control: Pre-portion into bags or containers to avoid eating the entire batch in one sitting (trust me on this) Party Prep: Make up to 3 days ahead – it actually tastes better after the flavors meld
Perfect Halloween Occasions
This bloody red velvet popcorn works for:
- Halloween parties (obviously)
- Horror movie marathons with friends
- School Halloween treats that look scary but taste amazing
- Trick-or-treat handouts for the houses that go all out
- Halloween-themed birthday parties
- Spooky date nights at home
Why This Recipe Actually Works
The genius of this treat is in the contrast – you get that familiar, beloved red velvet flavor in a completely unexpected format. The white chocolate provides creaminess, the cocoa adds depth, and the red coloring creates that dramatic visual impact that makes Halloween treats so fun.
The popcorn itself adds this perfect crunch that makes it impossible to stop eating. Plus, the powdered sugar creates these beautiful clusters that look professionally made but require zero special skills.
The best part? It’s sweet enough to satisfy dessert cravings but not so rich that you feel sick after a handful (though you might eat way more than a handful because it’s that good).
Common Mistakes to Avoid
Overheating Chocolate: Keep it low and slow – seized chocolate is the enemy of fun.
Skipping the Salt: That sweet-salty balance is what makes this addictive.
Uneven Coating: Take time to toss thoroughly – naked popcorn kernels are sad popcorn kernels.
Wrong Food Coloring: Liquid food coloring can make chocolate seize. Use gel or powder.
Storage Issues: Keep it sealed tight or it’ll get stale fast.
FAQs
Can I use pre-popped popcorn? Absolutely! Just make sure it’s plain or lightly salted. Avoid heavily buttered varieties as they won’t hold the coating well.
How do I prevent the chocolate from seizing? Melt in short intervals, stirring frequently. Don’t let any water get into the chocolate, and don’t overheat.
Can I make this without food coloring? You could, but you’d miss that dramatic visual impact that makes this so perfect for Halloween. The red color is half the magic!
How long does this stay fresh? In an airtight container, it’ll stay crunchy and delicious for up to a week – though it rarely lasts that long.
Can I double the recipe? Definitely! This is perfect for making large batches for parties. Just work in smaller portions when coating to ensure even coverage.
The Real Deal
This bloody red velvet popcorn is proof that sometimes the simplest ideas are the most brilliant. It combines familiar flavors in an unexpected way, looks absolutely stunning, and tastes even better than it looks.
Whether you’re hosting a Halloween party, need a spooky snack for movie night, or just want to surprise your family with something fun, this recipe delivers big impact with minimal effort. Plus, watching people’s faces when they first see it is priceless – the combination of “eww, it looks scary” and “oh my god, this is delicious” never gets old.







