
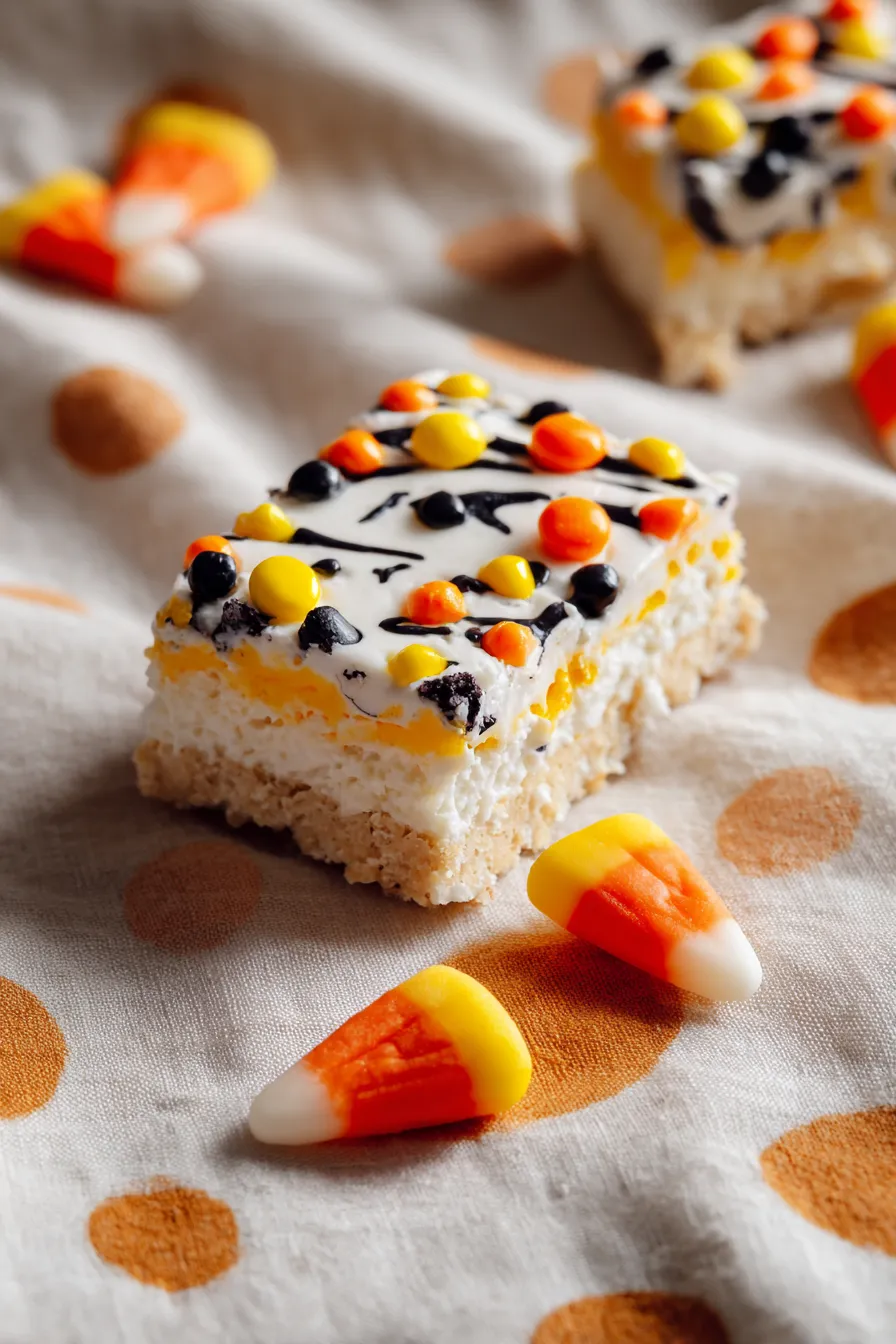
Your Halloween party just got a major glow-up with this ridiculously easy white chocolate Oreo bark that’ll have everyone asking for seconds (and thirds, honestly).
Since you are here, make sure to check out this Halloween Oreo Stuffed Chocolate Chip Cookies, Halloween Cream Cheese Swirl Brownies, Easy Halloween Brain Treats Recipe, Spooky Halloween Buffalo Chicken Dip, and Pumpkin S’mores Cookies.
Look, I’ll be real with you – this isn’t some fancy dessert that requires culinary school training. This is the kind of no-bake treat that busy parents make at 9 PM when they suddenly remember they signed up to bring something to the school Halloween party tomorrow. And honestly? It’s probably going to be the most popular thing there.
Why This Recipe Will Save Your Halloween
Let’s talk about why this Halloween Oreo bark is about to become your new obsession:
Zero baking skills required – If you can melt chocolate and sprinkle candy, you’re basically a dessert genius. The microwave does all the heavy lifting here, and there’s literally no way to mess this up.
Uses stuff you probably already have – Halloween Oreos are everywhere right now, white chocolate chips live in most pantries, and those little candy eyeballs? Pure Halloween magic that costs like two dollars.
Takes less time than your coffee order – Seriously, this comes together in about 10 minutes of actual work. The hardest part is waiting for it to chill in the fridge.
Crowd-pleaser guarantee – I’ve never met a person who doesn’t light up when they see candy bark. It’s like edible confetti that actually tastes amazing.
Ingredients
Here’s your shopping list (spoiler alert: it’s ridiculously short):
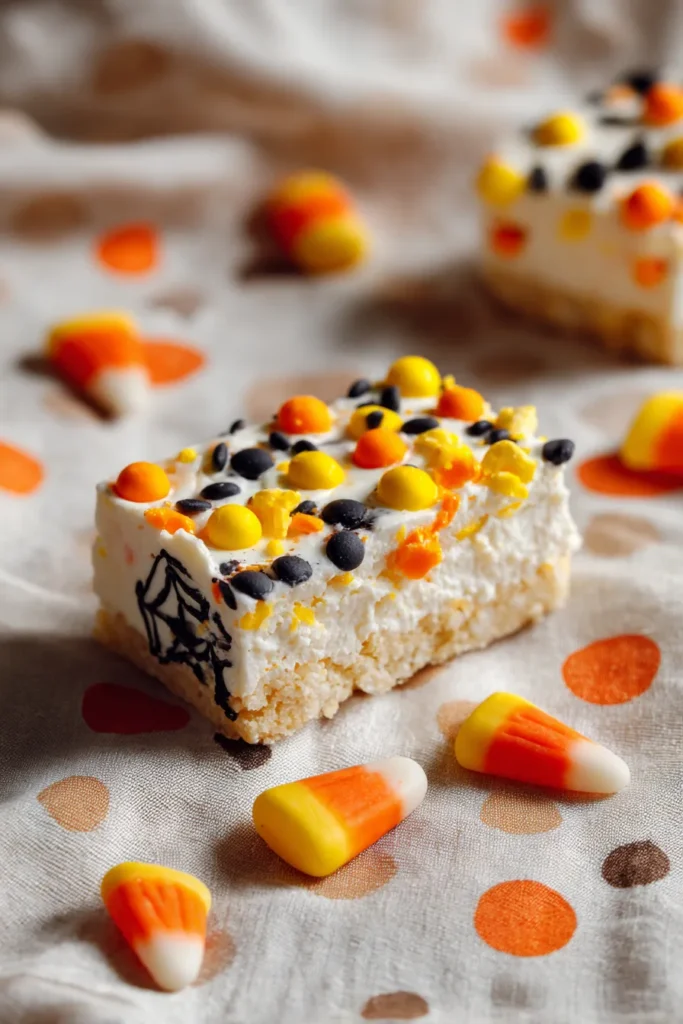
- 12 oz white chocolate (chips, bars, or candy melts – whatever floats your boat)
- 7 Halloween Oreos (the orange cream ones with spooky designs)
- ¼ cup Reese’s pieces (because orange candy = Halloween vibes)
- Halloween sprinkles (go wild here)
- Halloween eyeball candies (for maximum spook factor)
Smart Substitutions That Actually Work
Want to switch things up? Here’s what I’ve tested and loved:
- Swap the white chocolate for dark or milk chocolate if you’re not feeling the white chocolate life
- Mix up your cookies – regular Oreos, chocolate chip cookies, or even broken pretzel pieces work great
- Go nuts with toppings – crushed candy bars, mini marshmallows, or whatever Halloween candy is taking over your kitchen
- Add a pinch of sea salt if you’re one of those sweet-and-salty people (you know who you are)
Instructions
Ready for the easiest recipe instructions ever? Here we go:
Step 1: Melt your white chocolate in a microwave-safe bowl. Do this in 30-second bursts, stirring between each one. Don’t rush it – burnt chocolate is nobody’s friend.
Step 2: Line a baking sheet with parchment paper and spread that melted chocolate into an even layer. Pro tip: use about half a standard baking sheet for 12 oz of chocolate.
Step 3: Here comes the fun part – crush up those Halloween Oreos and sprinkle them over the chocolate. Add your Reese’s pieces, sprinkles, and those creepy eyeball candies. This is where you channel your inner five-year-old and go absolutely wild.
Step 4: Pop it in the fridge for one hour. Yes, you have to wait. Yes, it’s torture. But trust the process.
Step 5: Break it into pieces and try not to eat the entire batch in one sitting (good luck with that).
Storage Tips That Actually Matter
Room temperature: This stuff will keep in an airtight container for up to a week, but honestly, who are we kidding? It’ll be gone in two days max.
Fridge storage: Up to two weeks if you want to be extra safe about melting. IMO, cold bark hits different anyway.
Freezer friendly: Wrap it well and freeze for up to two months. Perfect for when you need emergency Halloween treats.
FAQs
Can I use different chocolate? Absolutely! Dark chocolate makes it less sweet, milk chocolate keeps it classic, and white chocolate gives you that perfect canvas for colorful toppings.
What if I don’t have Halloween Oreos? Regular Oreos work perfectly fine. You could also use chocolate sandwich cookies, vanilla wafers, or honestly any cookie that won’t completely fall apart.
Can kids help make this? This is actually the perfect recipe for little helpers. They can crush cookies (therapeutic!), sprinkle toppings, and learn that not everything delicious requires an oven.
How do I prevent the chocolate from burning? Patience, my friend. Those 30-second intervals aren’t just a suggestion. Stir between each burst and stop as soon as it’s smooth.
Can I make this ahead of time? Yes! Make it up to three days ahead and store it covered. It actually tastes better after sitting for a day because all the flavors meld together.
What Makes This Special
Look, there are probably a million bark recipes out there, but this one hits different because it’s specifically designed for real life. You know, the life where you’re juggling work, kids, and somehow trying to make Halloween magical without losing your mind.
This recipe doesn’t judge you for buying store-bought cookies or using whatever chocolate chips you found in the back of your pantry. It celebrates the beauty of simple ingredients coming together to create something that looks way fancier than the effort you put in.
Plus, there’s something genuinely satisfying about breaking apart homemade bark. It’s like edible stress relief 🙂
The combination of creamy white chocolate, crunchy Oreos, and colorful Halloween candy creates this perfect texture contrast that keeps you coming back for more. And those little eyeball candies? Pure genius – they turn a simple treat into something Instagram-worthy.
Why You’ll Love This Recipe
This Halloween Oreo bark isn’t trying to be the fanciest dessert at the party. It’s trying to be the most fun, most approachable, and most likely to disappear first. Mission accomplished.
Whether you’re a seasoned baker or someone who considers opening a box of cookies a culinary achievement, this recipe has your back. It’s forgiving, customizable, and guaranteed to make you look like a Halloween hero with minimal effort.
So grab those Halloween Oreos while they’re still on the shelves, melt some chocolate, and get ready to create some seriously spooky sweetness. Your future self (and everyone at the party) will thank you.







