
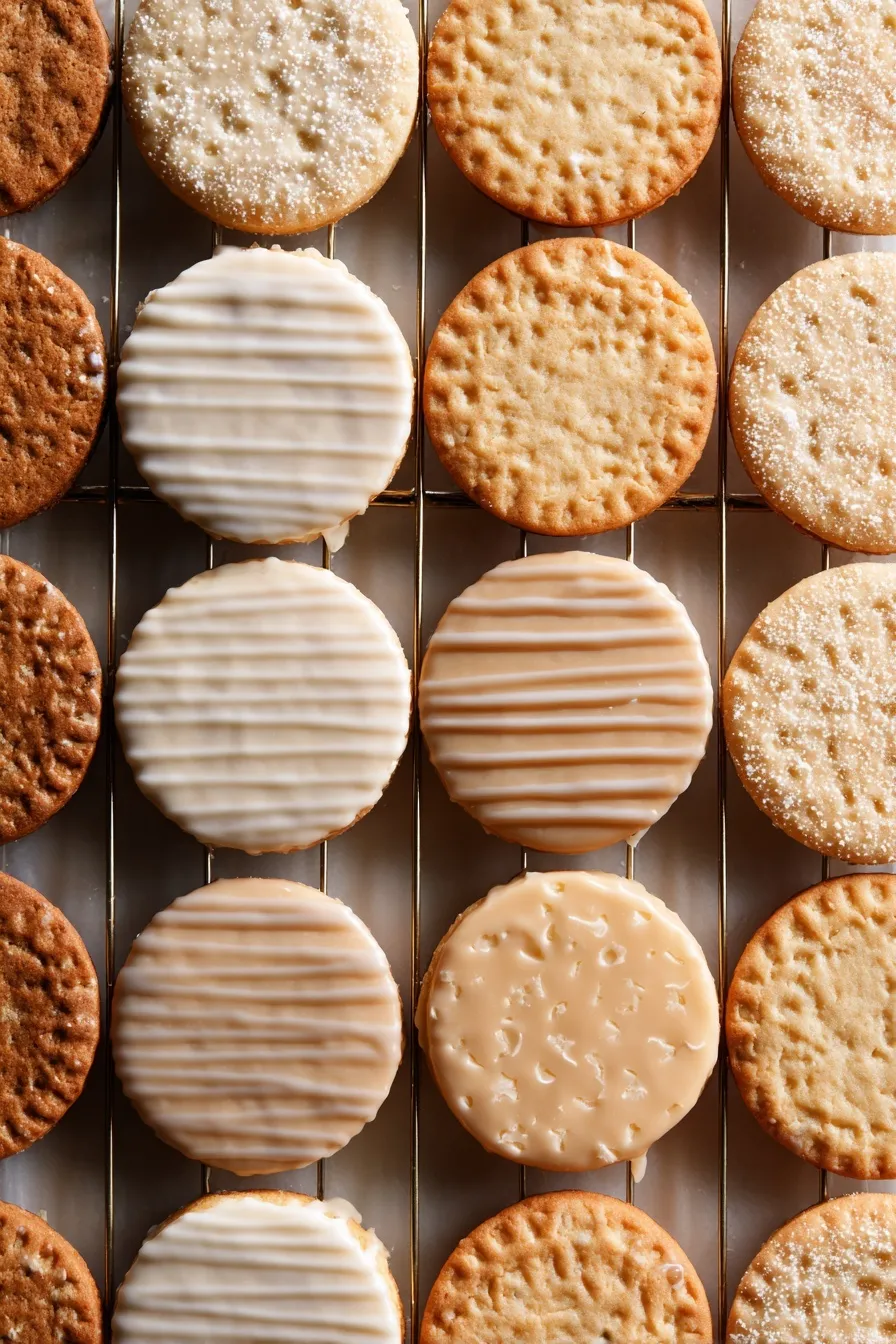
These brown sugar pop tart cookies taste exactly like childhood wrapped in cookie form!
Since you are here, make sure to check out these amazing related recipes:
- Pumpkin Cookies Cream Cheese Frosting
- Halloween Oreo Stuffed Chocolate Chip Cookies
- Spooky Halloween Cookies
- Cookie Dough Brownies Recipe Fudgy Edible
- Amazing Chickpea Cookie Dough Recipe
OK, let’s talk about these brown sugar pop tart cookies for a hot minute. Remember being a kid and thinking pop tarts were basically the pinnacle of breakfast sophistication? These cookies capture that exact same magic but in grown-up cookie form that’ll make you nostalgic and completely satisfied at the same time.
We’re talking soft, cake-like cookies stuffed with a gooey brown sugar-cinnamon filling that oozes out when you bite into it, all topped with that classic pop tart glaze. It’s like someone took your favorite childhood breakfast and transformed it into the cookie of your dreams.
The texture is absolutely perfect—soft and tender thanks to cake flour and cornstarch, with that surprise burst of warm, buttery filling that makes every bite feel like a little celebration.
Why You’ll Love This Recipe
These cookies are pure childhood nostalgia but with way better flavor and texture than you remember. The combination of cake flour and cornstarch creates this incredibly soft, bakery-style cookie that’s nothing like your basic chocolate chip.
The brown sugar filling is everything—it’s gooey, cinnamony, and tastes exactly like the inside of those classic brown sugar pop tarts, but somehow even better. When you bite into one, that filling practically melts in your mouth.
Plus, they’re surprisingly fun to make. There’s something really satisfying about stuffing cookies and sealing them up, knowing you’re creating these little pockets of deliciousness. Kids absolutely love helping with this part!
The glaze situation takes these from good to absolutely incredible. That sweet, cinnamon-spiked drizzle hardens just enough to give you that authentic pop tart experience, but stays soft enough to not crack when you bite into it.
Ingredients
For the Cookies:
- 1 cup unsalted butter, room temperature
- ½ cup granulated sugar
- 1 cup light brown sugar, packed
- 2 eggs, room temperature
- 1 teaspoon vanilla extract
- 3¾ cups cake flour
- 2 tablespoons cornstarch
- 1 teaspoon baking soda
- 1½ teaspoons baking powder
- 1 teaspoon kosher salt
For the Brown Sugar Filling:
- 5 tablespoons unsalted butter, softened
- ¾ cup light brown sugar, packed
- 1 teaspoon cinnamon
- 2 tablespoons cake flour
For the Brown Sugar Glaze:
- 1 cup powdered sugar
- ½ teaspoon cinnamon
- 3 tablespoons unsalted butter, melted and cooled
- 2½ tablespoons milk
Smart Ingredient Tips
Cake flour: This is crucial for that soft, tender texture. You can substitute all-purpose flour, but the cookies won’t be quite as delicate. To make your own cake flour, replace 2 tablespoons of all-purpose flour with cornstarch for every cup.
Room temperature ingredients: This matters more than you think! Room temp butter should still feel cool to the touch but yield easily when pressed. Eggs should sit out for about an hour.
Brown sugar: Pack it firmly when measuring—this gives you the right sweetness level and that beautiful caramel flavor.
Instructions
Create the Cookie Base
Start by creaming your room temperature butter with both sugars using a stand mixer or hand mixer on medium-high speed for 2-3 minutes. You want this light and fluffy—it’s the foundation of your cookie texture.
Add the vanilla and eggs, beating for another 1-2 minutes until everything is well combined and the mixture looks pale and creamy.
In a separate bowl, whisk together cake flour, cornstarch, baking soda, baking powder, and salt. Add these dry ingredients to your wet mixture and beat on medium speed just until combined—don’t overmix or your cookies will be tough.
Cover the dough and chill for at least one hour. This step is crucial for preventing spreading and making the dough easier to handle.
Make the Magic Filling
While your dough chills, mix together the softened butter, brown sugar, cinnamon, and cake flour in a medium bowl. Stir until you have a smooth, uniform mixture.
Use a heaping teaspoon (about 2 teaspoons) to scoop out portions of filling and roll them into small balls. Place these on a baking sheet—you should have enough for about 12-15 cookies.
Assembly Magic
Preheat your oven to 350°F and line two large baking sheets with parchment paper.
Here comes the fun part! Scoop out your chilled dough using a ¼ cup measuring cup (these are big, hearty cookies). Break each scoop in half and create a little well in one half.
Place a ball of filling in that well, then press the other half of dough on top. Pinch the seams together and roll the whole thing into a ball, making sure the filling is completely enclosed.
Bake to Perfection
Arrange your stuffed cookie balls on the prepared baking sheets, leaving about 2 inches between each one—they’ll spread a bit.
Bake for 11-13 minutes, until the tops are just set and the edges are lightly golden brown. Don’t overbake these! They should still look slightly underdone in the center when you take them out.
Let them cool on the baking sheet for 5 minutes, then transfer to a wire rack to cool completely before glazing.
Glaze Like a Pro
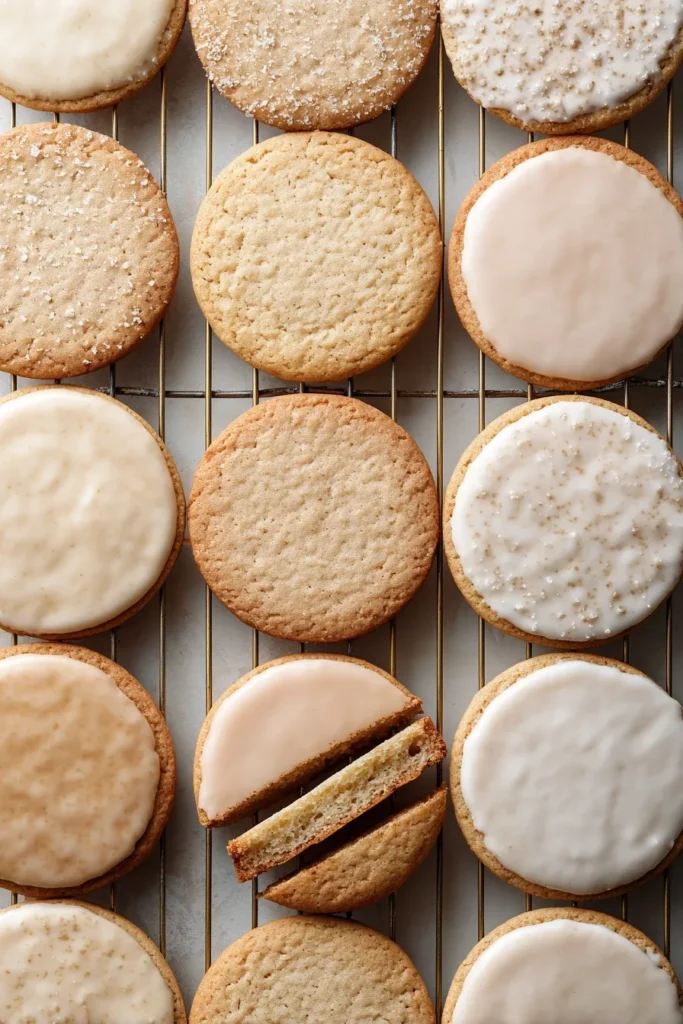
While the cookies cool, whisk together powdered sugar, cinnamon, melted butter, and milk until smooth. The consistency should be thick but pourable—add more milk if it’s too thick, or more powdered sugar if it’s too thin.
Place parchment paper under your cooling rack (trust me on this), then spoon the glaze over each cookie, letting it drip down the sides just like a real pop tart. Let the glaze set for about 15 minutes before serving.
Pro Tips for Perfect Results
Chill everything: Both the cookie dough and even the filling balls benefit from chilling. It makes assembly so much easier and prevents spreading.
Seal thoroughly: Make sure those seams are completely pinched shut, or your filling will leak out during baking. Roll the final cookie ball in your palms to ensure a good seal.
Don’t overbake: These cookies should look just barely set when you remove them. They’ll continue cooking on the hot pan for a few minutes.
Temperature matters: Room temperature butter should still feel cool—if it’s too warm, your cookies will spread too much.
Storage & Make-Ahead Tips
Room temperature: These keep beautifully in an airtight container for up to 3 days. The glaze stays perfect and the cookies stay soft.
Refrigerator: Store for up to a week in the fridge if you want to extend their life.
Freezer magic: Freeze baked (but unglazed) cookies for up to 3 months. Thaw overnight and glaze before serving.
Make-ahead dough: You can stuff and shape the cookies, then freeze them on a baking sheet. Once solid, transfer to freezer bags and bake directly from frozen, adding 1-2 minutes to the bake time.
Customization Ideas
Want to make these your own? Here are some amazing variations:
Different fillings: Try strawberry jam, Nutella, or even peanut butter for different pop tart flavors.
Spice it up: Add a pinch of nutmeg or cardamom to the filling for extra warmth.
Chocolate drizzle: Add melted chocolate drizzle along with the glaze for extra indulgence.
Mini version: Make smaller cookies for parties—just adjust the baking time down by a few minutes.
Serving Suggestions
These cookies are perfect for:
Dessert parties: They look so impressive and everyone will ask for the recipe!
Bake sales: These always sell out fast because they’re so unique.
Gift giving: Package them up in cute boxes for the ultimate homemade gift.
Coffee dates: They pair beautifully with coffee or tea.
Complete FAQ
Can I use all-purpose flour instead of cake flour? Yes, but the texture will be slightly less tender. For every cup of cake flour, use 1 cup minus 2 tablespoons of all-purpose flour plus 2 tablespoons of cornstarch.
How do I know when they’re done baking? They should look just set on top with lightly golden edges. Don’t wait for them to look completely done—they’ll continue cooking on the hot pan.
Can I make the dough ahead of time? Absolutely! Chill the dough for up to 2 days or freeze for longer storage. Just bring it to workable temperature before stuffing.
What if my filling leaks out? Make sure you’re sealing the seams well and rolling the cookies into balls. A little leakage is normal and actually looks pretty!
How thick should the glaze be? It should be thick enough to coat the back of a spoon but thin enough to pour smoothly. Think slightly thicker than heavy cream.
Why These Are Special
Here’s what makes these cookies absolutely magical: they taste exactly like the pop tarts you remember from childhood, but SO much better. The filling is richer, the cookie is infinitely more tender, and that glaze? It’s like the perfect finishing touch that brings everything together.
But beyond the nostalgia factor, these are just genuinely incredible cookies. The texture contrast between the soft cookie and the gooey filling, plus that sweet glaze on top, creates this perfect bite that’s both comforting and exciting.
I love making these for people because they always get this look of surprise and delight when they bite into them. It’s like watching someone rediscover their childhood, but with way better flavors than they remember.
Whether you’re making them for a special occasion or just because you want something that’ll make you smile, these brown sugar pop tart cookies deliver that warm, fuzzy feeling that only the best desserts can provide. Plus, they’re just fun to make—and who doesn’t need a little more fun in their baking routine? 🙂







