
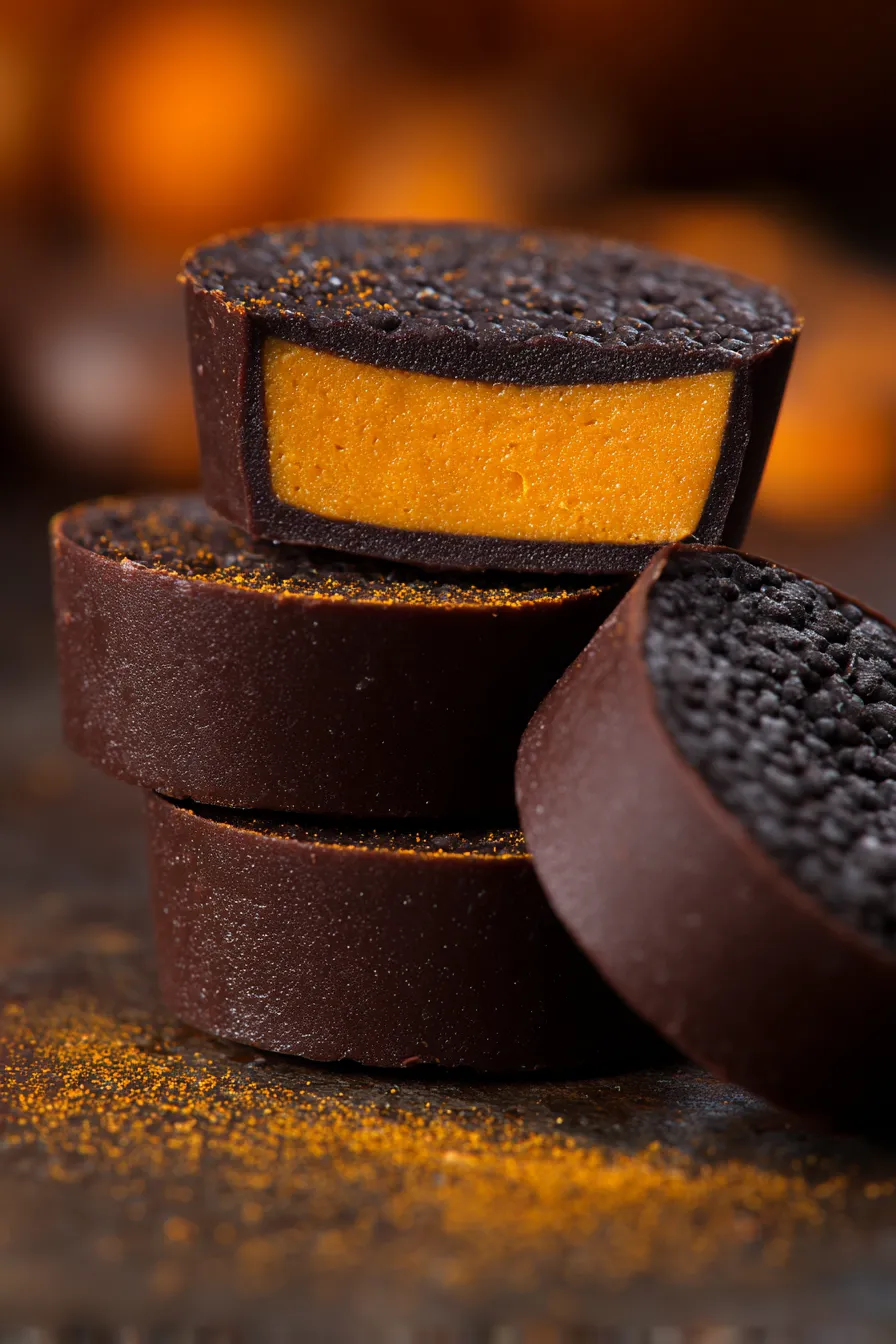
During my years in professional kitchens, I learned that the best seasonal desserts balance familiar flavors with unexpected textures. These chocolate pumpkin butter cups deliver exactly that – they’re like a sophisticated version of your favorite candy bar, but made with wholesome ingredients that won’t leave you feeling guilty.
I first developed this recipe when my neighbor’s daughter mentioned she couldn’t enjoy traditional Halloween candies due to her dairy sensitivity. After testing this recipe dozens of times with my family (including my picky eight-year-old nephew), I can confidently say these cups disappear faster than any store-bought treat.
Why These Chocolate Pumpkin Cups Are Perfect for Fall
Foolproof No-Bake Success: Unlike temperamental chocolate work, this recipe uses simple microwave melting techniques that work every single time. The silicone molds make removal effortless, and the freezer does all the heavy lifting for setting.
Allergy-Friendly Without Compromise: These cups are naturally dairy-free and can easily be made nut-free by swapping almond butter for sunflower seed butter. I’ve served these at countless fall gatherings, and guests with dietary restrictions always feel included.
Make-Ahead Holiday Hero: Perfect for busy fall schedules, these treats can be made weeks ahead and stored in the freezer. They’re ideal for Halloween parties, Thanksgiving dessert tables, or whenever you need an impressive treat that requires minimal effort.
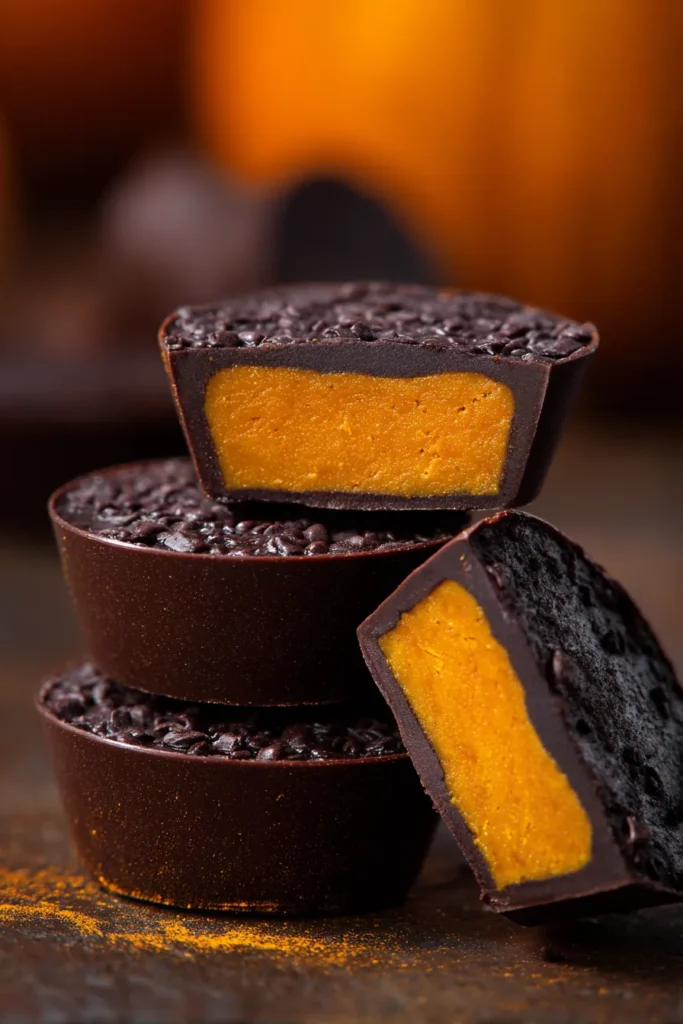
Essential Ingredients for Perfect Pumpkin Cups
For the Creamy Pumpkin Filling:
- ½ cup pumpkin puree (not pumpkin pie filling!)
- ⅓ cup almond butter (or your preferred nut/seed butter)
- 2 tablespoons honey (or maple syrup for vegan option)
- 2 teaspoons pumpkin pie spice
For the Rich Chocolate Layer:
- 1 cup dark chocolate chips (dairy-free varieties work beautifully)
- 1 tablespoon coconut oil (creates smooth, glossy chocolate)
Pro Ingredient Tips: During my restaurant days, I learned that slightly warming the almond butter makes it blend seamlessly with the pumpkin. This simple step prevents any grainy texture in your filling. Quality dark chocolate makes a noticeable difference – brands like Pascha or Hu Kitchen deliver consistently excellent results for special occasions.
Step-by-Step Instructions for Amazing Results
Preparing the Pumpkin Spice Filling
Step 1: Microwave your almond butter for 30 seconds to soften. This technique, borrowed from professional pastry kitchens, ensures silky smooth blending every time.
Step 2: Whisk together the warmed almond butter, pumpkin puree, honey, and pumpkin pie spice until completely smooth. A hand mixer works perfectly here, though whisking by hand is absolutely fine. The mixture should be thick but pipeable.
Creating the Perfect Chocolate Layers
Step 3: Combine chocolate chips and coconut oil in a microwave-safe bowl. Heat in 20-second intervals, stirring between each burst, until completely melted and glossy. This gradual melting prevents scorching and creates the smoothest texture.
Step 4: Pour a thin layer of melted chocolate into your silicone molds or lined mini muffin cups. Freeze for 10 minutes until set – patience here ensures clean layers.
Assembly and Final Setting
Step 5: Transfer your pumpkin filling to a plastic bag, snip one corner, and pipe the mixture over the chocolate base. This piping bag technique keeps everything neat and professional-looking.
Step 6: Return to freezer for 5-10 minutes, then add the final chocolate layer. Freeze for 1-2 hours until completely firm.
Professional Kitchen Secret: Temperature control is everything – keep your chocolate slightly warm for easy pouring, but ensure each layer is properly set before adding the next. This prevents muddled layers and ensures clean, beautiful cuts.
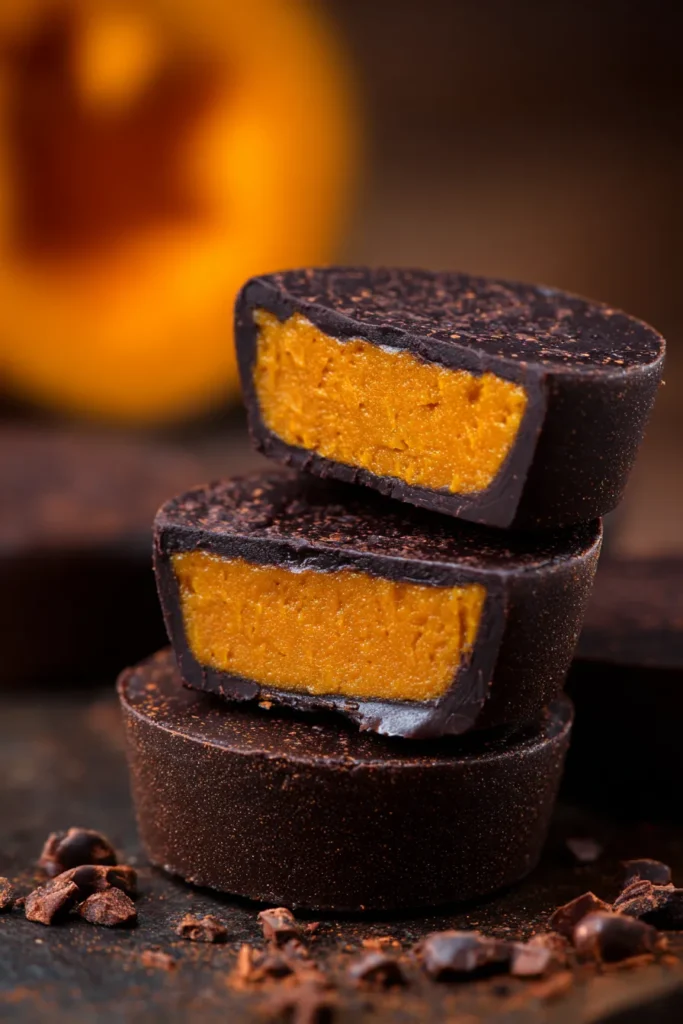
Expert Tips for Professional Results
Perfecting Your Technique
Mold Selection Matters: Silicone pumpkin molds create adorable seasonal shapes, but mini muffin liners work perfectly for a classic cup shape. After years of testing both, I prefer silicone for easy removal and consistent results.
Temperature Management: These cups must stay frozen until serving. Unlike my viral date bark recipe that’s stable at room temperature, the coconut oil base means these will soften quickly in warm conditions.
Piping Bag Hack: Fold your plastic bag in half with the zipper on the outside, fill with a spoon, then unfold and seal. This method, taught to me by a fellow pastry chef, prevents messy filling disasters.
Customization Options That Work
Flavor Variations: Try these tested combinations that my readers have raved about:
- Maple Pecan: Replace honey with maple syrup, add chopped pecans
- Spiced Chai: Add a pinch of cardamom and ginger to the pumpkin mixture
- Orange Chocolate: Add orange zest to the chocolate layer
Size Adjustments: For bite-sized treats perfect for parties, fill molds only halfway. This creates elegant petit-four sized portions ideal for holiday entertaining.
Storage and Make-Ahead Success
Proper Storage Techniques
Freezer Storage: Store in airtight containers for up to 3 months. Layer between parchment paper to prevent sticking. From my experience hosting dozens of holiday gatherings, making these ahead reduces stress significantly.
Serving Strategy: Remove from freezer 5 minutes before serving for easier eating – they’ll still hold their shape perfectly. This timing works beautifully for fall dinner parties or casual family desserts.
Gift-Giving Potential: These make stunning homemade gifts when arranged in small boxes. I’ve given these to neighbors and colleagues for years, and they’re always met with requests for the recipe.
Allergy-Friendly Adaptations
Making Them Work for Everyone
Nut-Free Version: Sunflower seed butter works perfectly as a 1:1 replacement for almond butter. My friend Sarah, whose daughter has severe nut allergies, makes these regularly with excellent results.
Sugar-Free Option: Replace honey with sugar-free maple syrup and use sugar-free chocolate chips. The texture remains identical, making these suitable for diabetic family members.
Vegan Adaptation: Simply use maple syrup instead of honey and ensure your chocolate chips are vegan-friendly. The coconut oil base already makes these naturally dairy-free.
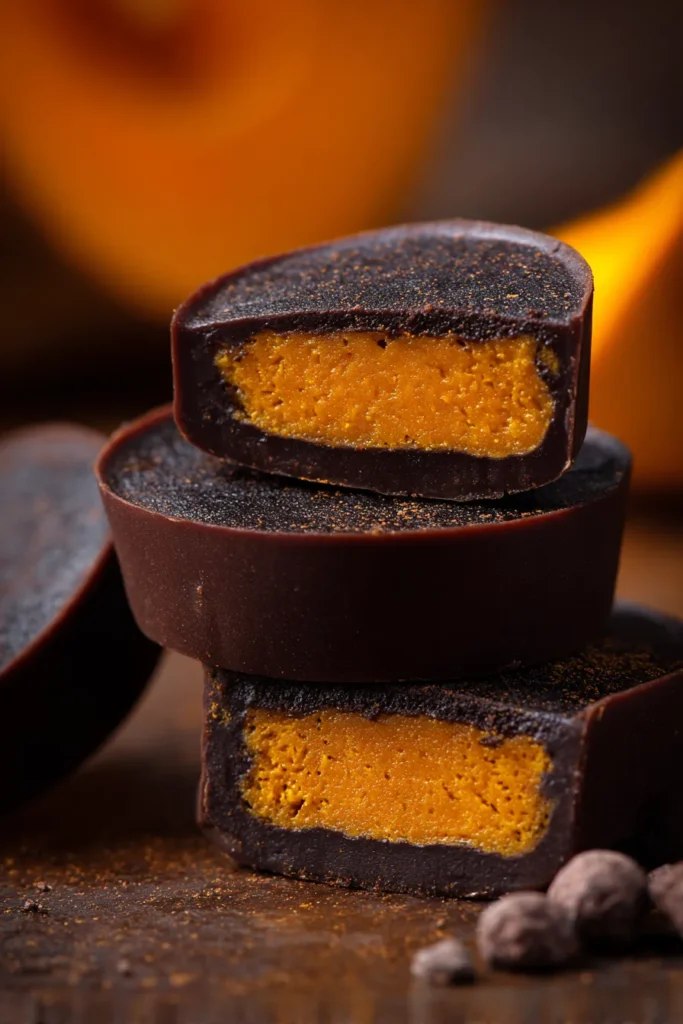
Perfect Pairings and Serving Ideas
Elegant Presentation Options
Fall Entertaining: Serve alongside pumpkin spice milk or energizing matcha lattes for a sophisticated autumn dessert course.
Casual Family Treats: Pack in lunch boxes as special fall surprises, or serve after cozy weeknight dinners for a seasonal finish.
Holiday Buffets: Arrange on tiered stands with other pumpkin desserts and autumn-themed treats for stunning seasonal displays.
Troubleshooting Common Issues
Solutions for Perfect Results
Filling Too Soft: Add an extra teaspoon of pumpkin pie spice or chill longer before piping. The spices help absorb excess moisture.
Chocolate Not Setting: Ensure your freezer is at proper temperature and that you’re using enough coconut oil for proper consistency.
Uneven Layers: Use a kitchen scale to portion chocolate and filling evenly. This professional technique guarantees consistent results every time.
After years of making these for family gatherings and potluck dinners, I can confidently say they’re foolproof crowd-pleasers. The combination of rich chocolate and warming spices captures everything we love about fall in one perfect bite.
Frequently Asked Questions
Can I use regular butter instead of coconut oil? Coconut oil creates the perfect texture for freezer storage. Regular butter would make the chocolate too soft and difficult to unmold.
How long do these last in the freezer? Up to 3 months in proper airtight storage. I often make double batches during pumpkin season to have treats ready through the holidays.
Can I make these without silicone molds? Absolutely! Mini muffin liners work perfectly. You can also use ice cube trays or any small molds you have available.
What if I don’t have pumpkin pie spice? Mix 1 teaspoon cinnamon, ½ teaspoon ginger, ¼ teaspoon nutmeg, and ¼ teaspoon allspice for a homemade blend.
Are these safe for nut allergies? When made with sunflower seed butter instead of almond butter, they’re completely nut-free and safe for most allergy concerns.







