
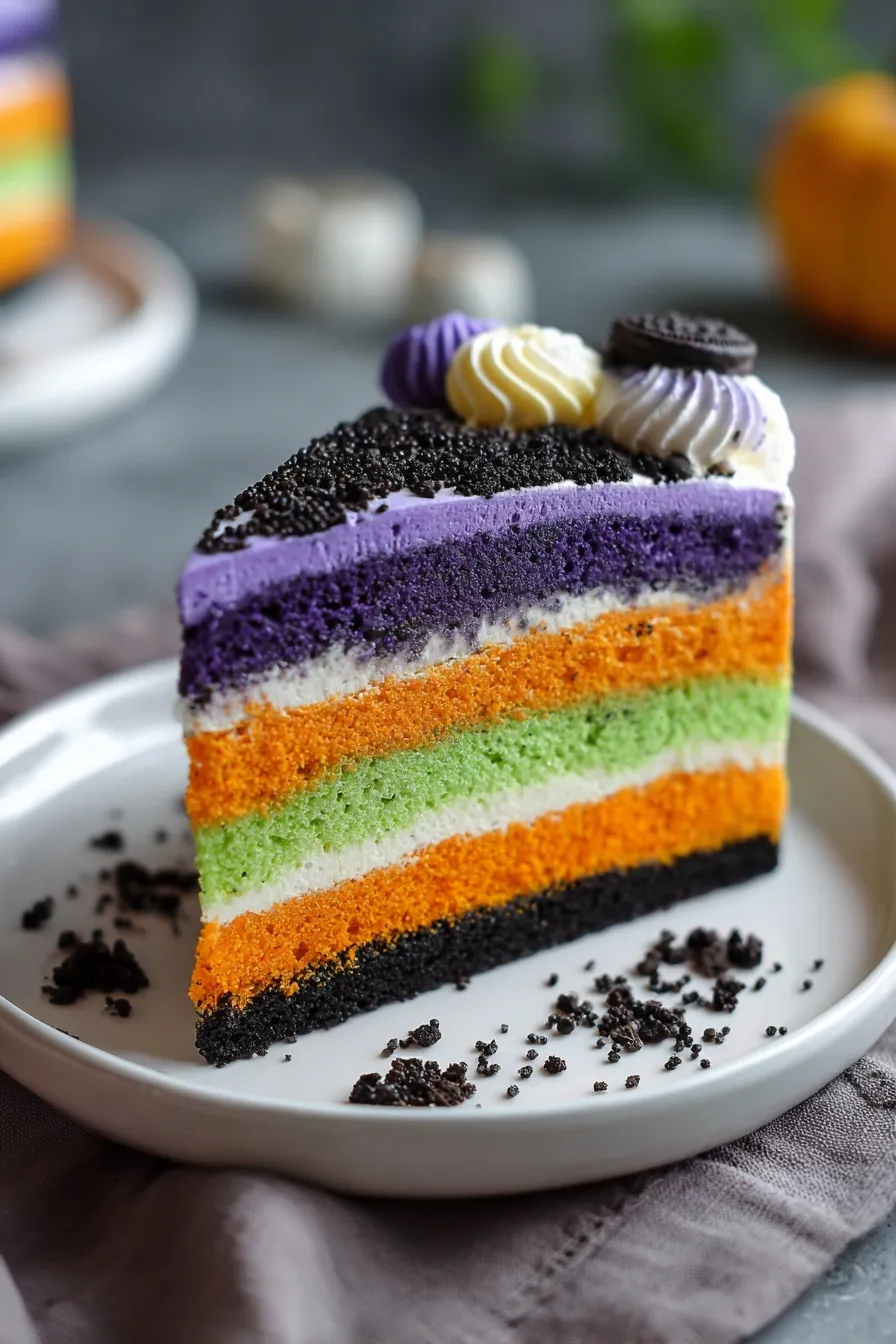
The layered dessert that looks like Halloween magic and tastes even better than it looks.
Since you are here, make sure to check out these amazing Halloween dessert recipes:
- Halloween Oreo Stuffed Chocolate Chip Cookies
- Halloween Cream Cheese Swirl Brownies
- Halloween White Chocolate Oreo Bark
- Spooky Halloween Cookies
- Easy Halloween Brain Treats Recipe
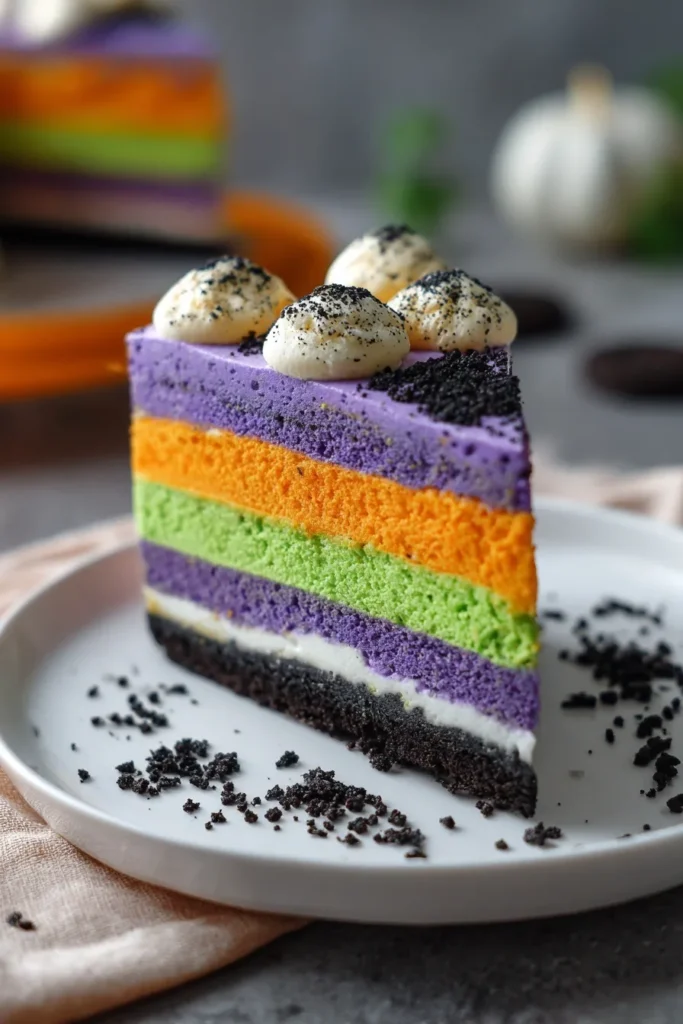
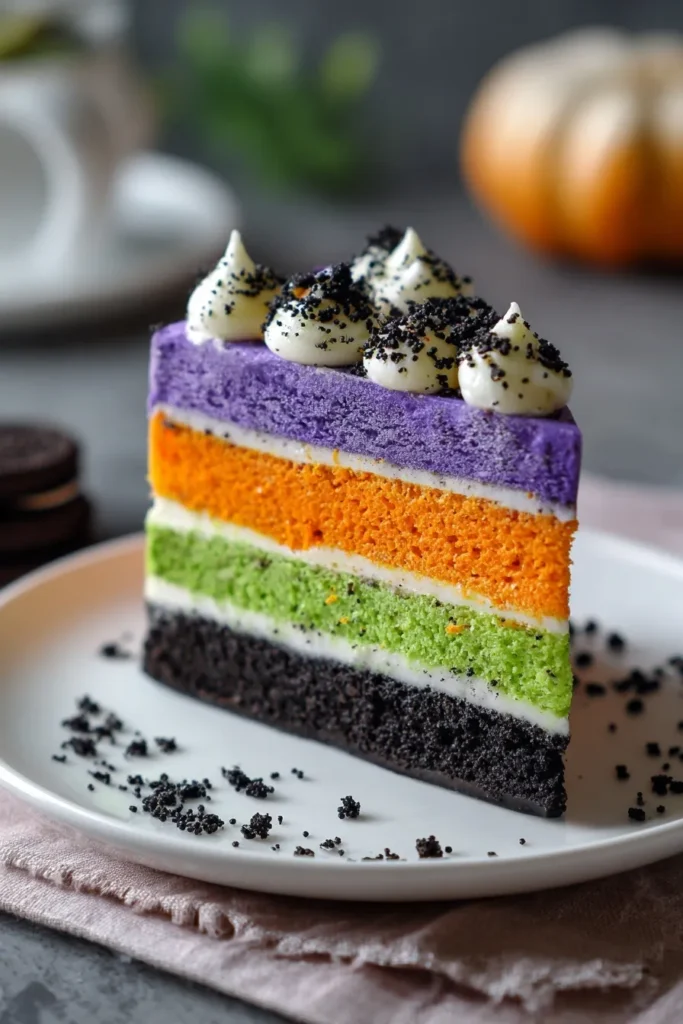
This Halloween lush is what happens when your dessert table needs a show-stopper that actually tastes as good as it looks. With its dramatic purple, orange, and green layers, this no-bake beauty screams Halloween while delivering serious comfort food vibes that’ll have everyone coming back for seconds.
I discovered lush desserts during a potluck emergency (you know the type—when you volunteer to bring dessert and suddenly realize you have zero time to bake). This layered masterpiece saved my reputation and became my secret weapon for impressive desserts that require minimal actual skill.
The genius here is that each layer serves a purpose: crunchy cookie base, creamy cheesecake middle, fruity pudding layer, and fluffy whipped topping finale. It’s like eating a rainbow of textures and flavors, except this rainbow happens to be Halloween-themed and absolutely addictive 🙂
Ingredients
This recipe transforms simple ingredients into something that looks professionally made:
For the Cookie Crust Foundation:
- 36 chocolate sandwich cookies (like Oreos)
- 6 tablespoons butter, melted
For the Orange Gelatin Layer:
- 6 oz orange gelatin mix (like Jell-O)
- ⅓ cup boiling water
- 6.8 oz vanilla instant pudding mix
- 2½ cups cold milk
For the Purple Cream Cheese Layer:
- 8 oz cream cheese, softened to room temperature
- 1 cup powdered sugar
- Purple food coloring (gel works best)
For the Whipped Topping Layers:
- 16 oz whipped topping (like Cool Whip), thawed
- Green food coloring
- Halloween sprinkles for the finale
Essential Equipment:
- 9×13 glass baking dish
- Food processor (or large ziplock bag and rolling pin)
- Electric mixer
- Multiple mixing bowls
- Rubber spatula
Pro tip: Use gel food coloring instead of liquid—it gives you more vibrant colors without thinning out your layers. Trust me, the visual impact is worth the extra dollar spent.
Instructions
Step 1: Build Your Cookie Foundation Crush those chocolate cookies in a food processor until they’re fine crumbs. Mix with melted butter until it looks like wet sand, then press firmly into the bottom of your 9×13 dish. This creates the perfect crunchy base that won’t get soggy.
Step 2: Create the Orange Magic In a small bowl, whisk the orange gelatin with boiling water until completely dissolved. Don’t skip this step—lumpy gelatin ruins the smooth texture. In a separate bowl, whisk together the pudding mix and cold milk until thick, then combine with the orange gelatin mixture.
Step 3: Make the Purple Dream Layer Using an electric mixer, beat the softened cream cheese and powdered sugar until completely smooth—no lumps allowed here! Fold in 2 cups of the whipped topping, then add purple food coloring drop by drop until you get that perfect Halloween purple.
Step 4: Start Building Your Masterpiece Spread the purple cream cheese mixture evenly over the cookie crust. Next, carefully spread the orange pudding layer on top. The key word here is “carefully”—you want distinct layers, not a muddy mess.
Step 5: The Green Finale Mix the remaining whipped topping with green food coloring until you achieve that perfect spooky green. Spread this as your final layer, then go crazy with Halloween sprinkles because more is definitely more when it comes to festive desserts.
Step 6: The Hardest Part—Waiting Refrigerate for at least 4 hours, but overnight is even better. This chilling time allows all the layers to set properly and the flavors to meld together into pure Halloween perfection.
Why This Recipe Is Pure Genius
No-Bake Convenience Zero oven time means you can make this even in the middle of summer or when your oven is occupied with dinner. It’s the ultimate stress-free dessert for busy Halloween party planning.
Make-Ahead Champion This dessert actually gets better after sitting overnight. Make it the day before your party and forget about last-minute dessert stress. Your future self will thank you.
Crowd-Pleasing Portions A 9×13 pan feeds a lot of people, making it perfect for parties, potlucks, or feeding hungry trick-or-treaters (and their parents). One pan, many happy faces.
Instagram-Worthy Layers The visual impact of those distinct colored layers is seriously impressive. People will think you’re way more skilled than you actually are, and honestly, that’s half the fun of cooking.
Storage and Make-Ahead Tips
Store covered in the refrigerator for up to 4 days. If your dish doesn’t have a lid, tightly cover with plastic wrap to prevent the top layer from absorbing fridge odors.
This dessert doesn’t freeze well—the texture changes too much and it becomes watery when thawed. But honestly, with how delicious it is, leftovers are rarely a problem.
For parties, make this 1-2 days ahead. The flavors actually improve with time, and you’ll have one less thing to worry about on party day.
Recipe Variations
Color Customizations: Switch up the colors for different holidays—red and green for Christmas, pink and red for Valentine’s Day, or school colors for game day parties.
Flavor Adventures: Try different pudding flavors like chocolate, butterscotch, or pistachio. Lemon pudding with yellow coloring makes a gorgeous spring version.
Texture Additions: Add mini chocolate chips between layers, crushed candy bars in the crust, or chopped nuts for extra crunch.
Crust Alternatives: Graham crackers, gingersnaps, or vanilla wafers all make excellent crust options depending on your flavor preferences.
Size Options: Make individual portions in mason jars for a cute presentation, or use a smaller 8×8 dish for intimate gatherings.
Perfect Party Presentation
This dessert looks stunning served from the dish, but for extra wow factor, try these presentation tips: Use a clear glass dish so guests can see all the beautiful layers from the side. Cut with a sharp knife wiped clean between cuts for the cleanest slices.
Serve on Halloween-themed plates and add a few extra sprinkles to each slice. The contrast between the colorful dessert and spooky decorations is absolutely perfect.
IMO, this is one of those desserts that photographs beautifully, so definitely snap some pics before it disappears!
Nutritional Honestly
Let’s be real—this is pure indulgence and that’s exactly the point. It’s a special occasion dessert meant for celebrating, not everyday eating. Each slice delivers serious satisfaction with its combination of creamy, fruity, and crunchy textures.
The good news? A little goes a long way because it’s so rich and satisfying. Most people are perfectly happy with a smaller slice, which means the pan lasts longer.
Professional Tips
Room Temperature Is Key: Make sure your cream cheese is properly softened and your whipped topping is fully thawed. Cold ingredients don’t mix well and create lumpy layers.
Layer Patience: Let each layer settle for a few minutes before adding the next one. This prevents colors from bleeding together and keeps your lines clean.
Mixing Technique: Fold whipped topping gently to maintain its airy texture. Aggressive mixing deflates it and creates dense layers.
Color Intensity: Start with less food coloring than you think you need—you can always add more, but you can’t take it back.
Clean Cuts: Use a sharp knife and clean it between cuts for professional-looking slices that show off those gorgeous layers.
FAQs
Can I make this without a food processor? Absolutely! Put the cookies in a large ziplock bag and crush them with a rolling pin. It takes a bit more effort but works perfectly.
What if I can’t find orange gelatin? Any flavor works—try cherry for red layers, lime for green, or even unflavored gelatin with food coloring for custom colors.
Can I use homemade whipped cream instead? Store-bought whipped topping holds up better in layered desserts. Homemade whipped cream can deflate and make your layers less stable.
How do I get vibrant colors without too much food coloring? Use gel food coloring instead of liquid—it’s more concentrated and won’t thin out your layers while giving you more intense colors.
Can I make this in individual servings? Yes! Layer in clear glasses or mason jars for adorable individual portions. Just reduce the chilling time to about 2 hours since smaller portions set faster.
Why Kids (and Adults) Go Crazy for This
There’s something magical about cutting into this dessert and revealing those perfect layers. Kids love the bright colors and sweet flavors, while adults appreciate the nostalgic comfort food vibes and impressive presentation.
The combination of textures keeps every bite interesting—you get crunch from the cookies, creaminess from the cheese layer, smooth pudding, and fluffy whipped topping all in one spoonful.
The Halloween Magic Factor
This dessert captures everything great about Halloween—it’s fun, colorful, slightly over-the-top, and absolutely delicious. The dramatic colors make it feel special and festive, while the familiar flavors keep it approachable for all ages.
It’s the kind of dessert that creates memories and becomes part of your annual Halloween tradition. Every year, people will ask if you’re making “that amazing layered dessert” again.
The Final Verdict
This Halloween lush represents everything wonderful about no-bake desserts—maximum impact with manageable effort. The layered presentation looks incredibly sophisticated, but the technique is simple enough for beginners to master.
Whether you’re hosting a Halloween party, contributing to a potluck, or just want to make something special for your family, this dessert delivers on every level. It’s festive without being gimmicky, delicious without being complicated, and impressive without being stressful.
Trust me, once you see how easy it is to create something this stunning, you’ll be making layered desserts for every holiday. This Halloween lush is just the beginning of your no-bake dessert empire.







