
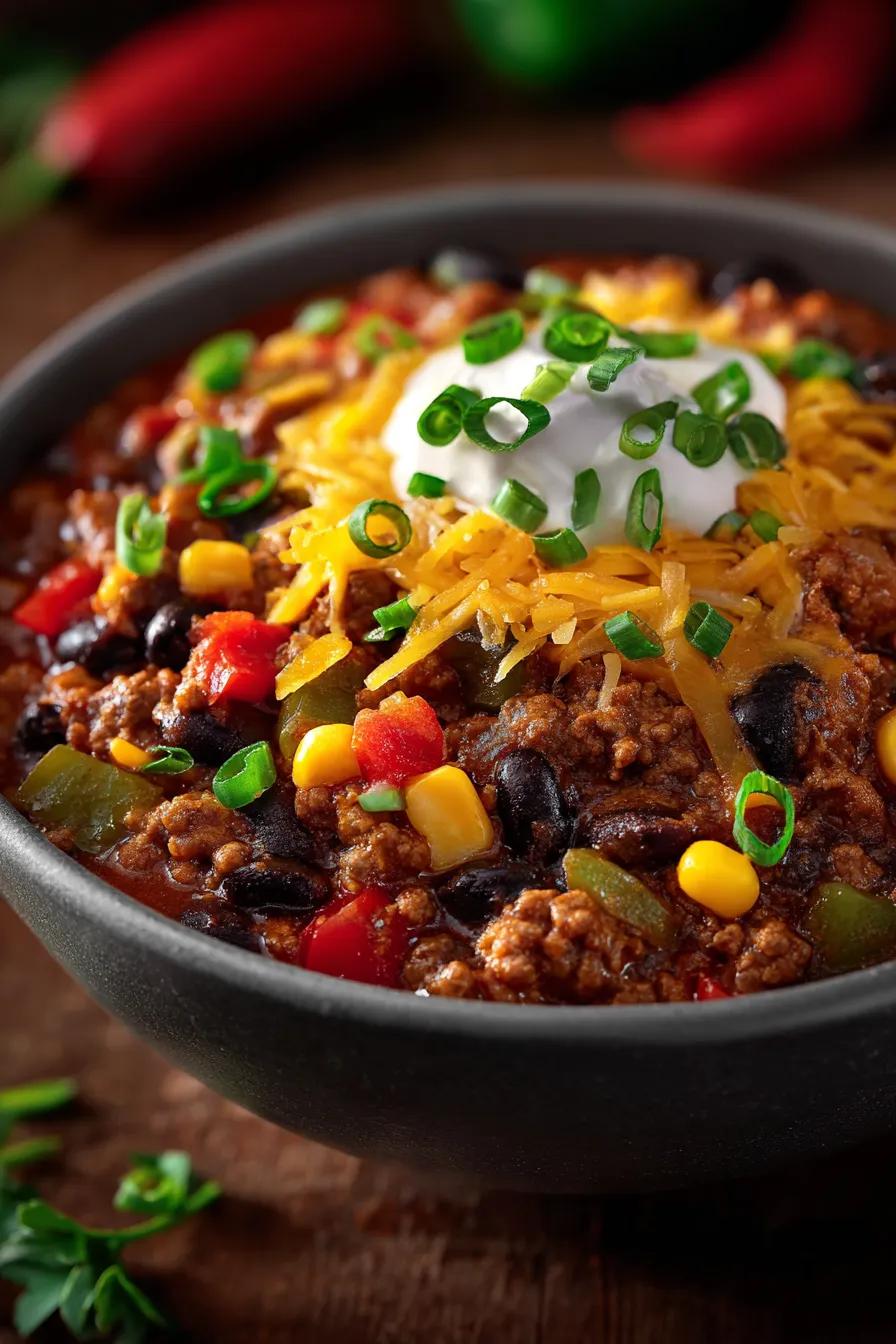
There’s something magical about the way a pot of chili transforms your kitchen into the coziest place on earth. The rich aroma of smoky spices, the gentle bubbling of tomatoes melding with beans, and that perfect balance of heat that makes you reach for another spoonful even when you’re already full.
After years in professional kitchens, I’ve learned that the secret to restaurant-quality chili isn’t fancy ingredients or complicated techniques—it’s understanding how each spice builds upon the next. This hearty Southwestern chili recipe has become my family’s cold-weather obsession, and honestly? It’s the dish I turn to when I need to feed a crowd without losing my sanity.
Why This Chili Recipe Works Every Time
During my restaurant days, I watched countless cooks struggle with chili because they rushed the process. The difference between good chili and incredible chili lies in those crucial first few steps where you build your flavor foundation. This recipe gives you that restaurant depth in under an hour—perfect for busy weeknight dinners when you want something soul-warming but don’t have all day.
What makes this chili special:
- Three-bean combination creates the perfect texture contrast
- Smoky paprika adds depth without overwhelming heat
- Fresh corn kernels provide sweet pops that balance the spice
- Make-ahead friendly – tastes even better the next day
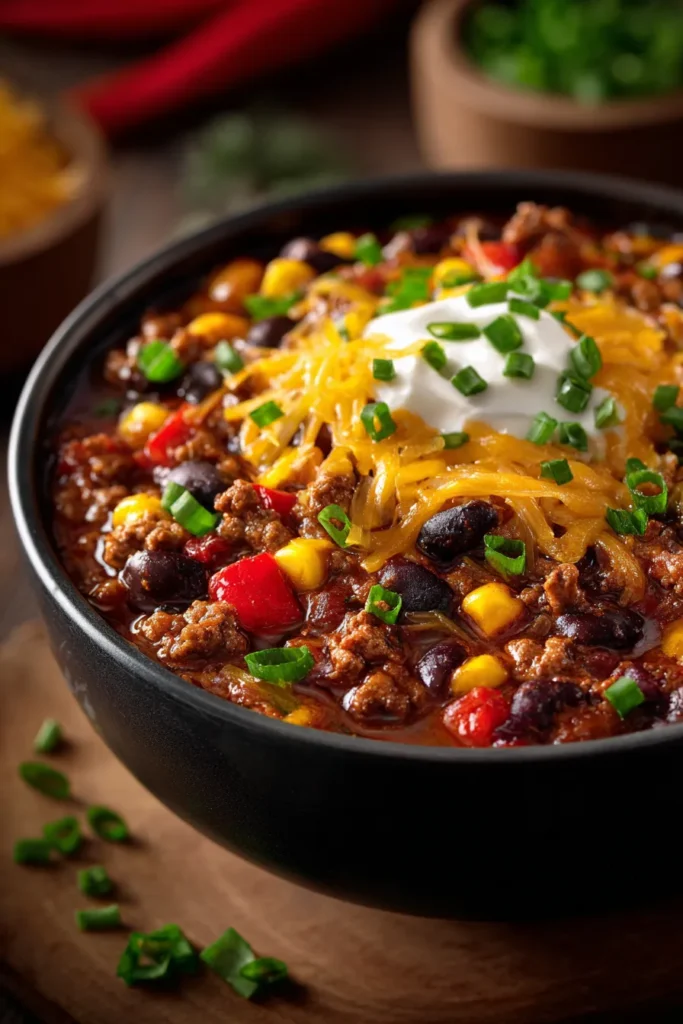
Essential Ingredients for Southwestern Chili
The beauty of this chili lies in its simple, accessible ingredients that pack maximum flavor punch. I’ve tested this recipe with busy families across different budgets, and every single ingredient serves a purpose.
The Protein Foundation
Ground beef or turkey (1 lb) – I personally prefer 85/15 ground beef for richness, but turkey works beautifully for a lighter version. During my leaner cooking days, I discovered that browning the meat properly creates those caramelized bits that become flavor gold.
The Spice Blend That Makes It Sing
- Chili powder (2 tablespoons) – This is your primary heat source
- Ground cumin (1 tablespoon) – Adds that earthy Southwestern warmth
- Smoked paprika (1 teaspoon) – My secret weapon for depth
- Cayenne pepper (1/4 teaspoon) – Adjustable heat level
The Supporting Cast
Bell peppers (1 red, 1 green) bring sweetness and crunch, while crushed tomatoes create the rich base. The three-bean combination – kidney, black, and corn – gives you protein, fiber, and varied textures in every bite.
Pro tip from my restaurant training: Always toast your spices for 30 seconds before adding liquids. It awakens the oils and creates deeper flavor.
Step-by-Step Perfect Chili Method
Here’s where my professional kitchen experience really pays off. I’ve streamlined this process so you get maximum flavor with minimum fuss.
Building Your Flavor Base (10 minutes)
Heat 2 tablespoons olive oil in your heaviest pot – a good cast iron Dutch oven works beautifully here, though any large pot will do. Sauté 1 diced onion until translucent, about 5 minutes. This step is crucial – those softened onions provide the sweet foundation that balances all the heat.
Add 3 minced garlic cloves and cook until fragrant, about 1 minute. Don’t let it burn – bitter garlic will ruin your entire pot.
The Meat Stage
Brown your 1 pound ground meat, breaking it into bite-sized chunks. I learned this technique from a Texas pit master: don’t stir too frequently. Let those pieces develop a nice crust – that’s where your flavor lives.
Vegetable Integration
Stir in your diced bell peppers and cook for 5 minutes. They should soften slightly but retain some bite. This is when your kitchen starts smelling incredible.
The Magic Spice Moment
Here’s where restaurant technique makes all the difference. Add all your spices directly to the hot meat mixture and stir constantly for 30 seconds. This toasting step transforms ordinary spices into something extraordinary.
The Simmering Stage
Pour in one 28-oz can crushed tomatoes and 2 cups broth (beef or chicken). Scrape up any browned bits from the bottom – that’s pure flavor. Bring to a simmer, reduce heat, and cover for 20 minutes.
This is when I usually start preparing my perfect cornbread to go alongside.
Final Assembly
Stir in 1 can kidney beans, 1 can black beans (both drained), and 1 cup corn kernels. Simmer uncovered for 15 more minutes until everything melds together beautifully.
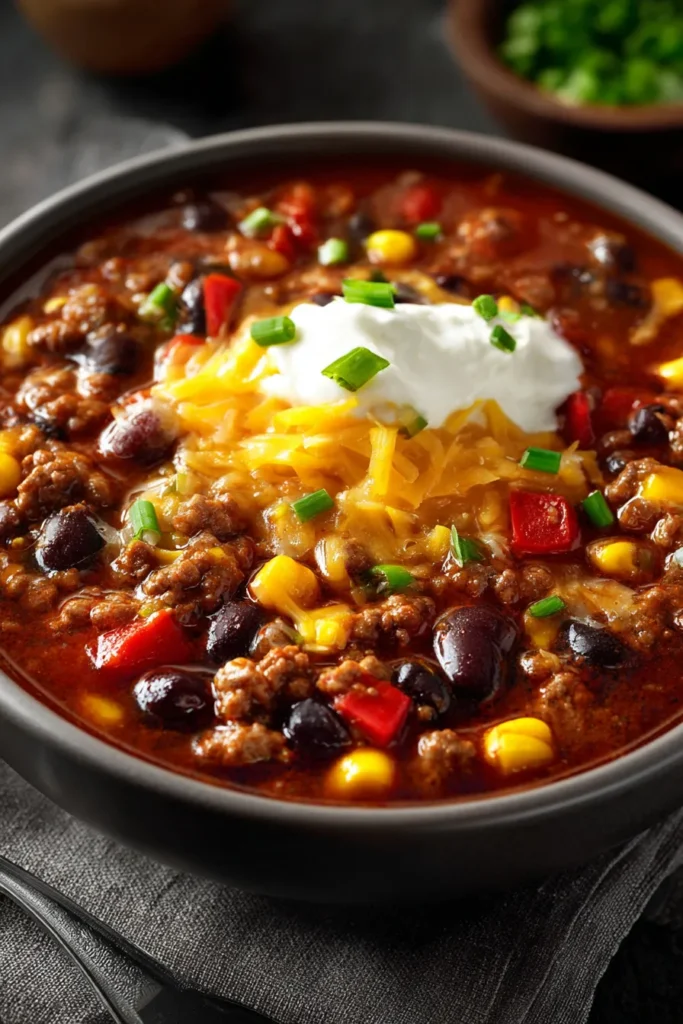
Smart Serving Suggestions That Wow
After hosting countless chili nights, I’ve learned that presentation matters. Even a simple bowl of chili becomes special with the right accompaniments.
The Ultimate Toppings Bar
Set up a DIY station with:
- Shredded cheese (cheddar or Monterey Jack)
- Sour cream for cooling heat
- Fresh cilantro for brightness
- Sliced jalapeños for extra kick
- Diced avocado for creaminess
Perfect Pairings
This chili shines alongside my easy cornbread recipe or over baked sweet potatoes for a healthier twist. For parties, I serve it with homemade tortilla chips and watch it disappear.
Make-Ahead Magic for Busy Families
One of my favorite things about this recipe? It’s practically designed for meal prep. The flavors actually improve after a day in the refrigerator, making it perfect for Sunday prep or planned leftovers.
Storage Solutions
Refrigerator: Keeps beautifully for 4-5 days in airtight containers Freezer: Portion into individual servings for up to 3 months
Reheating Like a Pro
Always reheat gently on the stovetop, adding a splash of broth if needed. Microwaving works in a pinch, but stovetop reheating maintains the best texture.
Customization Options for Every Family
During my years of recipe testing with families, I’ve discovered endless ways to adapt this base recipe.
Heat Level Adjustments
Mild version: Reduce cayenne to 1/8 teaspoon, use sweet paprika instead of smoked Fire lover’s edition: Add 1-2 diced jalapeños with the peppers, increase cayenne to 1/2 teaspoon
Dietary Modifications
Vegetarian: Skip the meat, double the beans, add diced mushrooms for umami Low-carb: Serve over cauliflower rice instead of regular rice Paleo-friendly: Use compliant ingredients and skip the beans
My Family’s Chili Night Tradition
This recipe has become more than just dinner in our house – it’s become a tradition. Every first cold snap of fall, I make a double batch and freeze half for those inevitable busy January nights when cooking feels impossible.
My neighbor Sarah, who swears she “can’t cook,” has made this recipe successfully three times now. Her kids, notorious picky eaters, actually request it for dinner. That’s the power of a well-developed, foolproof recipe.
The Science Behind Perfect Chili Texture
Here’s something I learned during my culinary training that most home cooks don’t know: the order of ingredient addition matters enormously. Adding beans too early makes them mushy, while adding them too late means they never absorb the flavors properly.
The 20-minute covered simmer allows the meat to become tender and the flavors to meld, while the final 15-minute uncovered simmer concentrates the sauce to that perfect chili consistency.
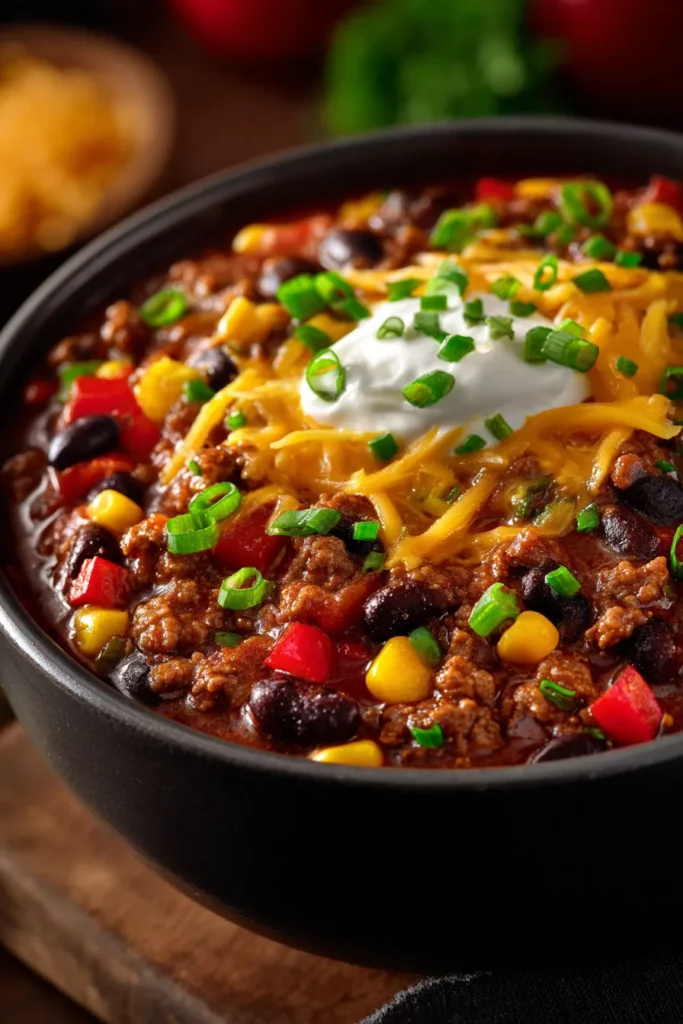
Beyond Basic: Restaurant-Quality Finishing Touches
Want to elevate this from good to extraordinary? Here are my professional secrets:
The Acid Balance Test
Taste your chili after the final simmer. If it tastes flat despite proper seasoning, add 1 teaspoon apple cider vinegar. This brightens all the flavors without making it taste vinegary.
The Umami Boost
For extra depth, stir in 1 tablespoon tomato paste with your spices. It adds concentrated umami that makes people wonder about your “secret ingredient.”
Seasonal Variations That Keep Things Interesting
Fall/Winter: Add diced butternut squash with the peppers for sweetness and extra nutrition Summer: Incorporate fresh corn cut from the cob and fresh summer peppers from your garden Holiday version: A touch of cocoa powder and cinnamon creates complex warmth
Common Mistakes That Ruin Chili (And How to Avoid Them)
After teaching this recipe to dozens of home cooks, I’ve seen the same mistakes repeatedly:
Mistake 1: Skipping the spice toasting step – this eliminates half the flavor development Mistake 2: Adding beans too early – results in mushy, broken beans Mistake 3: Not browning the meat properly – loses all those caramelized flavor compounds Mistake 4: Over-stirring during simmering – breaks down the texture
Perfect Pairings for Complete Meals
This chili works beautifully as part of larger menus. For casual entertaining, I serve it alongside Mexican street corn salad and fresh guacamole.
For heartier appetites, ladle it over baked sweet potatoes or use it as a base for loaded nachos.
Meal Prep Strategies That Actually Work
I’ve tested every meal prep method with this chili, and here’s what actually works in real-life busy kitchens:
Individual portions: Freeze in single-serving containers for grab-and-go lunches Family portions: Use freezer bags laid flat – they stack efficiently and thaw quickly Toppings prep: Pre-shred cheese and store separately; prepare fresh toppings day-of
The key is portioning before freezing. Nothing’s worse than trying to chisel apart a frozen brick of chili on a busy Tuesday night.
Why This Recipe Beats Restaurant Versions
Having worked in restaurants that charged $12+ for a bowl of chili, I can tell you that this homemade version delivers superior flavor and value. You control the heat level, the ingredient quality, and the portion size. Plus, the leftovers create multiple meals – something restaurant portions never do.
Frequently Asked Questions
Can I make this chili in a slow cooker? Absolutely! Brown the meat and sauté vegetables first, then transfer everything to your slow cooker. Cook on LOW for 6-8 hours or HIGH for 3-4 hours.
How do I reduce the sodium content? Use low-sodium broth and rinse your canned beans thoroughly. You can also use fresh or frozen corn instead of canned to further reduce sodium.
What’s the best way to thicken thin chili? Simmer uncovered for longer, or mix 2 tablespoons cornmeal with a little cold water and stir into the chili during the last 10 minutes of cooking.
Can I substitute different types of beans? Yes! Pinto beans, navy beans, or cannellini beans all work well. Just maintain the same total quantity for proper consistency.
How long does this chili need to simmer for best flavor? Minimum 35 minutes total simmering time, but longer is better. The flavors continue developing up to 2 hours of gentle simmering.
The Final Taste Test
The true test of any chili recipe is the second-day taste. This chili actually improves overnight as the flavors continue developing. The beans absorb more spice, the meat becomes even more tender, and that perfect balance of heat and comfort reaches its peak.
When I serve this at potlucks, I always get asked for the recipe. When my teenage nephew requests it for his birthday dinner over anything else, I know I’ve got a winner. This isn’t just chili – it’s comfort food that brings people together.







