
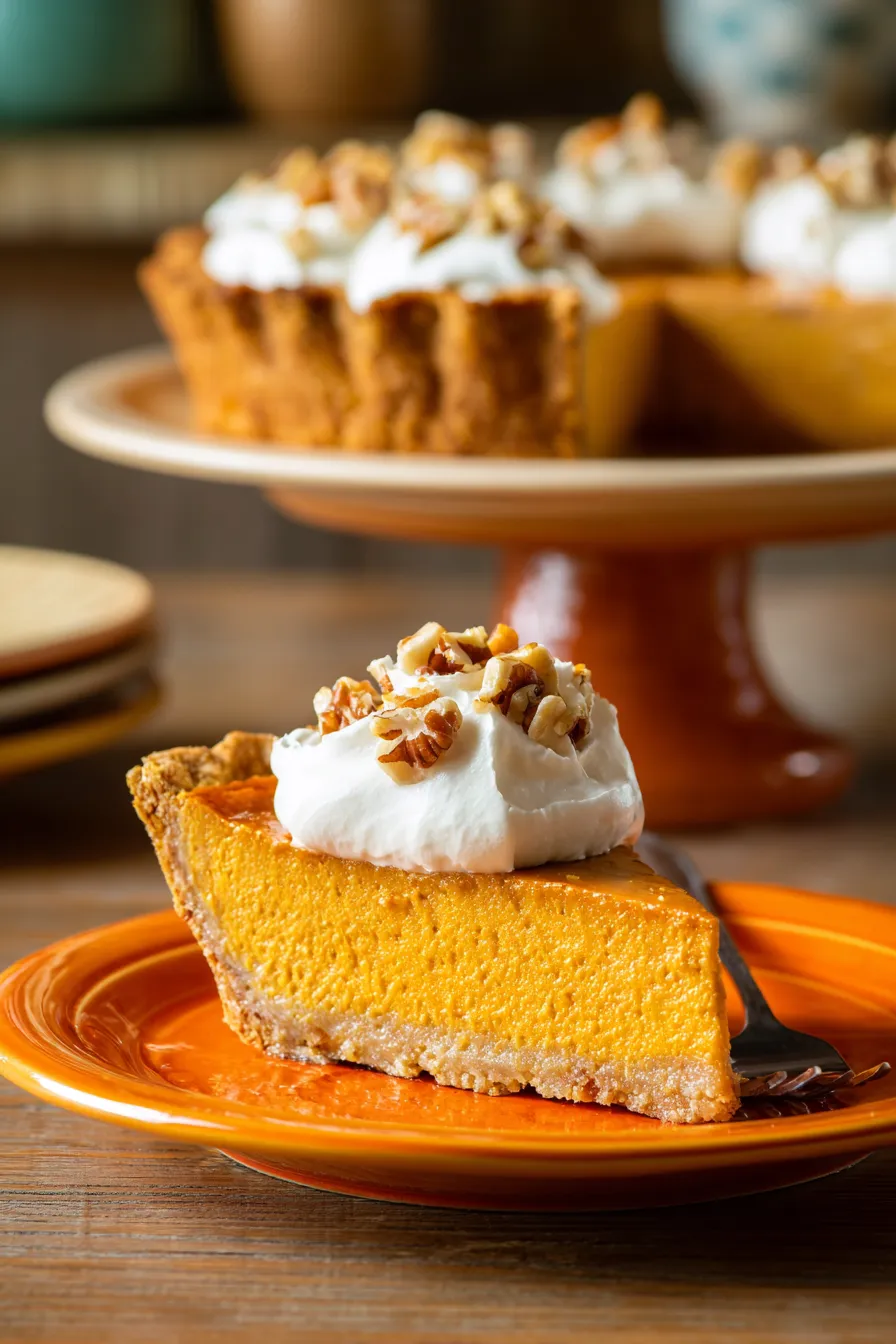
This show-stopping pumpkin caramel pie brings the iconic Milk Bar flavors straight to your kitchen – and it’s surprisingly achievable for home bakers!
There’s something magical about recreating a restaurant dessert that makes your guests wonder if you secretly attended pastry school. During my years working in professional kitchens, I learned that the most impressive desserts often combine simple techniques in unexpected ways – and this Perfect Pumpkin Pie Crisp Recipe philosophy applies beautifully to Milk Bar’s famous pumpkin caramel pie.
After testing this recipe countless times for my family’s Thanksgiving gatherings, I’ve perfected every component to ensure foolproof results. My neighbor Sarah, who’s intimidated by pastry making, successfully made this for her book club and received recipe requests from every single member. The secret lies in understanding that each layer builds upon the last, creating a dessert that’s both technically impressive and surprisingly approachable.
Why This Pumpkin Caramel Pie Works Every Time
The genius of Milk Bar’s approach lies in balancing textures and temperatures. You get the creamy richness of pumpkin custard, the buttery crunch of their signature crust, and that glossy caramel that pools perfectly without overwhelming the delicate spice flavors.
The Three-Layer Success Formula
Crust Foundation: Their cornflake crunch bottom provides textural contrast while preventing soggy bottoms – a technique I learned during my restaurant days when we needed desserts that held up during busy service.
Pumpkin Filling: Silky smooth custard that sets perfectly without cracking, thanks to the careful balance of eggs and dairy.
Caramel Crown: A glossy, pourable caramel that firms up just enough to slice cleanly while maintaining that luxurious flow.
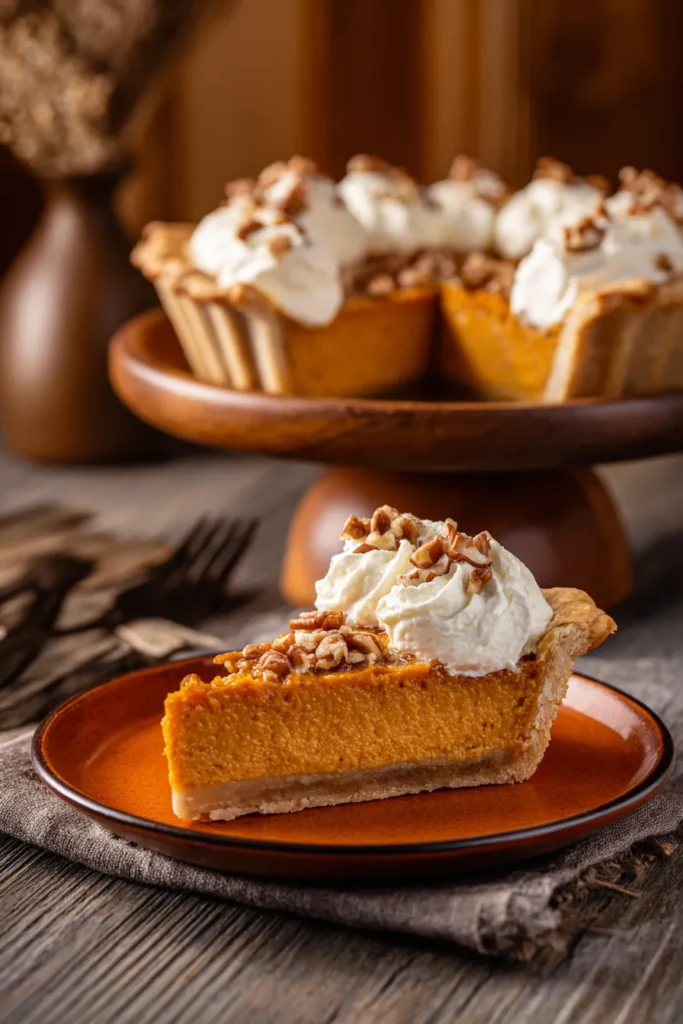
Essential Ingredients for Restaurant-Quality Results
For the Cornflake Crust
- 2 cups cornflakes, crushed
- 1/4 cup light brown sugar, packed
- 1/2 teaspoon kosher salt
- 4 tablespoons unsalted butter, melted
For the Pumpkin Filling
- 1 (15 oz) can pumpkin puree
- 3/4 cup heavy cream
- 1/2 cup whole milk
- 3 large eggs
- 1/2 cup light brown sugar, packed
- 1/4 cup granulated sugar
- 1 teaspoon vanilla extract
- 1 teaspoon ground cinnamon
- 1/2 teaspoon ground ginger
- 1/4 teaspoon ground nutmeg
- 1/2 teaspoon kosher salt
For the Salted Caramel Topping
- 1 cup granulated sugar
- 1/4 cup water
- 1/2 cup heavy cream, warmed
- 3 tablespoons unsalted butter
- 1 teaspoon vanilla extract
- 1/2 teaspoon flaky sea salt
Step-by-Step Method for Perfect Results
Preparing the Cornflake Crust (20 minutes)
Create the Base: Preheat your oven to 350°F. In a food processor, pulse cornflakes until you have a mix of fine crumbs and slightly larger pieces – this creates the ideal texture contrast that made me fall in love with this technique during my pastry training.
Mix and Press: Combine crushed cornflakes with brown sugar and salt. Drizzle melted butter over the mixture and toss until evenly coated. Press firmly into a 9-inch pie pan, ensuring even coverage up the sides. A measuring cup works perfectly for achieving an even, compact crust.
Pre-bake Foundation: Bake for 12-15 minutes until golden and fragrant. This step prevents sogginess and creates the signature crunch that sets this pie apart from traditional versions.
Mastering the Pumpkin Filling (30 minutes prep, 45 minutes baking)
Blend for Smoothness: Whisk pumpkin puree, cream, and milk in a large bowl until completely smooth. This Easy Creamy Pumpkin Pasta approach ensures no lumps in your final custard.
Incorporate Eggs Carefully: In a separate bowl, whisk eggs with both sugars until well combined. Gradually add the pumpkin mixture to prevent scrambling – a technique that took me several attempts to master when I first started making custard-based desserts.
Season Perfectly: Add vanilla, cinnamon, ginger, nutmeg, and salt. The spice balance here is crucial – each one should enhance rather than compete with the pumpkin’s natural sweetness.
Bake Low and Slow: Pour filling into prepared crust and bake at 325°F for 45-50 minutes, until center is just set but still slightly jiggly. Overbaking creates a grainy texture, so err on the side of caution.
Creating Restaurant-Quality Caramel (25 minutes)
Master the Caramel: This step intimidated me for years until a pastry chef mentor taught me the dry method. Combine sugar and water in a heavy-bottomed saucepan – a quality heavy pan makes temperature control much easier.
Watch for Amber Perfection: Cook without stirring until sugar reaches a deep amber color, about 8-10 minutes. Swirl the pan occasionally for even browning. The color should resemble dark honey.
Add Cream Safely: Remove from heat and slowly whisk in warm cream – it will bubble dramatically, so pour steadily while whisking. This prevents seizing and ensures silky smoothness.
Finish with Butter: Whisk in butter, vanilla, and salt until glossy and smooth. Let cool for 10 minutes before pouring over cooled pie.
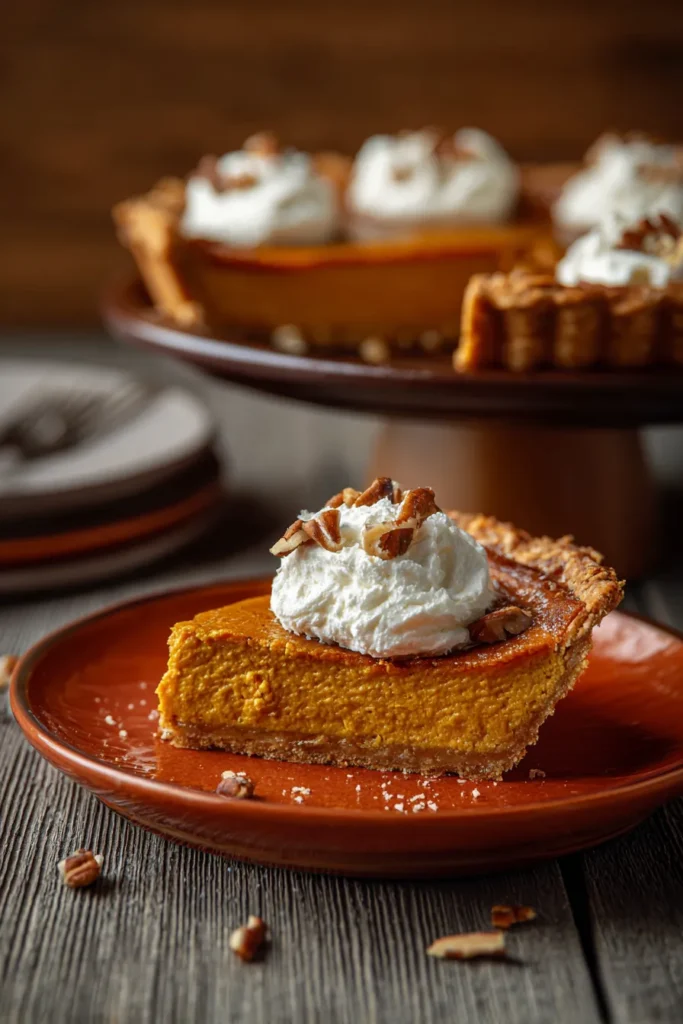
Pro Tips for Bakery-Perfect Results
Temperature Control Secrets
Room Temperature Ingredients: Like my Healthy Individual Pumpkin Cheesecakes recipe, this pie benefits from room temperature dairy ingredients for smooth mixing.
Cooling Stages: Let each component cool properly before assembly. Hot caramel on warm filling creates a messy result that lacks the clean layers you’re aiming for.
Make-Ahead Strategy
Timeline Planning: I always make this pie the day before serving. The flavors meld beautifully overnight, and the caramel sets to perfect slicing consistency.
Storage Solutions: Cover loosely with plastic wrap once completely cool. The pie keeps beautifully for up to three days refrigerated.
Troubleshooting Common Issues
Preventing Crust Problems
Soggy Bottom Prevention: The cornflake crust’s pre-baking step is non-negotiable. During my restaurant days, we learned that this extra step prevents the dreaded soggy bottom that ruins so many custard pies.
Even Browning: Rotate the crust halfway through pre-baking for uniform color, just like we do with my Baked Pumpkin Donuts with Maple Glaze.
Achieving Smooth Filling
Strain for Perfection: If you notice any lumps in your filling mixture, strain it through a fine-mesh sieve before baking. This professional technique ensures restaurant-quality smoothness.
Avoid Cracks: Place a pan of hot water on the oven’s bottom rack to create steam, preventing surface cracks that can mar your pie’s appearance.
Caramel Success Tips
Sugar Crystal Prevention: Keep the sides of your saucepan clean with a pastry brush dipped in water. This prevents crystallization that can ruin your caramel’s smooth texture.
Perfect Consistency: The caramel should coat the back of a spoon when ready. Too thick? Whisk in a tablespoon of warm cream.
Seasonal Variations and Adaptations
Holiday Entertaining Options
Thanksgiving Perfection: This pie serves 8-10 people generously, making it ideal for holiday gatherings. I often make two – one traditional and one with my Pumpkin Cookies with Cream Cheese Frosting spice blend for variety.
Individual Portions: Divide the recipe among 6-8 tartlet pans for elegant individual servings that work beautifully for dinner parties.
Flavor Variations
Spice Adaptations: Try my Pumpkin Cookies with Cinnamon Frosting spice blend for a warming twist, or add a pinch of cardamom for sophisticated depth.
Texture Additions: Fold chopped toasted pecans into the crust mixture for extra crunch, similar to my Pumpkin Smores Cookies approach.
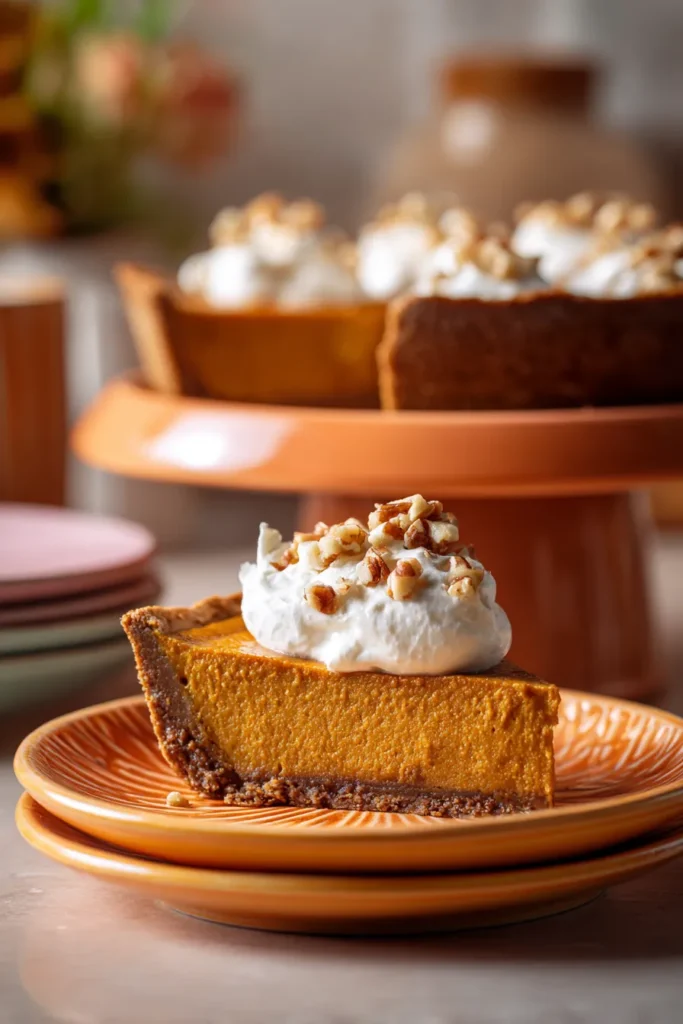
Serving and Presentation Ideas
Restaurant-Style Plating
Clean Slices: Use a sharp knife dipped in warm water between cuts for professional-looking slices with clean caramel drips.
Garnish Options: A dollop of freshly whipped cream or a sprinkle of flaky sea salt elevates the presentation while balancing the sweetness.
Storage and Make-Ahead Benefits
Overnight Magic: Like many custard-based desserts I perfected during my pastry training, this pie actually improves after a night in the refrigerator. The flavors meld beautifully, and the textures set to perfection.
Freezing Instructions: The pie freezes beautifully for up to one month. Thaw overnight in the refrigerator and add fresh caramel if desired.
Why This Recipe Works for Busy Bakers
Having tested this with countless home bakers over the years, I’ve learned that success comes from understanding each component’s purpose. The cornflake crust provides foolproof crunch, the custard filling is nearly impossible to curdle when you follow the temperature guidelines, and the caramel is forgiving once you understand the visual cues.
My friend Lisa, a working mom of two, makes this every Thanksgiving because she can prepare it completely the day before, leaving her free to focus on the main meal. That’s the beauty of a well-designed dessert – it should reduce stress, not create it.
This Pumpkin Pie Dump Cake approach to fall baking – where technique matters more than complexity – has transformed how my readers approach holiday desserts. Once you master these fundamental skills, you’ll find yourself adapting and creating with confidence.
Frequently Asked Questions
Can I make this pie gluten-free? Absolutely! The cornflake crust is naturally gluten-free when you use certified gluten-free cornflakes. Always check your cornflake labels to ensure they meet your dietary needs.
How far ahead can I make this pie? I recommend making it 1-2 days before serving for best results. The flavors improve overnight, and the caramel sets to perfect slicing consistency. Store covered in the refrigerator.
What if my caramel seizes or becomes grainy? Don’t panic! Add 2-3 tablespoons of warm cream and whisk vigorously off the heat. If it’s still grainy, strain it through a fine-mesh sieve before using.
Can I substitute the heavy cream in the filling? For best results, stick with heavy cream. Half-and-half will work in a pinch, but you’ll lose some of the luxurious richness that makes this pie special.
Why is my filling cracking? Cracking usually indicates overbaking or too high temperature. Bake at 325°F and check for doneness when the center is just set but still slightly jiggly – it will continue cooking as it cools.
This recipe represents everything I love about thoughtful baking – impressive results achieved through understanding technique rather than complicated steps. Whether you’re hosting Thanksgiving dinner or treating your family to something special, this Milk Bar-inspired pumpkin caramel pie delivers restaurant-quality results every single time.







