
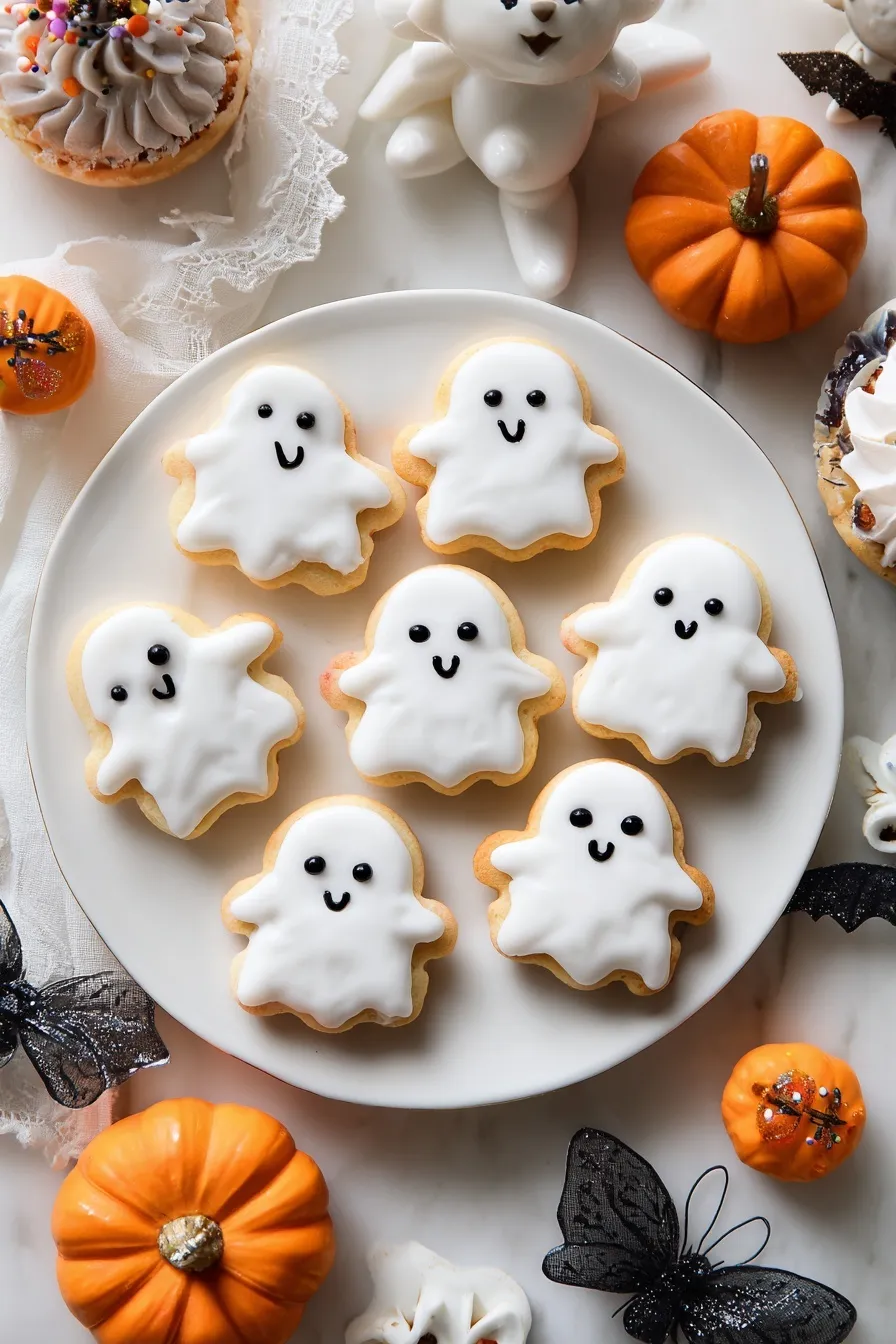
Four ingredients, zero baking, and maximum Halloween cuteness—these spooky treats are pure genius.
Since you are here, make sure to check out these amazing Halloween and sweet treat recipes:
- Halloween Oreo Stuffed Chocolate Chip Cookies
- Halloween Cream Cheese Swirl Brownies
- Spooky Halloween Cookies
- Halloween White Chocolate Oreo Bark
- Easy Halloween Brain Treats Recipe
These Nutter Butter ghost cookies are what happens when laziness meets creativity—and honestly, it’s beautiful. Four ingredients, no baking required, and you’ve got the cutest Halloween treats that’ll have everyone asking for the “recipe” (which you can smugly reveal takes about 15 minutes).
I stumbled across this idea during one of those last-minute school party emergencies, and it’s become my go-to Halloween hack ever since. The oval shape of Nutter Butter cookies is literally perfect for ghosts, and the simplicity means even the most kitchen-challenged parent can pull these off.
The best part? Kids absolutely lose their minds over these little ghost faces, and adults are impressed by how adorable they look. It’s the perfect example of working smarter, not harder 🙂
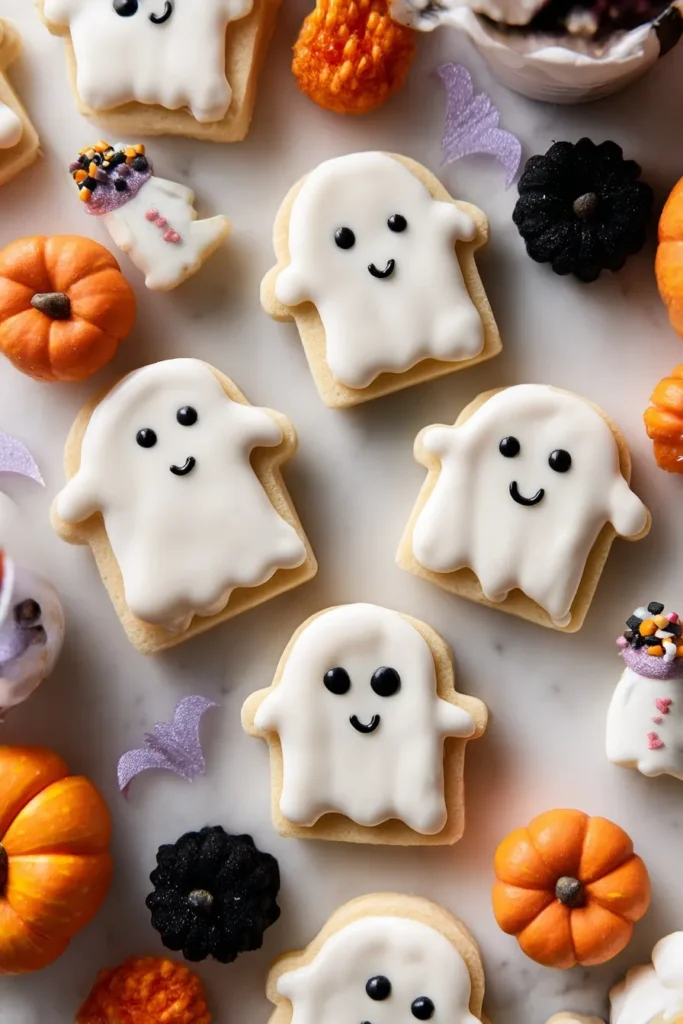
Ingredients
This recipe proves that sometimes the simplest ideas are the most brilliant:
The Ghost Foundation:
- 12 Nutter Butter cookies (the classic peanut butter sandwich cookies)
The Spooky Coating:
- 1 cup white candy melts (or white chocolate chips)
The Facial Features:
- 24 candy eyeballs (2 per ghost)
- 12 mini chocolate chips (for the mouths)
Essential Equipment:
- Microwave-safe bowl
- Wax paper or parchment paper
- Baking sheet for setting
Optional Upgrades:
- White almond bark (if you prefer the taste over candy melts)
- Different sized eyeballs for personality variations
- Edible markers for drawing mouths instead of chocolate chips
Pro tip: Buy extra candy eyeballs—they have a tendency to “disappear” during the decorating process, especially if kids are helping!
Instructions
Step 1: Set Up Your Ghost Assembly Line Line a baking sheet with wax paper or parchment. This gives your freshly dipped ghosts a place to set without sticking to anything. Trust me, this step saves you from a sticky mess later.
Step 2: Melt the Magic Place white candy melts in a microwave-safe bowl. Microwave in 30-second intervals at 50% power, stirring between each interval. This takes about 4-5 minutes total. The key is patience—rushing this step leads to seized chocolate and frustrated tears.
Step 3: The Ghost Transformation Dip each Nutter Butter cookie into the melted white chocolate, covering about 70-75% of the cookie. Leave the bottom exposed so it looks like the ghost is floating. Let excess chocolate drip off and give it a gentle tap on the bowl edge if it’s being stubborn.
Step 4: Bring Them to Life While the chocolate is still wet (this is crucial timing!), press 2 candy eyeballs and 1 mini chocolate chip mouth into the white coating. Work quickly but gently—you want them to stick but not sink completely into the chocolate.
Step 5: The Waiting Game Place each finished ghost on your prepared baking sheet and let them set for 5-10 minutes. This is the hardest part because they look so cute you’ll want to eat them immediately.
Step 6: Spook and Serve Once set, these little ghosts are ready to haunt your Halloween party or trick-or-treaters’ dreams!
Why These Are Absolutely Perfect
Zero Baking Required No oven, no mixing bowls, no complicated techniques. Just melt, dip, decorate, and done. It’s the kind of recipe that makes you look like a Halloween hero with minimal effort.
Kid-Friendly Fun Children can absolutely help with this recipe (with supervision for the hot chocolate). They love placing the eyeballs and seeing the ghost faces come to life.
Budget-Friendly Magic The entire batch costs less than $20 to make and yields 12 adorable treats. Compare that to bakery prices and you’re saving serious money while having way more fun.
Classroom Party Approved These are perfect for school parties (just check for peanut allergies first). They’re individually portioned, not messy, and guaranteed to be the hit of any Halloween celebration.
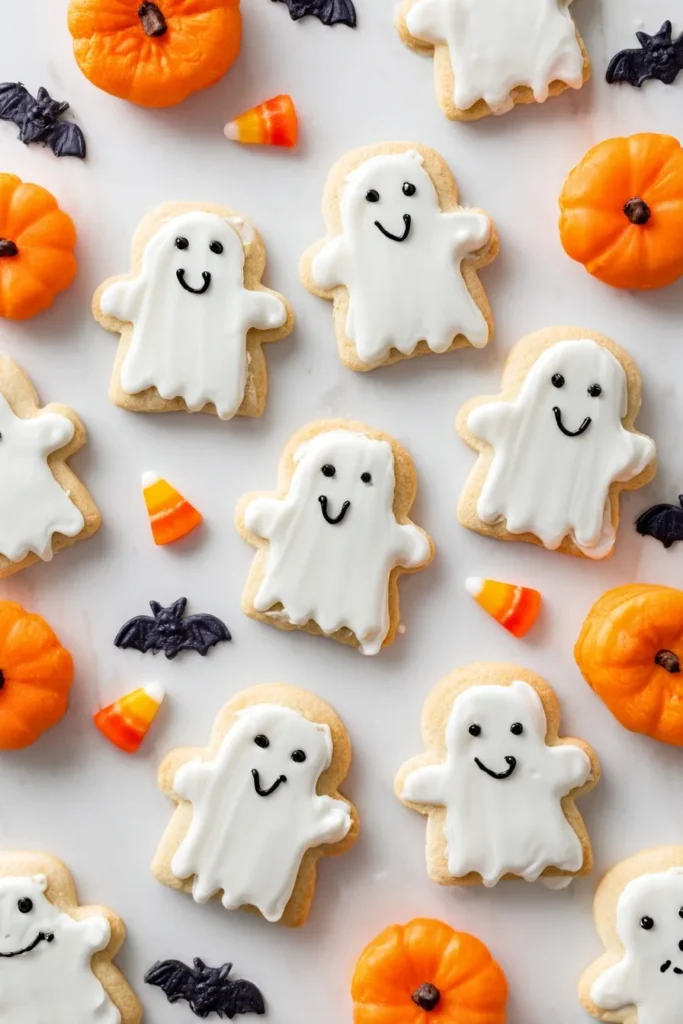
Storage and Make-Ahead Tips
Store finished ghost cookies in an airtight container or ziplock bag at room temperature for up to 5 days. Keep them away from heat and moisture, or the chocolate will start to melt and your ghosts will lose their spooky charm.
You can freeze these treats for up to 2 weeks in an airtight container. Just thaw them on the counter in a dry place before serving.
For parties, you can make these up to 3 days ahead. They actually get better after a day because the chocolate fully sets and the flavors meld together.
Recipe Variations
Allergy-Friendly Version: Use Milano cookies instead of Nutter Butter for peanut allergies. The shape is slightly different but still adorable.
Chocolate Ghosts: Use dark or milk chocolate candy melts for brown ghosts. They’re less traditional but still super cute.
Fancy Faces: Use edible markers to draw different expressions instead of chocolate chip mouths. You can create surprised ghosts, winking ghosts, or even smiling ghosts.
Size Variations: Try this technique with different cookie shapes—vanilla wafers make tiny baby ghosts, while larger oval cookies create mama ghosts.
Color Themes: Make orange ghosts for a fall twist, or black ghosts for a more sophisticated Halloween look.
Perfect Party Presentation
These ghost cookies look amazing arranged on a black plate or Halloween-themed serving tray. Scatter some plastic spiders around them or add dry ice for spooky fog effects (keep the dry ice away from food, obviously).
For parties, set up a DIY ghost decorating station with melted chocolate, various eyeball sizes, and different mouth options. Kids can make their own unique ghost personalities.
IMO, these are even cuter when you make them slightly imperfect—wonky eyeballs and crooked mouths give them more personality and charm.
Troubleshooting Tips
Chocolate Too Thick: Add a tiny bit of coconut oil or shortening to thin it out. Don’t use butter—it can cause the chocolate to seize.
Eyeballs Won’t Stick: Work faster while the chocolate is still wet, or gently reheat the chocolate if it’s started to set.
Chocolate Coating Too Thin: Let the melted chocolate cool for a minute or two before dipping. It should coat nicely without being too runny.
Uneven Coverage: Tilt the cookie at different angles while dipping to get even coverage, and don’t be afraid to use a spoon to help coat difficult spots.
Why Kids Go Crazy for These
There’s something absolutely magical about watching a plain cookie transform into a cute ghost character. Kids love the instant gratification of seeing their creations come to life, and the simplicity means they can actually help meaningfully.
The faces end up slightly different on each ghost, which kids find hilarious. Some look surprised, others look goofy, and a few might look a little wonky—but that’s all part of the charm.
FAQs
Can I use white chocolate chips instead of candy melts? Absolutely! White chocolate chips work great, though they might be slightly thicker. You can thin them with a tiny bit of coconut oil if needed.
What if I can’t find candy eyeballs? Use white chocolate chips for eyes and mini chocolate chips for pupils. Or get creative with other small candies—the possibilities are endless!
How do I prevent the chocolate from burning? Use 50% power on your microwave and stir between intervals. Patience is key here—rushing leads to seized chocolate and frustration.
Can I make these ahead for a big party? Yes! Make them up to 3 days ahead and store in an airtight container. They actually get better after sitting for a day.
What if someone has a peanut allergy? Milano cookies work perfectly as a substitute. The shape is slightly different but still makes adorable ghosts.
The Halloween Magic Factor
These Nutter Butter ghost cookies represent everything great about Halloween treats—they’re fun to make, absolutely adorable, and guaranteed to bring smiles to faces both young and old. The simplicity means you can whip them up for last-minute parties or classroom requests without stress.
There’s something so satisfying about creating something this cute with such minimal effort. It’s the kind of recipe that makes you feel like a Pinterest mom without actually having Pinterest-level skills or time.
The Final Verdict
These ghost cookies prove that the best recipes aren’t always the most complicated ones. Sometimes the most brilliant ideas are the simplest—take a perfectly shaped cookie, add some white chocolate and cute faces, and suddenly you’ve got Halloween magic.
Whether you’re making them with kids, for a party, or just because they’re too cute to resist, these little ghosts deliver maximum impact with minimal effort. They’re the kind of treat that creates memories and starts traditions.
Trust me, once you see how easy and adorable these are, you’ll be making them every Halloween. They’re not just cookies—they’re tiny ambassadors of Halloween joy that happen to taste absolutely delicious too.







