
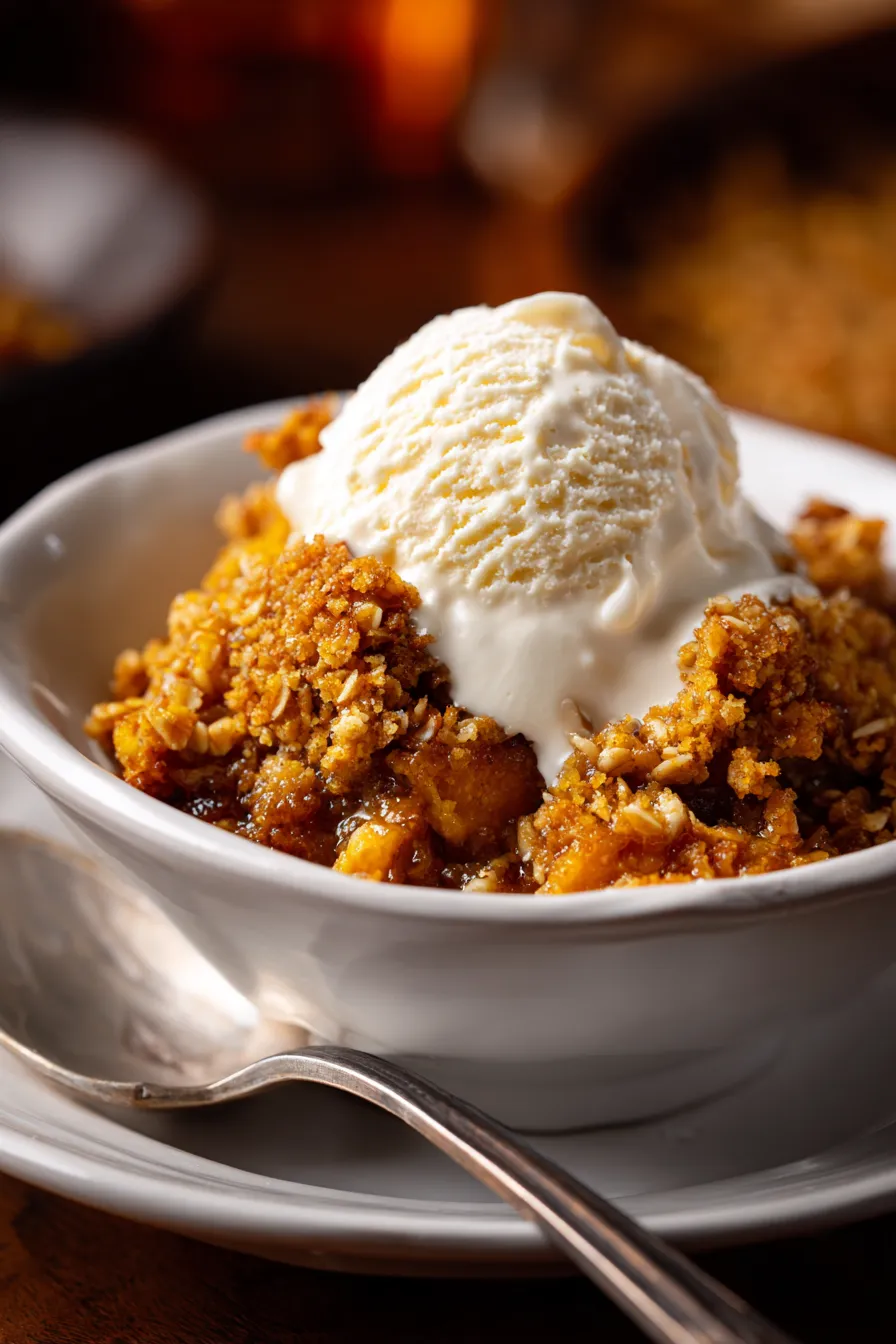
This foolproof pumpkin pie crisp combines all the flavors of traditional pumpkin pie with a golden cinnamon streusel topping – no fussy pie crust required! Ready in just one hour with pantry staples.
When my restaurant days taught me that the best desserts balance simplicity with incredible flavor, I never imagined this lesson would lead to my family’s most requested fall dessert. After years of perfecting this recipe through countless family gatherings and potluck dinners, I can confidently say this Easy Pumpkin Cookies with Cream Cheese Frosting competitor has become our ultimate crowd-pleaser.
During my professional kitchen training, I learned that successful baking comes down to understanding textures – and this pumpkin pie crisp delivers the perfect contrast between creamy filling and crispy topping. My neighbor Sarah, who claims she “can’t bake anything,” has made this recipe successfully three times for her book club meetings.
Why This Pumpkin Pie Crisp Recipe Works Every Time
This isn’t your typical pumpkin dessert – it’s what happens when you take everything perfect about pumpkin pie and make it infinitely easier. The creamy spiced filling tastes exactly like your grandmother’s pumpkin pie, while the golden streusel topping adds that irresistible crunch that keeps everyone coming back for seconds.
Perfect for busy weeknight desserts: Unlike traditional pumpkin pie that requires pastry skills, this recipe uses simple mixing techniques that guarantee success every time.
Make-ahead friendly: The entire dessert can be prepped 48 hours in advance – perfect for Thanksgiving planning when oven space is precious.
Kid-approved texture: The soft, custard-like filling appeals to picky eaters, while adults love the sophisticated spice blend and buttery topping.
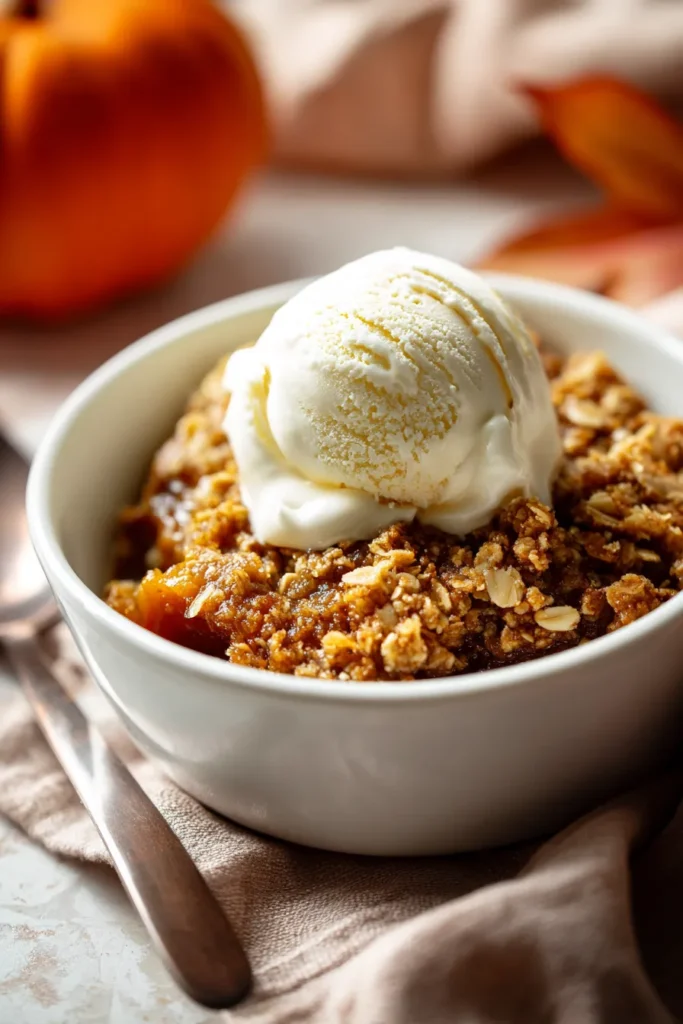
Essential Ingredients for Perfect Pumpkin Pie Crisp
For the Pumpkin Pie Layer:
- 1 (15 oz) can pure pumpkin puree – Always choose 100% pumpkin, not pie filling mix
- 1 cup granulated sugar – Creates the perfect sweetness balance
- 3 large eggs – Provides structure and richness
- 2 teaspoons pumpkin pie spice – The aromatic heart of fall flavors
- ½ teaspoon salt – Enhances all the other flavors
- 2 teaspoons vanilla extract – Adds depth and warmth
- ⅔ cup heavy cream – Creates that luxurious, creamy texture
For the Cinnamon Streusel Topping:
- 2 cups all-purpose flour – Forms the crispy base
- 1½ cups granulated sugar – Caramelizes beautifully during baking
- 2 teaspoons cinnamon – Provides warm spice notes
- ½ teaspoon salt – Balances the sweetness
- 12 tablespoons unsalted butter, melted – Creates perfect crumbly texture
Ingredient Quality Tips: Heavy cream makes a noticeable difference in richness compared to half-and-half, though both work. If you’re using a stand mixer for the streusel, it creates an even more uniform crumb texture, but hand mixing works perfectly too.
How to Make Foolproof Pumpkin Pie Crisp
Step 1: Prepare Your Baking Dish
Preheat your oven to 375°F. Butter a 12-inch cast iron skillet or 9×9 baking dish thoroughly. A cast iron skillet distributes heat evenly and creates beautiful presentation, though any heavy-bottomed baking dish works excellently.
Step 2: Create the Pumpkin Pie Filling
In a large mixing bowl, whisk together pumpkin puree, sugar, eggs, pumpkin pie spice, salt, and vanilla extract until completely smooth. This technique ensures no lumps in your final dessert. Gradually whisk in the heavy cream until the mixture is silky and uniform.
Pour this luscious filling into your prepared baking dish and set aside while you prepare the topping.
Step 3: Make the Perfect Streusel Topping
In a medium bowl, whisk together flour, sugar, cinnamon, and salt. Add the melted butter and stir with a fork until the mixture resembles coarse crumbs with some larger pieces – this creates the perfect textural contrast.
Professional tip: The mixture should hold together when squeezed but still be crumbly. If it seems too wet, add a tablespoon more flour.
Step 4: Assemble and Bake
Spread the cinnamon streusel evenly over the pumpkin filling. Don’t worry about perfect coverage – rustic charm is part of this dessert’s appeal.
Bake for 40-45 minutes, until the filling is set (it shouldn’t jiggle when gently shaken) and the topping is golden brown. If the top browns too quickly, tent loosely with foil.
Step 5: Rest and Serve
Let the crisp cool for 10 minutes before serving. This resting time allows the filling to firm up properly while keeping the dessert perfectly warm for serving.
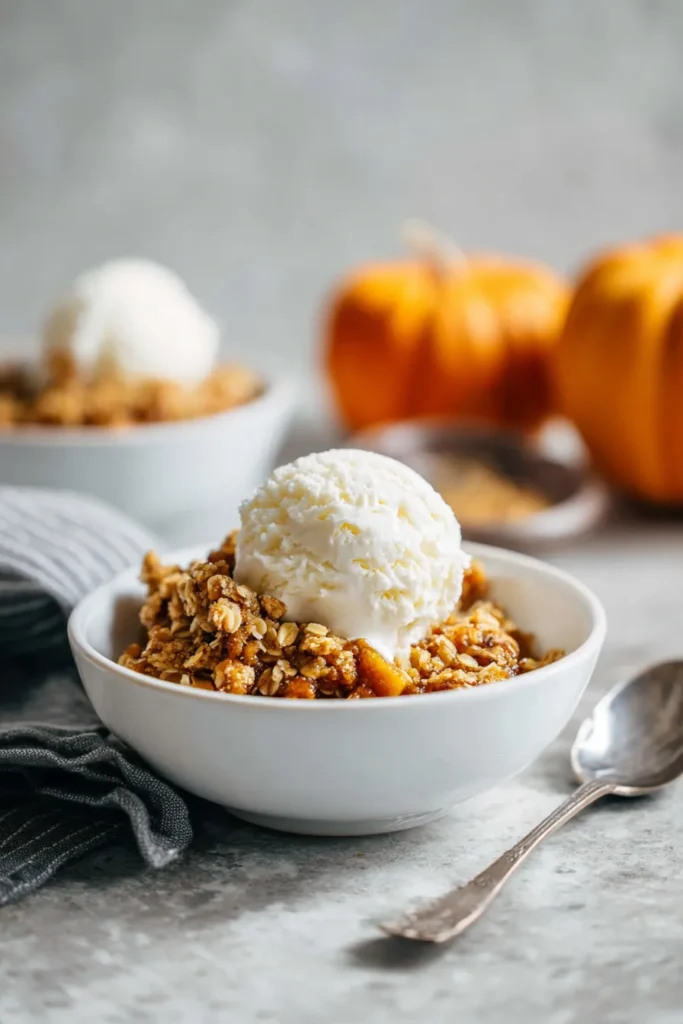
Expert Tips for Pumpkin Pie Crisp Success
Testing doneness: The center should be just set – it will continue cooking slightly as it cools. A knife inserted in the center should come out mostly clean with just a few moist crumbs.
Equipment matters: While this Perfect Sourdough French Toast recipe works in any skillet, cast iron creates the most even browning for desserts too.
Storage wisdom: Cover and refrigerate leftovers for up to 3 days. Warm individual servings in the microwave for 30 seconds to restore that fresh-baked texture.
Delicious Variations to Try
Nutty Pumpkin Crisp
Add ½ cup chopped pecans or walnuts to the streusel topping for extra crunch and richness. Toast the nuts lightly before adding for deeper flavor.
Oatmeal Pumpkin Crisp
Replace 1 cup of flour in the topping with old-fashioned oats for a heartier, more rustic texture that pairs beautifully with vanilla ice cream.
Spiced Caramel Version
Drizzle homemade caramel sauce over each serving for restaurant-quality indulgence. The sweet-salty combination elevates this simple dessert dramatically.
Dairy-Free Adaptation
Substitute plant-based butter and full-fat coconut milk for dairy ingredients. The coconut cream creates incredible richness that even dairy-lovers can’t detect.
Make-Ahead Strategies for Stress-Free Entertaining
This dessert shines during busy holiday seasons because it can be completely prepped in advance. During my years hosting Thanksgiving for extended family, I discovered this timing works perfectly:
48 hours ahead: Prepare the pumpkin filling and streusel separately. Store the filling covered in your baking dish in the refrigerator. Keep the streusel in an airtight container, also refrigerated.
Day of serving: Remove both components from the refrigerator while preheating the oven. Once the oven reaches temperature, sprinkle the streusel over the filling and bake as directed.
Portion planning: One 9×9 dish serves 8-10 people generously, making it perfect for family dinners. For larger gatherings, this recipe doubles beautifully in a 9×13 pan, though you’ll need to adjust the baking time slightly.
Perfect Serving Suggestions
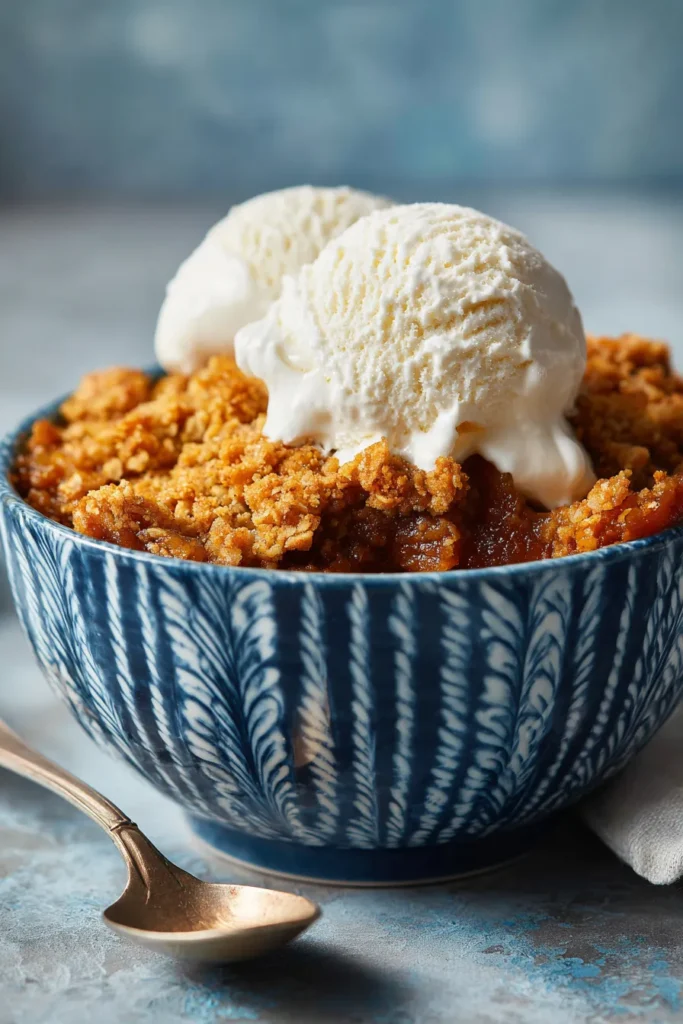
The classic pairing remains vanilla ice cream, but I’ve discovered several combinations that create memorable dessert experiences:
- Cinnamon ice cream if you can find it – the spice harmony is incredible
- Fresh whipped cream with a pinch of nutmeg
- Warm caramel sauce drizzled over the top
- Chopped toasted pecans for added texture
For special occasions, serve this alongside Healthy Individual Pumpkin Cheesecakes to create an impressive pumpkin dessert spread that accommodates different texture preferences.
Troubleshooting Common Issues
Soggy topping: This usually indicates too much butter in the streusel. Next time, use slightly less melted butter or add an extra tablespoon of flour to achieve proper crumb texture.
Cracked filling: Overbaking causes the custard to curdle. Watch for the gentle set point – the center should barely jiggle when shaken.
Uneven browning: Rotate the dish halfway through baking if your oven has hot spots. Most home ovens benefit from this simple technique.
Seasonal Timing and Storage
Peak season: This dessert tastes amazing from October through December, when pumpkin flavors feel most appropriate and comforting.
Storage solutions: Leftovers keep beautifully refrigerated for 3 days. For longer storage, wrap individual portions and freeze for up to 2 months. Thaw overnight in the refrigerator and warm gently before serving.
Gift giving: Bake in disposable aluminum pans for easy gifting to neighbors and friends during the holiday season. Include reheating instructions for best results.
Nutritional Benefits and Dietary Adaptations
Pumpkin provides vitamin A, fiber, and antioxidants, making this dessert slightly more nutritious than traditional options. The eggs contribute protein, while the spices offer anti-inflammatory benefits.
Reduced sugar version: You can decrease the sugar in both layers by ¼ cup each without significantly affecting texture or taste, especially if serving with sweet ice cream.
Gluten-free option: Substitute cup-for-cup gluten-free flour blend in the streusel topping. The texture remains beautifully crumbly with this simple swap.
This recipe represents everything I love about fall baking – it’s foolproof enough for beginners yet sophisticated enough to impress dinner guests. Whether you’re serving it for a casual weeknight dessert or elegant holiday entertaining, this pumpkin pie crisp delivers consistent, delicious results every single time.
The combination of creamy pumpkin custard and golden streusel creates textural magic that keeps families returning to this recipe year after year. From my kitchen to yours, I hope this becomes your new favorite way to celebrate autumn’s most beloved flavors.
Serve this warm with good vanilla ice cream, and watch as it becomes the dessert everyone requests for every fall gathering. Trust me – after one bite, you’ll understand why this has been my go-to pumpkin dessert for over a decade.
Frequently Asked Questions
Q: Can I use evaporated milk instead of heavy cream?
A: Yes! Evaporated milk works perfectly and creates a slightly lighter texture while maintaining the creamy consistency.
Q: How do I know when the pumpkin layer is fully set?
A: The center should barely jiggle when gently shaken, and a knife inserted should come out with just a few moist crumbs attached.
Q: Can this recipe be doubled for a larger crowd?
A: Absolutely! Use a 9×13 pan and extend the baking time by 10-15 minutes, checking for doneness with the same visual cues.
Q: What’s the best way to reheat leftover portions?
A: Microwave individual servings for 20-30 seconds, or warm the entire dish in a 300°F oven for 10-15 minutes until heated through.
Q: Can I substitute the pumpkin puree with fresh pumpkin?
A: Yes, but you’ll need to roast and puree fresh pumpkin first. Make sure to drain excess moisture for the best consistency.







