Cold nights call for warm, caramelized vegetables straight from the oven. This roasted butternut squash recipe takes ten minutes to prep and transforms humble squash into sweet, golden perfection while you handle everything else for dinner.
Since you’re here, make sure to check out these related recipes:
- Butternut Squash Pasta Sausage Spinach
- Roasted Butternut Squash Soup
- Butternut Squash Brussels Sprouts Pasta Recipe
- Creamy Butternut Squash Sausage Gnocchi Recipe
- Best Spaghetti Squash Au Gratin Recipe
Why this roasted butternut squash recipe works
Fall cooking means roasting vegetables that actually taste good without a ton of effort. The oven does most of the work while you focus on the main dish.
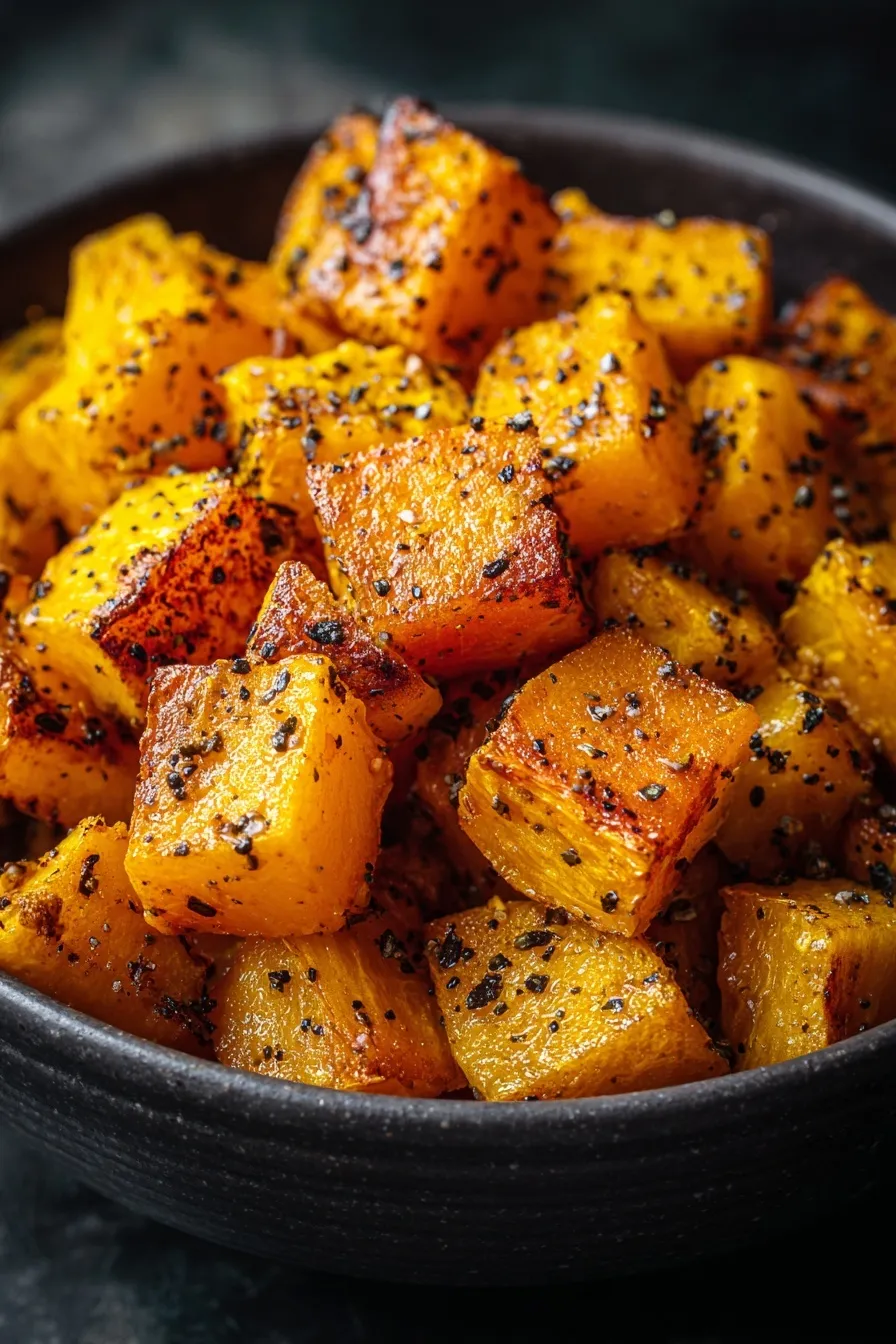
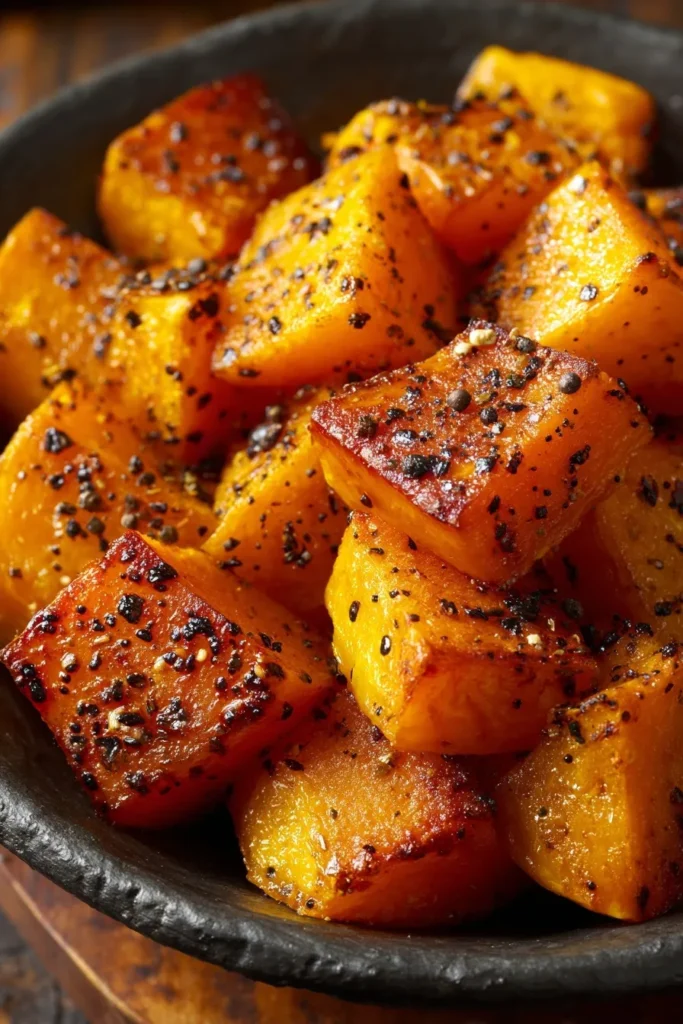
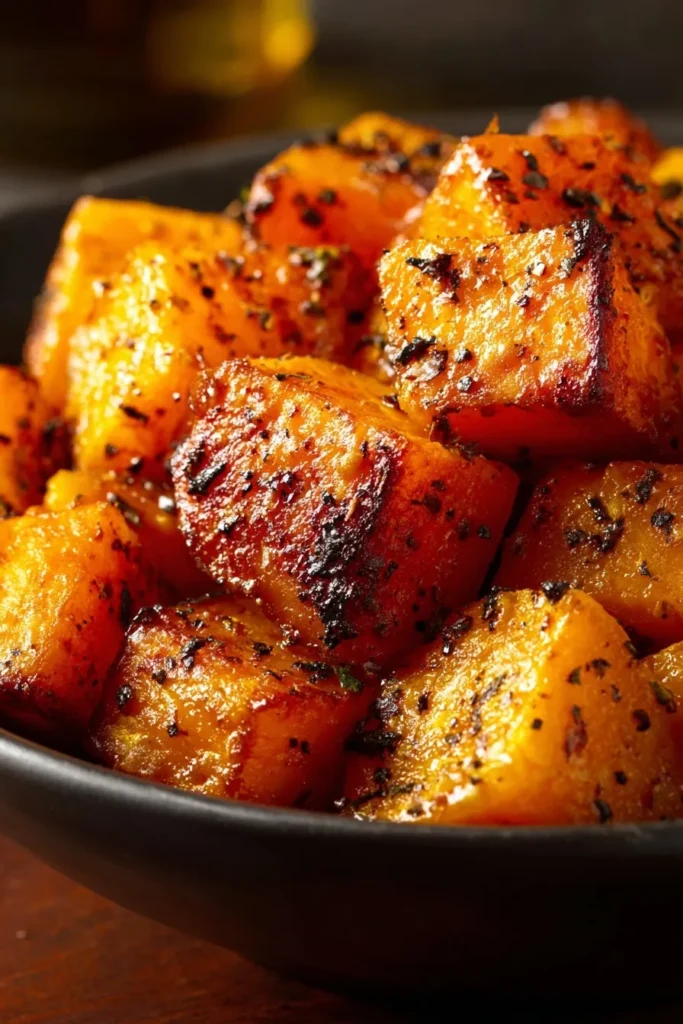
Butternut squash has natural sweetness that intensifies when roasted at high heat. The edges caramelize into crispy, golden bites while the centers stay tender. A drizzle of honey and sprinkle of cinnamon brings out those cozy flavors without making it taste like dessert.
- Quick prep cuts down on kitchen time to under 10 minutes
- Simple ingredients you probably already have in your pantry
- Caramelized edges develop amazing depth of flavor
- Versatile side dish pairs with almost any main course
Ingredients for roasted butternut squash recipe
Ready to make the easiest side dish of fall?
- 1 medium butternut squash (peeled and cut into 1-inch cubes)
- 2 tablespoons olive oil
- 2 tablespoons honey
- 1/4 teaspoon ground cinnamon
- Kosher salt to taste
- Black pepper to taste (freshly ground preferred)
Look for a squash that feels heavy for its size with firm, matte skin and no soft spots. The tan-colored neck should be long and thick since that’s where most of the usable flesh lives. Many stores sell pre-cut chunks if you’re short on time.
Honey brings sweetness that balances the squash’s earthy flavor, while cinnamon adds warmth without overpowering. Olive oil helps everything caramelize beautifully in the oven.
Step-by-step instructions
1. Preheat your oven to 400°F and position the rack in the middle. This ensures even roasting so you don’t end up with burnt spots and raw centers.
2. Prepare the butternut squash by cutting it in half lengthwise and scooping out the seeds with a spoon. Peel using a sharp knife or vegetable peeler, then cut into roughly 1-inch pieces for uniform cooking.
3. Toss and season by placing squash pieces on a baking sheet and drizzling with olive oil and honey. Sprinkle cinnamon, salt, and pepper over the top, then toss until everything’s well coated and arrange in a single layer.
4. Roast the squash for 20-25 minutes, tossing halfway through for even browning. The squash is done when it’s tender and caramelized around the edges—cooking time varies depending on piece size.
Essential equipment
Large rimmed baking sheet (18×13 inch)
A full-size sheet pan gives squash pieces room to breathe so they roast instead of steam. Overcrowding causes mushy vegetables instead of caramelized perfection.
Sharp chef’s knife (8-10 inch)
Butternut squash has tough skin that dulls dull knives quickly. A sharp blade makes clean cuts through both skin and flesh safely and efficiently.
Sturdy vegetable peeler
Standard peelers struggle with butternut squash’s thick skin. A Y-shaped peeler with a comfortable grip makes this tedious task much faster and safer.
Silicone spatula (PREMIUM)
Metal spatulas scratch nonstick pans and can’t get under delicate roasted vegetables without breaking them. A flexible silicone spatula flips squash pieces perfectly without damage.
What to serve with roasted butternut squash recipe
Want to round out your fall dinner with perfect pairings?
Garlic Parmesan Crockpot Chicken and Potatoes creates a complete one-dish meal with minimal cleanup. The creamy garlic flavors complement the sweet squash beautifully.
Perfect Reverse Sear Prime Rib Recipe pairs wonderfully for special occasions when you want impressive sides. The rich beef contrasts perfectly with sweet, caramelized squash.
Crispy Brussels Sprouts Dijon Aioli Recipe adds another roasted vegetable for a colorful harvest plate. The tangy aioli cuts through the sweetness nicely.
Roasted chicken, pork tenderloin, or grilled salmon also work great. Toss cooled squash into grain salads with quinoa, toasted nuts, and dried cranberries for complete meals.
Storage and reheating guide
Refrigerator storage
Store roasted butternut squash in an airtight container in the fridge for up to 5 days. It’s perfect for meal prep—toss it into salads, grain bowls, or reheat as a quick side throughout the week.
Freezer storage
Spread cooled pieces on a baking sheet to freeze individually first, then transfer to freezer bags for up to 6 months. This prevents them from sticking together so you can grab exactly what you need.
Reheating instructions
Eat it cold straight from the fridge in salads, or warm it in the oven at 350°F for about 10 minutes. From frozen, add a few extra minutes until heated through and tender again.
Roasted butternut squash recipe variations
Looking to switch up the flavors?
Savory version: Skip the honey and cinnamon and toss with garlic powder, rosemary, and parmesan cheese instead. A pinch of red pepper flakes adds nice heat.
Maple cinnamon: Swap honey for pure maple syrup and add a pinch of nutmeg along with the cinnamon. This version tastes almost like dessert but it’s still healthy.
Spiced version: Add cumin, smoked paprika, and a touch of cayenne for a southwestern twist. Serve with Best One Pot Burrito Bowl Recipe for taco night.
Pro tips and tricks
Want perfectly roasted butternut squash every single time?
Cut uniform pieces because even 1-inch chunks cook at the same rate, preventing some pieces from burning while others stay raw.
Don’t overcrowd the pan since squash needs space to roast properly—crowded pieces steam instead of caramelize, leaving you with mushy vegetables.
Add honey during the last 10 minutes if you want to prevent it from burning and turning bitter, especially if your oven runs hot.
Let one side develop color before flipping at the 15-20 minute mark—patience rewards you with those gorgeous caramelized edges everyone fights over.
Season generously with salt because it brings out butternut squash’s natural sweetness and balances the honey beautifully.
Frequently asked questions
Can you make roasted butternut squash recipe ahead?
Absolutely! Roast the squash up to 5 days ahead and store it in the fridge. Reheat gently in a 350°F oven for 10 minutes before serving, or toss it into dishes cold for meal prep bowls.
What’s the best way to cut butternut squash?
Cut it in half lengthwise first, scoop out seeds, then peel each half. Cut the neck into rounds, then cube those into 1-inch pieces. The bulbous bottom gets quartered, then cubed the same size.
Can you freeze roasted butternut squash recipe?
Yes, it freezes beautifully for up to 6 months. Freeze pieces individually on a sheet pan first, then transfer to bags so they don’t clump together and you can grab portions easily.
How do you know when butternut squash is done roasting?
It should be fork-tender with caramelized golden-brown edges. Cooking time varies by piece size—smaller chunks take 20 minutes while larger ones need 30 minutes at 400°F.
Can you substitute other squashes in this roasted butternut squash recipe?
Definitely! Acorn, delicata, or kabocha squash work great. Delicata cooks a bit faster and you don’t even need to peel it—the skin becomes tender and edible.
What can you substitute for honey?
Pure maple syrup works perfectly as a 1:1 swap. You can also use brown sugar (about 1½ tablespoons) or agave nectar for similar sweetness and caramelization.
Why you’ll love this recipe
Ready to add an easy vegetable side to your weekly rotation? This roasted butternut squash recipe delivers sweet, caramelized flavor with minimal effort.
The combination of honey, cinnamon, and high heat transforms simple squash into something everyone actually wants to eat. It’s quick enough for weeknights but impressive enough for holiday tables.
Try this tonight and watch it become your go-to fall side dish.
📌 Save this roasted butternut squash recipe for busy weeknights—it’s guaranteed to make vegetables the star of your dinner plate!