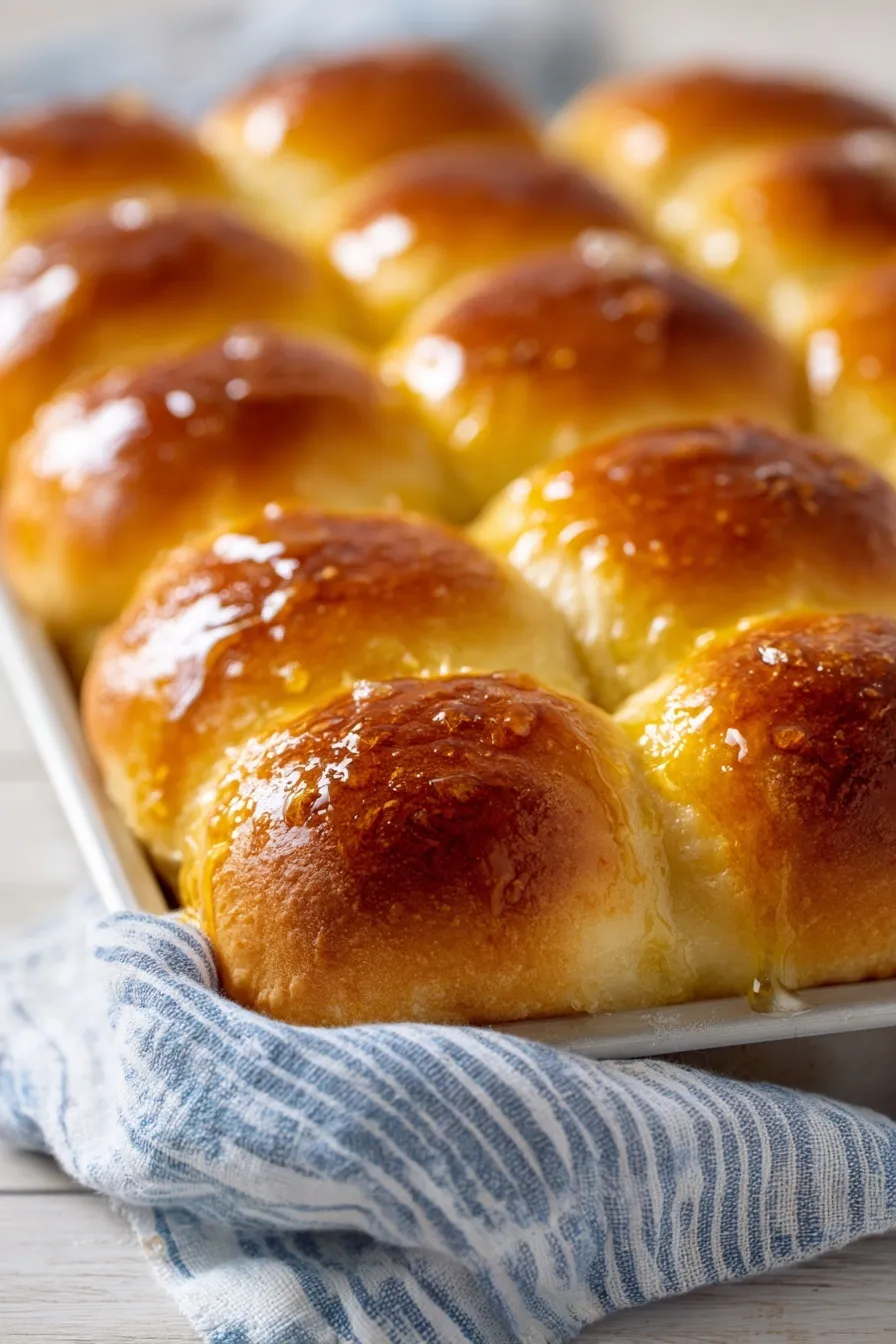
These 30-minute dinner rolls are incredibly soft, fluffy, and ready from start to finish in just half an hour—no long rising time required! Perfect for busy weeknights, Thanksgiving, or any meal when you want fresh homemade bread without the wait.
Since you’re here, make sure to check out these related recipes:
Homemade Garlic Rolls Perfection
Homemade Garlic Bread with Sliced Bread Recipe
Why This 30-Minute Dinner Rolls Recipe Works
Ever wonder why homemade dinner rolls usually take hours while these are done in 30 minutes? The secret is using extra yeast and letting them rise on top of the preheating oven—the warmth accelerates rising without compromising texture.
This 30-minute dinner rolls recipe delivers bakery-quality soft, fluffy bread without the typical time commitment. The simple ingredients and quick technique make fresh rolls possible even on busy weeknights. Here’s what makes them foolproof:
• Ready in 30 minutes total from mixing bowl to table including rising and baking time—no lengthy proofing required
• Uses pantry staples you probably already have without specialty flours or complicated techniques anyone can master
• Soft, fluffy texture rivals rolls that take hours thanks to proper kneading and the right flour ratio
• Freezer-friendly dough lets you make multiple batches and freeze for future quick dinners with fresh-baked taste
The stand mixer does all the kneading work, developing gluten that creates light, airy texture. Meanwhile, the warm oven top provides perfect rising environment. I’ve made these countless times for weeknight dinners and holiday meals—they’re always devoured immediately.
Ingredients
Want to know the secret to soft, non-dense rolls? Don’t add too much flour—the dough should be slightly sticky!
For the Dinner Rolls:
• 1¼ cups warm water (115-125°F—test with thermometer for accuracy)
• ¼ cup granulated sugar
• 2 tablespoons active dry yeast (not instant or rapid-rise)
• ⅓ cup vegetable oil (or olive oil for richer flavor)
• 1 teaspoon salt
• 1 large egg, room temperature
• 3¾ cups all-purpose flour, plus more if needed (measure by spooning and leveling)
For Brushing:
• 2 tablespoons unsalted butter, melted for brushing after baking
The water temperature is crucial—too cold and yeast won’t activate, too hot and it dies. Check yeast expiration date before using or rolls won’t rise. Don’t add extra flour even if dough seems sticky—oily hands make shaping easy.
Step-by-Step Instructions
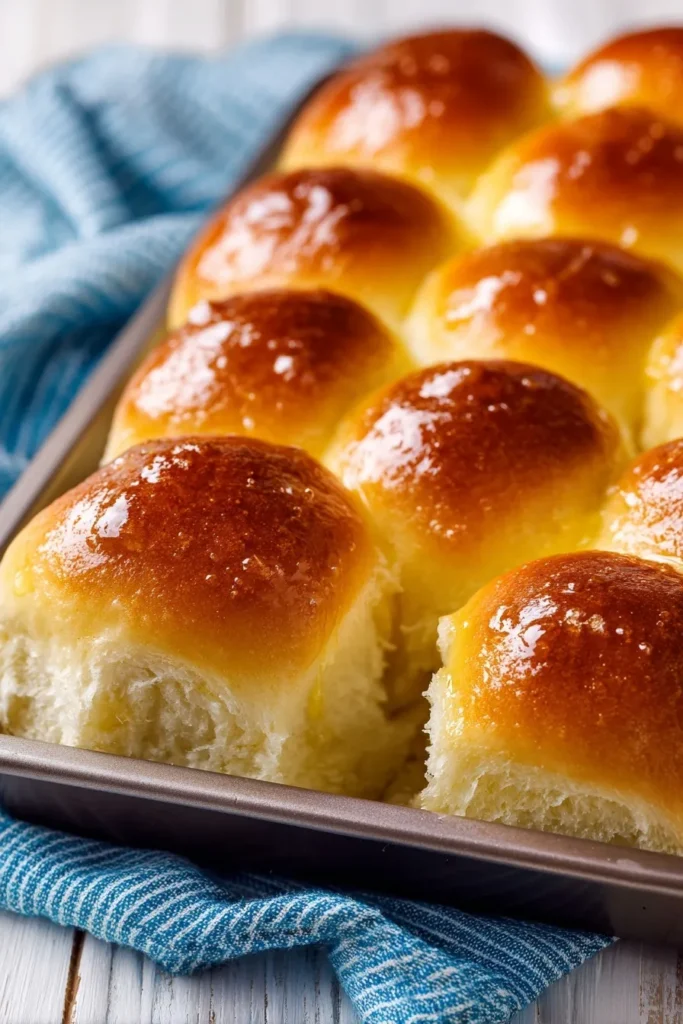
1. Prepare your baking pan first. Line a 9×13-inch baking pan with parchment paper or lightly grease with butter or nonstick spray. Having the pan ready keeps workflow smooth and prevents delays once dough is ready.
2. Proof the yeast mixture. In the bowl of a stand mixer fitted with dough hook attachment, combine warm water (115-125°F), sugar, and active dry yeast. Stir gently and let sit for 2-5 minutes until mixture becomes foamy and bubbles appear on surface. If it doesn’t foam, your yeast is dead—start over with fresh yeast.
3. Add remaining wet ingredients and flour. To the proofed yeast mixture, add vegetable oil, salt, and egg. Mix briefly to combine. Add flour 1 cup at a time, mixing on low speed after each addition until incorporated. The dough will be soft and slightly sticky—resist the urge to add more flour!
4. Knead dough with stand mixer. Once all flour is added, increase speed to medium and let the stand mixer knead the dough for 4 full minutes. The dough should pull away from bowl sides slightly but remain soft and tacky. This kneading develops gluten for soft, fluffy texture.
5. Shape into individual dinner rolls. Spray your hands generously with baking spray or coat with oil to prevent sticking. Divide dough into 15 equal pieces (about 2.5 ounces each for uniform rolls). Roll each piece between your palms into a smooth ball, tucking edges underneath. Place balls in prepared 9×13-inch pan in 3 rows of 5.
6. Rise on top of preheating oven. Cover the pan loosely with a clean dish towel. Preheat oven to 375°F and place the covered pan on top of the oven while it preheats. The warmth from the heating oven creates perfect rising environment. Let rise for approximately 10-15 minutes while oven reaches temperature—rolls should look slightly puffy.
7. Bake until golden brown. Once oven reaches 375°F and rolls have risen, remove towel and place pan in preheated oven. Bake for 18-20 minutes until tops are golden brown and rolls sound hollow when tapped. Don’t overbake or they’ll be dry!
8. Brush with melted butter immediately. Remove rolls from oven and immediately brush tops generously with melted butter while still hot. The butter soaks in and adds flavor while keeping rolls soft. Let cool for 5 minutes before serving warm. Enjoy fresh from the oven!
Essential Equipment for 30-Minute Dinner Rolls
Stand Mixer with Dough Hook
A powerful stand mixer kneads dough effortlessly for 4 minutes developing perfect gluten. Hand kneading works but requires significant effort and time.
9×13-Inch Baking Pan
This standard pan size holds 15 rolls perfectly with proper spacing for rising. Metal pans conduct heat well for even browning.
Instant-Read Thermometer
Accurate water temperature (115-125°F) ensures yeast activates properly without dying. Guessing temperature leads to inconsistent results.
Parchment Paper Roll
Quality parchment prevents sticking and makes cleanup effortless after baking. The non-stick surface ensures rolls release perfectly.
Pastry Brush (Silicone)
A quality brush applies melted butter evenly over warm rolls for gorgeous shine. Heat-resistant silicone bristles won’t shed into food.
KitchenAid Professional Stand Mixer (PREMIUM)
Commercial-grade 6-quart mixers handle thick bread dough without straining the motor. The powerful performance justifies the investment for frequent bakers.
Digital Kitchen Scale (PREMIUM)
Restaurant-quality scales weigh dough portions for uniformly-sized rolls that bake evenly. Precise measurements eliminate guesswork completely.
What to Serve With 30-Minute Dinner Rolls
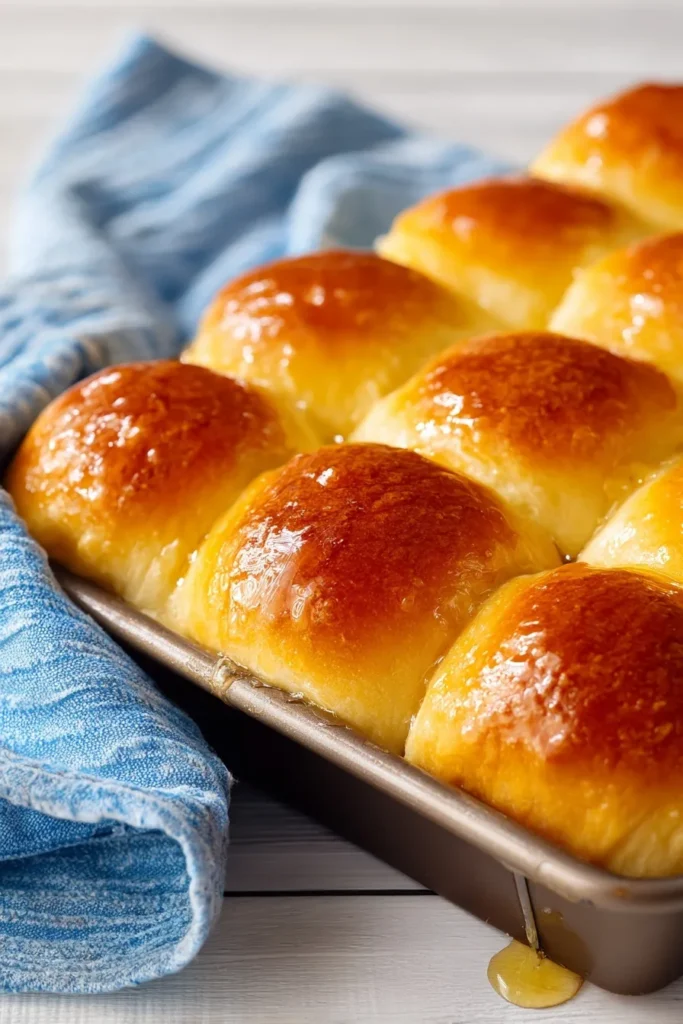
Looking for the perfect main dishes and accompaniments to complete your meal?
Serve with hot soup for classic comfort food pairing everyone loves. The soft rolls are perfect for dipping and soaking up broth. Try my High-Protein Broccoli Cheddar Soup Healthy Recipe for cozy dinners.
Pair with my Southern Smothered Chicken Recipe or roasted turkey for holiday feasts. The rolls soak up delicious gravy beautifully. They’re essential for Thanksgiving and Christmas dinners.
Use for sliders with my Buffalo Chicken Sliders or pulled pork sandwiches. The soft texture holds fillings without falling apart. Perfect for game day parties and casual gatherings.
Serve with butter, honey butter, or jam for breakfast treat the next morning. Leftover rolls make incredible French toast too. My Perfect Sourdough French Toast technique works beautifully.
Storage and Freezing Guide
Room Temperature Storage
Store cooled dinner rolls in an airtight container or sealed plastic bag at room temperature for up to 2 days. They stay soft throughout this period. Avoid refrigerating as it makes them stale faster.
Refrigerator Storage
If your kitchen is very warm or humid, refrigerate rolls in an airtight container for up to 5 days. Remove from fridge 15 minutes before serving to bring to room temperature. Microwave for 20-30 seconds to warm and soften.
Freezer Storage (Baked Rolls)
Freeze baked, cooled rolls in freezer bags for up to 3 months for future quick meals. Thaw at room temperature for 1-2 hours, then warm in 350°F oven for 5 minutes. They taste freshly baked after reheating.
Freezer Storage (Unbaked Dough)
Freeze shaped, unbaked rolls on a baking sheet until solid, then transfer to freezer bags for up to 2 months. Thaw in prepared pan on counter for 2-3 hours until doubled, then bake as directed for fresh-baked taste.
Pro Storage Tips
• Don’t refrigerate unless absolutely necessary as cold storage accelerates staling in bread products
• Freeze in recipe-sized portions so you can thaw exactly what you need without waste
• Refresh rolls by warming briefly in oven rather than microwave for better texture
Recipe Variations
Want to customize these 30-minute dinner rolls for different flavors and occasions?
Garlic Butter Dinner Rolls
Brush baked rolls with garlic butter instead of plain butter for savory flavor. Mix melted butter with minced garlic and parsley. Use my Homemade Garlic Rolls Perfection technique.
Parmesan Herb Rolls
Sprinkle freshly grated Parmesan cheese and Italian herbs over buttered rolls immediately after baking. The cheese melts into butter creating irresistible topping. Perfect for Italian dinners.
Honey Butter Rolls
Brush warm rolls with mixture of melted butter and honey for sweet variation. The honey adds subtle sweetness without overpowering. Kids especially love this version.
Whole Wheat Dinner Rolls
Replace 1 cup all-purpose flour with whole wheat flour for heartier, nuttier flavor. The rolls stay soft with added nutrition. Don’t replace more than 1 cup or texture becomes dense.
Cinnamon Sugar Rolls
Brush warm rolls with melted butter and sprinkle with cinnamon sugar for breakfast treat. These taste like simplified cinnamon rolls. Serve with coffee for morning indulgence.
Pull-Apart Bread Style
Instead of separating into 15 balls, tear dough into small pieces and pile in greased bundt pan. Bake as directed for pull-apart monkey bread style. Perfect for parties and sharing.
Pro Tips & Tricks
Curious about the techniques that guarantee soft, fluffy rolls every single time?
• Check water temperature with thermometer as proper temperature (115-125°F) is crucial for yeast activation without killing it
• Don’t add extra flour even if dough seems sticky—too much flour creates dense, heavy rolls instead of soft ones
• Let stand mixer knead full 4 minutes to properly develop gluten that creates light, airy texture throughout
• Use fresh yeast within expiration date as old, expired yeast won’t rise properly no matter what you do
• Don’t skip rising time on warm oven as this step is essential for fluffy texture despite quick timeline
• Shape rolls uniformly so they all bake evenly at the same rate without some overcooking while others stay raw
• Brush with butter immediately after baking while rolls are piping hot so butter absorbs and keeps them soft
• Avoid overbaking by removing when just golden brown—they continue cooking slightly on hot pan after removal
Frequently Asked Questions
Q: Can you really make dinner rolls in 30 minutes?
Yes! From start to finish including rising and baking, these rolls take approximately 30 minutes total. The extra yeast and warm rising spot on the preheating oven accelerate the process. They’re truly ready in half an hour.
Q: How long do homemade dinner rolls last?
Store at room temperature for up to 2 days or refrigerate for up to 5 days in airtight containers. Freeze baked rolls for up to 3 months or unbaked shaped dough for up to 2 months. They stay soft and delicious throughout.
Q: Can you freeze 30-minute dinner rolls?
Absolutely! Freeze baked, cooled rolls or freeze unbaked shaped rolls before rising. Both methods work beautifully with proper wrapping. Unbaked rolls give you fresh-baked taste when you thaw and bake.
Q: What to serve with dinner rolls?
Serve with soup, stew, roasted meats, or my Creamy Reuben Soup Magic for complete meals. Use for sliders and sandwiches. Spread with butter, honey butter, or jam for breakfast treats.
Q: Why are my dinner rolls dense instead of fluffy?
Dense rolls usually result from adding too much flour, using expired yeast, or not kneading long enough. The dough should be slightly sticky—use oily hands to shape. Let stand mixer knead full 4 minutes for proper gluten development.
Q: Can you make dinner rolls without a stand mixer?
Yes! Mix ingredients by hand and knead dough on floured surface for 8-10 minutes until smooth and elastic. A bread machine on dough setting also works perfectly. The stand mixer just makes it easier.
Q: What type of yeast works best for dinner rolls?
Active dry yeast works best for this recipe—not instant or rapid-rise varieties. Buy yeast in jars and store in refrigerator or freezer for longer shelf life. Always check expiration dates before using.
Q: Can you make dinner rolls ahead of time?
Prepare dough, shape into balls, and refrigerate for up to 2 hours before rising and baking. Alternatively, freeze unbaked shaped rolls and bake from frozen (add rising time). Make-ahead options provide flexibility.
Q: How do you reheat dinner rolls to keep them soft?
Wrap rolls in damp paper towel and microwave for 20-30 seconds for quick warming. Alternatively, wrap in foil and warm in 350°F oven for 5-8 minutes. The oven method restores fresh-baked texture better.
Q: Can you replace oil with butter in dinner rolls?
Yes! Use ⅓ cup melted butter in place of vegetable oil. The rolls will taste slightly richer and more buttery. Several readers have successfully made this substitution.
Q: How many dinner rolls does one recipe make?
One batch makes 15 dinner rolls perfect for serving 10-12 people as a side. For larger gatherings, double or triple the recipe using multiple pans. Each person typically eats 1-2 rolls.
Q: Can kids help make these dinner rolls?
Absolutely! Kids can help measure ingredients, watch yeast foam, and shape dough balls. It’s a fun family baking project that teaches bread-making skills. Let them brush butter on warm rolls too.
Ready to Bake Fresh Rolls Tonight?
This 30-minute dinner rolls recipe delivers bakery-quality results without the typical time commitment. The soft, fluffy texture rivals rolls that take hours to make.
Pin this recipe for busy weeknights and holiday dinners—you’ll make them constantly! Leave a comment if you try them and share with friends who need quick homemade bread.
P.S. Want more recipes like this? My new cookbook features more than 25 Thanksgiving sides with make-ahead tips. →Download now