
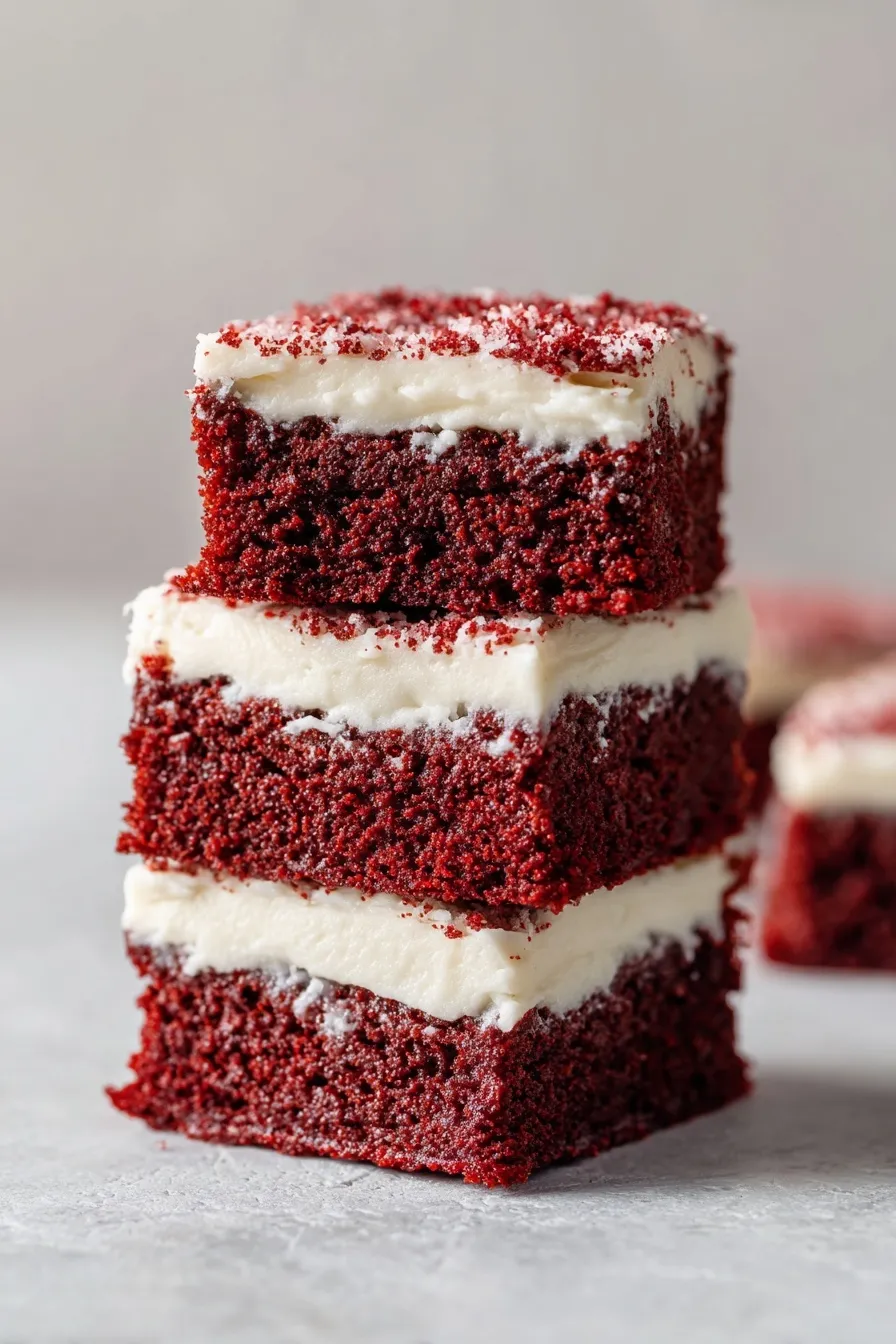
Red velvet brownies combine fudgy chocolate richness with that tangy red velvet flavor everyone craves. Topped with thick cream cheese frosting, they’re striking enough for Valentine’s Day yet simple enough for weeknight dessert.
Since you’re here, make sure to check out these related recipes:
- Red Velvet Cake Balls
- Red Velvet Crinkle Cookies
- Chocolate Covered Strawberry Cookies
- Cheesecake Stuffed Chocolate Chip Cookies
- Fudgy MM Brownies
Why This Red Velvet Brownies Recipe Works
Ever tried choosing between cake and brownies for dessert? This red velvet brownies recipe means you’ll never have to pick again. The perfect balance of fudgy texture meets classic red velvet tang, all topped with rich cream cheese frosting.
Balanced butter-oil blend creates ideal fudgy texture without being overly greasy or cakey.
Dutch-process cocoa powder delivers subtle chocolate flavor that won’t overpower the red velvet character.
Vinegar addition provides that signature red velvet tang you expect from traditional recipes.
Cream cheese frosting adds luxurious contrast to dense brownie base with tangy sweetness.
Ingredients You’ll Need
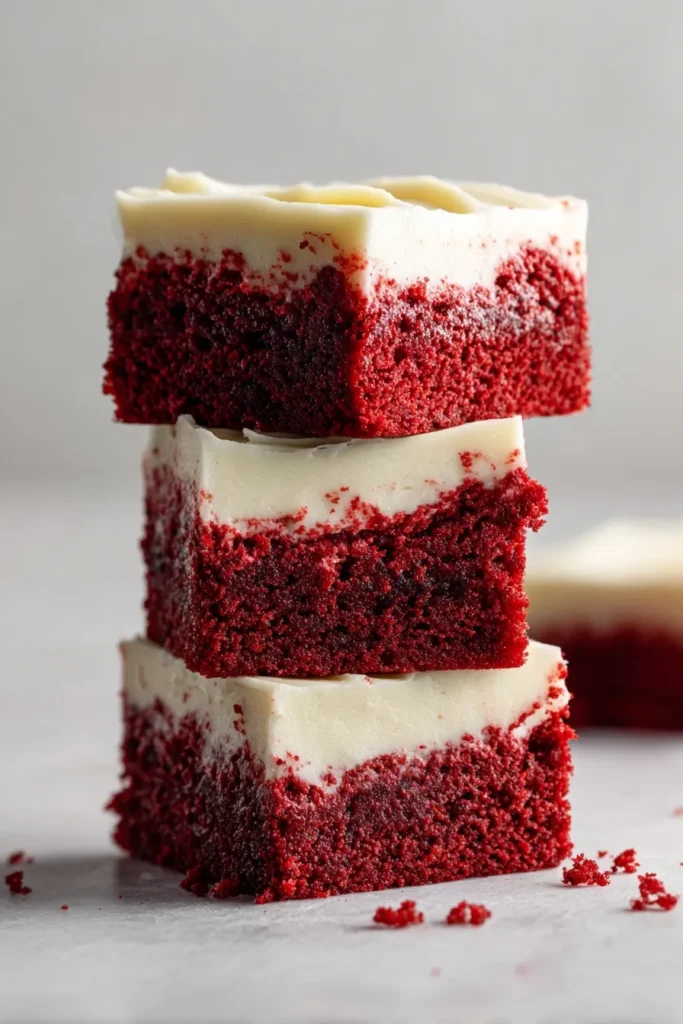
For the brownies: Unsalted butter (halal-certified), granulated sugar, light brown sugar, large eggs, egg yolk, alcohol-free vanilla extract, vegetable oil, Dutch-process cocoa powder, all-purpose flour, white vinegar, cornstarch, salt, red gel food coloring, optional white chocolate chips.
For the frosting: Cream cheese, unsalted butter (halal-certified), powdered sugar, alcohol-free vanilla extract.
Ingredient Spotlight
Light brown sugar adds moisture and depth that creates fudgy texture instead of cakey consistency. The molasses content keeps brownies soft and chewy even after cooling completely.
Cornstarch might seem unusual in brownies but it creates slight chewiness while preventing cakey texture. Just one tablespoon makes noticeable difference in final texture.
Red gel food coloring is non-negotiable here—liquid versions won’t give you that vibrant red color. The gel concentrates better and won’t throw off liquid ratios in your batter.
Step-by-Step Instructions
1. Prepare your setup by preheating oven to 350°F and lining an 8-inch square pan with parchment paper. Leave overhang on sides for easy removal later.
2. Melt the butter in microwave using 30-second intervals until completely liquid. Pour into large mixing bowl with both sugars and whisk until combined without incorporating too much air.
3. Add eggs and vanilla by whisking in three eggs, one egg yolk, and vanilla extract until just combined. Don’t overmix or you’ll create cakey texture instead of fudgy brownies.
4. Incorporate wet ingredients by adding vegetable oil and cocoa powder to mixture. Whisk gently until cocoa powder disappears completely and mixture looks smooth and glossy.
5. Mix in food coloring by taking two tablespoons of batter into small bowl, stirring in red gel coloring until no lumps remain, then adding back to main bowl. Batter looks dark now but lightens during baking.
6. Fold in dry ingredients using rubber spatula to add flour, cornstarch, and salt. Fold gently until no flour streaks remain, being careful not to overmix the batter.
7. Add the vinegar and fold in completely—this creates signature red velvet tang. Add white chocolate chips now if you’re using them for extra sweetness.
8. Bake the brownies by pouring batter into prepared pan and baking 20-25 minutes until top looks set. Toothpick should come out with moist crumbs, not wet batter or completely clean.
9. Cool completely before attempting to frost—at least one hour in pan, then another hour on cooling rack. Rushing this step makes frosting melt and slide right off.
10. Make cream cheese frosting by beating room temperature butter and cream cheese until smooth. Add powdered sugar gradually, then beat on high speed for 3-4 minutes until light and fluffy.
11. Frost and slice by spreading frosting evenly over cooled brownies, then cutting into 16 squares. Wipe knife between cuts for cleanest edges and prettiest presentation.
Essential Equipment
8-Inch Square Baking Pan
An 8-inch pan creates perfect thickness for fudgy brownies—larger pans make them too thin and cakey. Heavy-duty metal pans distribute heat better than glass for even baking throughout.
Kitchen Scale
Measuring ingredients by weight instead of volume makes huge difference in brownie texture. Just 30 grams too much flour turns these fudgy and you’ll end up with cake instead.
Stand Mixer with Paddle Attachment (PREMIUM)
Cream cheese frosting needs thorough beating to eliminate lumps and create fluffy texture. Stand mixer makes this effortless while handheld mixers require more effort and time investment.
Rubber Spatula
Folding dry ingredients gently prevents overmixing that creates tough, cakey brownies. Rubber spatulas scrape bowl sides completely so you don’t waste any precious batter on cleanup.
What to Serve With Red Velvet Brownies
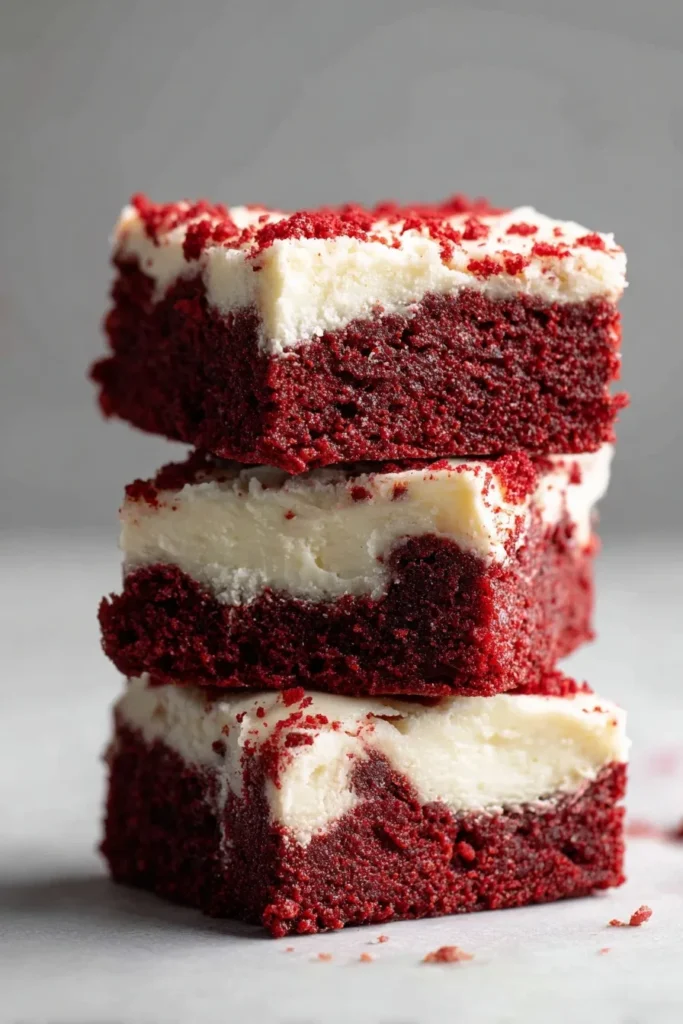
Want to turn these brownies into complete dessert experience? They’re rich enough to stand alone but also pair beautifully with cold vanilla ice cream or fresh whipped cream on the side.
Serve alongside Strawberry Spinach Salad for Valentine’s dinner—the fresh greens balance rich chocolate perfectly. For holiday spreads, arrange them on platter with Sugar Cookie Cups and Peppermint Brownies for beautiful color variety.
Coffee lovers should try these with strong espresso or cappuccino—the tangy cream cheese frosting cuts through coffee’s bitterness. Cold milk works great for kids and creates nostalgic afternoon snack that reminds you of childhood lunchboxes.
Storage and Reheating Guide
Refrigerator Storage
Store frosted brownies in airtight container in refrigerator for up to 5 days. The cream cheese frosting contains dairy so room temperature storage isn’t safe—always refrigerate within two hours of frosting.
Freezer Storage
Freeze unfrosted brownies wrapped tightly in plastic wrap, then aluminum foil for up to 3 months. Thaw overnight in refrigerator before bringing to room temperature and adding fresh frosting on top.
Reheating Instructions
Let brownies sit at room temperature for 30 minutes before serving for best texture and flavor. You can microwave individual brownies for 10-15 seconds if you prefer them warm and gooey.
Red Velvet Brownies Recipe Variations
Looking to switch things up with this red velvet brownies recipe? Try swirling 8oz softened cream cheese mixed with 1 egg and ⅓ cup sugar into batter before baking for cheesecake brownies with gorgeous marbled pattern.
Add chocolate chips instead of white chocolate—dark chocolate chips create deeper chocolate flavor while milk chocolate adds extra sweetness. You could also fold in chopped pecans or walnuts for crunchy texture that contrasts with fudgy base.
Make them into brownie bites by using mini muffin tin instead of square pan—bake for only 12-15 minutes and top each with small swirl of frosting. Perfect for parties where guests want just one or two bites of sweetness. Check out Brownie Mix Cookies for another easy chocolate treat variation.
Pro Tips and Tricks
Want bakery-quality red velvet brownies every single time you bake them?
Use kitchen scale for measuring because even quarter cup extra flour turns fudgy brownies into dense cake texture—volume measurements vary wildly depending on how you scoop flour into measuring cups.
Don’t skip the vinegar even though it seems weird in brownies because it reacts with cocoa powder to create signature red velvet flavor and helps red color develop properly during baking.
Let brownies cool completely before frosting or cream cheese topping will melt into puddle—rushing this step ruins presentation and you’ll end up with messy squares instead of pretty dessert.
Room temperature ingredients for frosting blend together smoothly without lumps while cold butter and cream cheese create grainy texture no matter how long you beat the mixture together.
Cut with hot knife by running blade under hot water, wiping dry, then slicing through brownies—heat melts through cleanly so you get professional-looking squares instead of jagged edges and smeared frosting.
Frequently Asked Questions
Can you freeze red velvet brownies?
Yes, freeze unfrosted brownies tightly wrapped for up to 3 months. Thaw overnight in fridge before frosting—freezing frosted brownies makes cream cheese topping grainy and separated when thawed. Wrap individual brownies for easy single-serving portions anytime.
How do you make red velvet brownies more fudgy?
Don’t overbake them—remove from oven when toothpick has moist crumbs, not clean. Measuring flour accurately by weight instead of cups prevents adding too much flour which creates cakey texture instead of fudgy consistency.
What makes red velvet different from chocolate brownies?
Red velvet contains less cocoa powder than chocolate brownies and includes vinegar for tangy flavor. The color comes from food coloring while subtle chocolate flavor plays supporting role instead of starring in recipe.
Can you use liquid food coloring instead of gel?
Liquid food coloring won’t give you vibrant red color and adds too much liquid to batter. Gel food coloring concentrates color in tiny amount—½ teaspoon gel equals several tablespoons of liquid version without affecting texture.
Why did my red velvet brownies turn out cakey?
Too much flour, overmixing batter, or incorporating too much air while whisking creates cakey texture. Use kitchen scale to measure flour precisely and fold dry ingredients gently with spatula instead of beating vigorously with whisk.
How long do red velvet brownies last?
Frosted brownies last 5 days refrigerated in airtight container. Unfrosted brownies keep 3-4 days at room temperature or 1 week refrigerated—always store frosted versions in fridge because cream cheese requires refrigeration for food safety.
Why You’ll Love This Recipe
Ready to make dessert that impresses everyone without complicated techniques or fancy equipment? These red velvet brownies deliver stunning color and rich flavor while requiring just one bowl and basic pantry ingredients you probably already have.
The fudgy texture combined with tangy cream cheese frosting creates addictive contrast that keeps people reaching for seconds. They’re perfect for Valentine’s Day, holidays, or any random Tuesday when you need chocolate fix with beautiful presentation.
Try this red velvet brownies recipe this weekend and watch them disappear within hours—you’ll understand why they’ve become so popular for celebrations and everyday treats alike.
📌 Save this red velvet brownies recipe for Valentine’s Day—they’re guaranteed to impress with stunning color and fudgy texture!







