
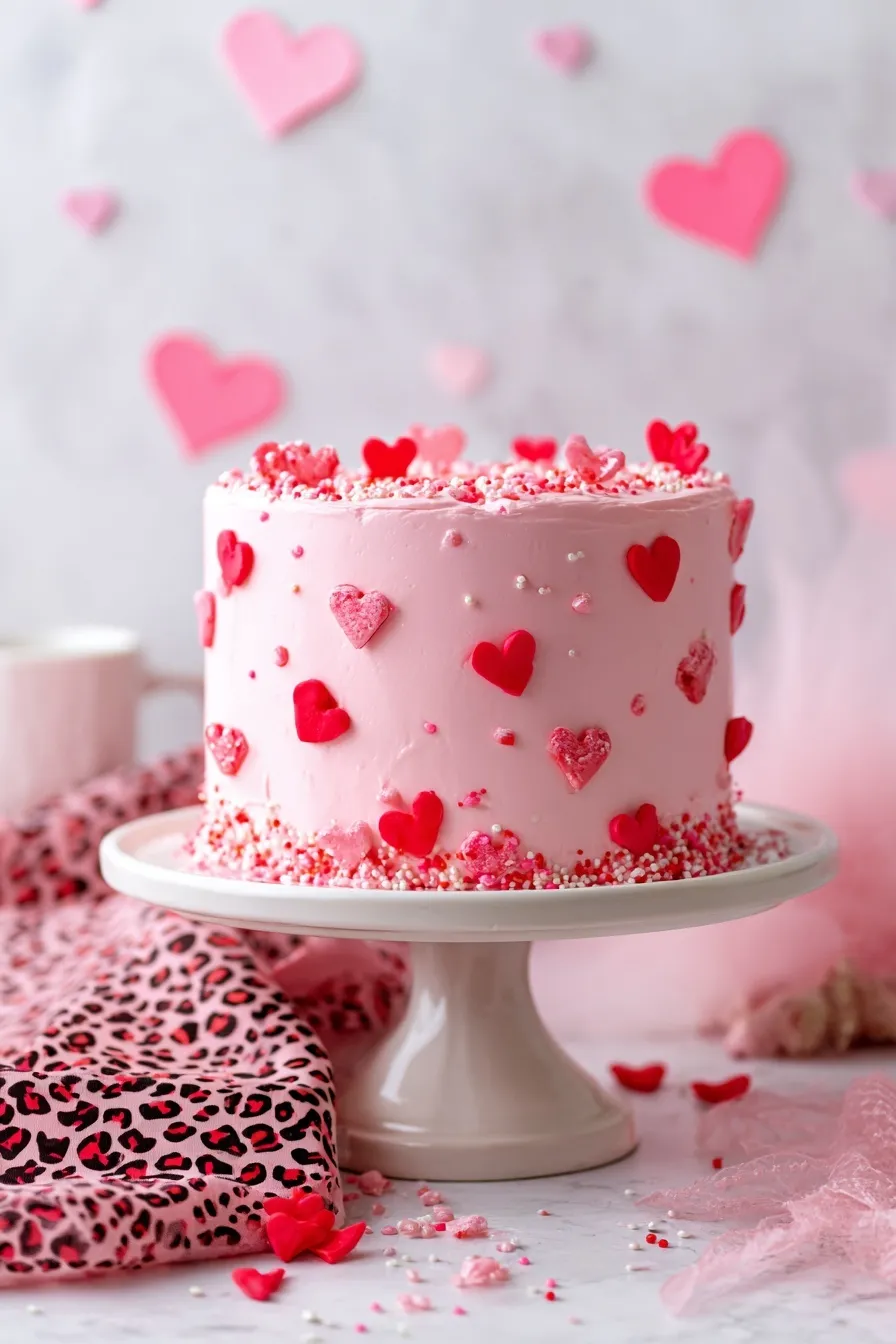
Cascading heart cake is that show-stopping design where fondant hearts flow down the side with pretty piped buttercream and sprinkles. You’re creating fondant decorations that cascade from top to bottom while colorful buttercream stars fill in all the spaces. I’ve made this design at least 20 times for Valentine’s Day and Christmas parties, and it never fails to get compliments.
Since you’re here, make sure to check out these related recipes:
- Red Velvet Cream Cheese Cookies
- Pink Velvet Layer Cake
- Heart Jam Thumbprint Cookies
- Red Velvet Cake Balls
- Christmas Gooey Butter Cookies
Why This Cascading Heart Cake Works
Want to know why this design looks so impressive but is surprisingly simple? The technique creates bakery-quality results without requiring advanced decorating skills.
- Lightweight fondant hearts at just 1/8 inch thick stick right into buttercream without weighing down or sliding
- Make-ahead friendly since fondant hearts dry for 24 hours beforehand so you’re not rushing on decorating day
- Customizable colors let you match any party theme from Valentine’s pink to Christmas red
- Beginner-friendly technique uses basic piping tips and simple star shapes anyone can master
Ingredients You’ll Need
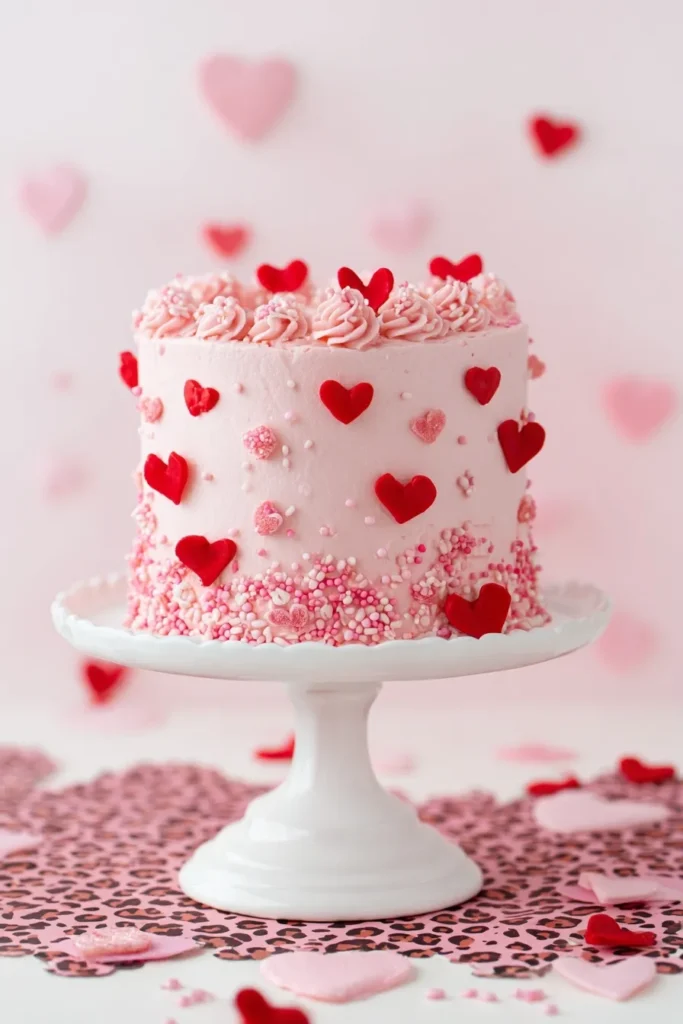
Ready to create the most beautiful cascading heart cake? Here’s everything you need for this stunning design that looks like it came from a fancy bakery.
For the cake:
- 1 6-inch cake (your favorite flavor), crumb coated and chilled
- 1.5 batches vanilla buttercream (about 4.5 cups)
For the fondant hearts:
- 2 ounces fondant
- 1 teaspoon vegetable shortening
- Food coloring gels in your chosen colors
For decorating:
- Sprinkles in coordinating colors
- Royal icing heart decorations (optional)
- Additional edible decorations as desired
The 6-inch cake size works perfectly for this design because it gives you enough surface area for the cascading effect without being too overwhelming. You can use any flavor you love—vanilla, chocolate, or red velvet all work beautifully.
Fondant needs to be rolled thin at exactly 1/8 inch thickness so the hearts are lightweight enough to stick into buttercream. Any thicker and they’ll be too heavy, any thinner and they’ll break easily.
Vegetable shortening keeps fondant pliable and prevents sticking when you’re rolling and cutting. Just coat your hands and work surface with a tiny bit before starting.
Step-by-Step Instructions
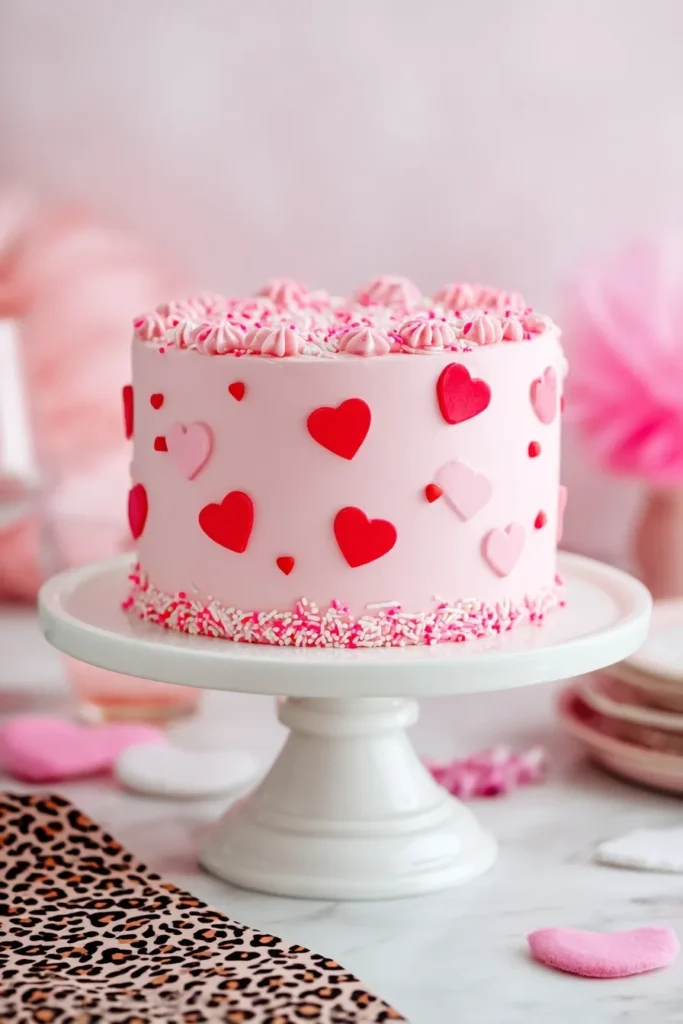
1. Make fondant hearts 24 hours ahead by kneading fondant with shortening until it feels like Play-Doh. Divide in half and color each portion a different shade using gel food coloring.
2. Roll out fondant on a surface lightly greased with shortening to exactly 1/8 inch thickness. Use a small heart cookie cutter (about 2 inches tall) to cut out shapes.
3. Let hearts dry for at least 24 hours, flipping them halfway through so both sides dry thoroughly. They need to be completely firm before decorating day.
4. Create your color palette by dividing vanilla buttercream into four bowls—one large bowl (about 3 cups) for frosting the cake and three small bowls for accent piping in coordinating shades.
5. Color the buttercream in your large bowl to create the cake background color. Color the three smaller bowls in different shades that complement your fondant hearts and main cake color.
6. Fill piping bags with the three colored buttercreams, each fitted with either Wilton Tip 4B or Tip 199 for creating open star designs.
7. Frost the chilled cake smoothly using the large bowl of buttercream. Start with the top, then add buttercream to sides and smooth with an icing smoother while rotating the turntable.
8. Create sharp edges by swiping the crown of buttercream that forms on top edges toward the center with an angled spatula. Chill the frosted cake for 20 minutes to firm up.
9. Place fondant hearts on top of the cake in a semi-straight line from the edge past the center. Vary heights and angles to make them look perfectly imperfect and organic.
10. Pipe buttercream stars around the hearts using your prepared piping bags, creating clusters of different colored stars. Add sprinkles and decorations wherever you want.
11. Continue the cascade by placing more fondant hearts down the side of the cake at an angle, connecting from top hearts toward the bottom middle. They’ll stick right into the buttercream.
12. Add more piping all around the side hearts to secure them and create that flowing, cascading effect. The piping acts as extra glue to keep everything in place.
13. Finish with decorations by adding final touches of sprinkles, royal icing hearts, or other edible decorations. Step back and add more wherever it needs balance.
Essential Equipment
Cake Turntable
A rotating turntable lets you frost smoothly and pipe decorations evenly from all angles. It’s honestly the one tool that makes cake decorating so much easier and more professional-looking.
Wilton Piping Tips 4B and 199
These specific tips create beautiful open star designs that look impressive but are super easy. Tip 4B makes larger stars while Tip 199 creates smaller detailed accents for texture variation.
Small Heart Cookie Cutter (PREMIUM)
A 2-inch heart cutter creates perfectly shaped fondant decorations every time. Metal cutters with sharp edges work better than plastic since they cut cleanly through fondant without dragging.
What to Serve with Cascading Heart Cake
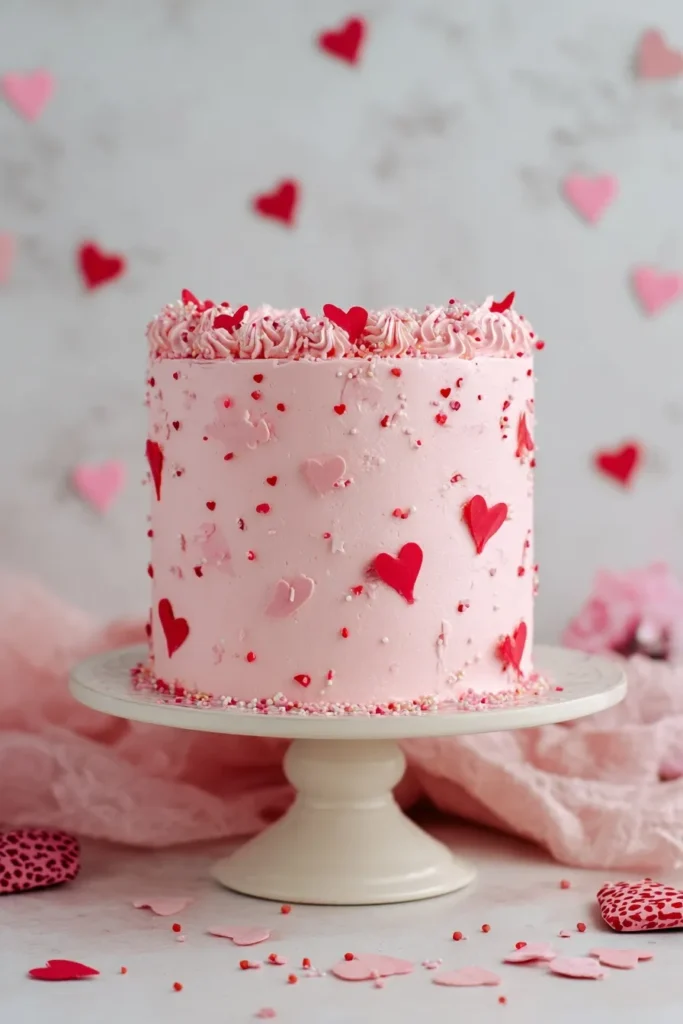
Looking for ways to complete your dessert table? I love pairing this stunning cake with complementary treats that keep the theme going.
Serve this alongside Red Velvet White Chocolate Cookies for a color-coordinated spread. The soft cookies contrast beautifully with the decorated cake and give guests options.
Create a Valentine’s dessert buffet by adding Heart Jam Thumbprint Cookies and Strawberry Crinkle Cookies around the cake. The variety of heart-themed treats makes everything feel cohesive.
Pair with champagne or sparkling pink lemonade for celebrations. The bubbly drinks complement the sweet cake perfectly and make any occasion feel extra special.
Storage and Display Guide
Room Temperature Display
Display the finished cake at room temperature for up to 4 hours during parties. The buttercream stays stable and the fondant hearts hold their position without any issues.
Refrigerator Storage
Store leftover cake covered loosely with plastic wrap in the fridge for up to 3 days. Let it sit at room temperature for 30 minutes before serving so the buttercream softens to the perfect texture.
Make-Ahead Timeline
Make fondant hearts 1-2 days ahead and store at room temperature in an airtight container. Frost and decorate the cake the day of your event for best results and freshest flavor.
Cascading Heart Cake Variations
Want to customize this gorgeous design for different occasions? Here are my favorite ways to adapt the technique for any celebration.
Try gold and white hearts for an elegant anniversary or wedding cake. Use white fondant with gold luster dust and ivory buttercream for a sophisticated look.
Create a rainbow cascade by making hearts in multiple colors that flow from pink to purple to blue. Use coordinating buttercream shades and lots of rainbow sprinkles.
Make it Christmas-themed with red and white hearts cascading down a light green frosted cake. Add white snowflake sprinkles and tiny silver dragees for a winter wonderland effect.
Use conversation hearts instead of fondant for Valentine’s Day if you want a quicker version. They’re already the perfect size and add a fun retro vibe.
Pro Tips & Tricks
Want to nail this cascading heart cake design on your first try? Here’s what I’ve learned after creating this technique dozens of times.
Roll fondant exactly 1/8 inch thick so hearts are light enough to stick into buttercream without sliding. Too thick and they’ll be heavy, too thin and they’ll break easily.
Freeze fondant hearts isn’t necessary but make sure they dry completely for 24 hours. Flip them halfway through drying time so both sides firm up evenly.
Vary heart placement angles to create that organic, flowing cascade effect. Don’t line them up perfectly straight or it’ll look too structured and rigid.
Pipe buttercream after placing hearts to act as extra adhesive and fill in bare spots. The piping is what really makes the design pop and holds everything together.
Chill your frosted cake before decorating so the background buttercream is firm. Working on a chilled surface prevents you from accidentally gouging the smooth finish.
Frequently Asked Questions
Do I need special skills to make this cake?
Not at all! If you can frost a smooth cake and pipe basic stars, you can make this design. The fondant hearts do all the impressive work while the piping is just simple open stars.
Can I use store-bought fondant?
Yes! Satin Ice or Wilton fondant works great for this project. Just knead it with a little vegetable shortening until it’s pliable and easy to roll.
What if my hearts won’t stick to the cake?
Make sure your fondant hearts are completely dry and your cake is properly chilled. Press them gently but firmly into the buttercream and add piping around them for extra security.
Can I make this on a larger cake?
Absolutely! Just increase the number of fondant hearts and extend the cascade design proportionally. An 8-inch cake would need about twice as many hearts.
What colors work best together?
I love shades of pink and red for Valentine’s, but any analogous color scheme works beautifully. Try different shades of the same color for an elegant ombre effect.
How do I transport this decorated cake?
Chill the cake thoroughly before transporting in a sturdy cake box. The cold buttercream keeps hearts secure and prevents them from shifting during travel.
Why You’ll Love This Recipe
Ready to create a showstopper cake that’ll impress everyone? This cascading heart cake delivers stunning visual impact with a surprisingly simple technique.
It’s perfect for Valentine’s Day, anniversaries, bridal showers, or any celebration where you want something special. The flowing hearts create movement and elegance that photographs beautifully.
Grab your fondant and piping bags because this gorgeous cake is easier than you think!
📌 Save this cascading heart cake tutorial for your next celebration—it’s guaranteed to be the centerpiece everyone remembers!







