
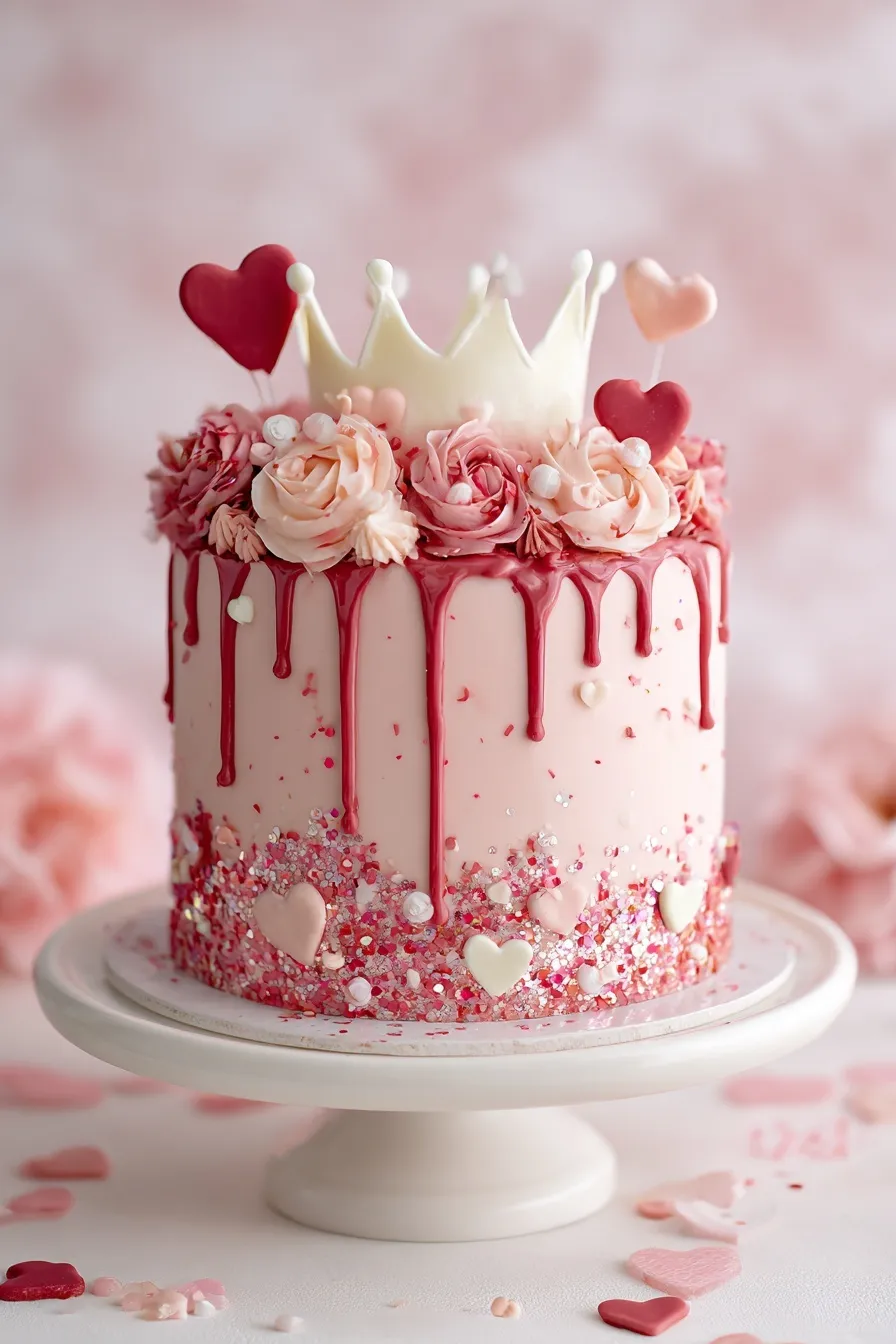
Valentine’s Day cake is that stunning six-layer masterpiece with white, pink, and red stripes inside and white chocolate raspberry buttercream outside. You’re creating dramatic ombre layers with a single cake mix, topping everything with pink ganache drip, and loading it with sprinkles and decorations. I’ve made this showstopper at least 8 times for special occasions, and it always steals the show.
Since you’re here, make sure to check out these related recipes:
- Pink Velvet Layer Cake
- Red Velvet Cake Balls
- Cascading Heart Cake
- Valentine’s Day Cheesecake
- White Chocolate Raspberry Bundt Cake
Why This Valentine’s Day Cake Works
Want to know why this layer cake is so impressive yet surprisingly simple? The single cake mix creates three different colored layers with minimal effort.
- Dramatic ombre effect from dividing one cake mix into white, pink, and red batches that create stunning stripes when sliced
- White chocolate raspberry flavor combines sweet white chocolate with tart raspberry for that perfect Valentine’s combination
- Show-stopping presentation with pink ganache drip and loads of decorations that look bakery-professional
- Easier than it looks since you’re working with one cake mix divided into three pans instead of making three separate batters
Ingredients You’ll Need
Ready to bake the most impressive Valentine’s Day cake? Here’s everything you need for this stunning six-layer masterpiece with ombre stripes.
For the striped vanilla cake:
- 3/4 cup buttermilk
- 2/3 cup sour cream
- 1 tablespoon vanilla extract
- 3 egg whites
- 1/3 cup vegetable oil
- 1 white cake mix (Duncan Hines), sifted
- Red gel food coloring
For the white chocolate raspberry buttercream:
- 1/2 cup white chocolate chips
- 1/2 cup heavy cream (divided into two 1/4 cup portions)
- 1 1/2 cups unsalted butter (halal-certified), softened for 20 minutes
- Pinch of salt
- 1 tablespoon vanilla extract
- 2 tablespoons raspberry emulsion
- 6-7 cups powdered sugar, sifted
For the pink ganache drip:
- 1 cup white chocolate candy melts (very white or bright white)
- 1/4 cup heavy cream
- Red gel food coloring (tiny amount)
For garnishes:
- Valentine’s sprinkles
- Fondant roses
- Chocolate bark
- Marbled fondant hearts
- Gumballs (optional)
The white cake mix creates the perfect base that you’ll divide and tint—so much easier than making three separate batters. Duncan Hines works best in my experience for tender texture.
Raspberry emulsion gives intense flavor without adding pink color to your buttercream. Regular raspberry extract won’t taste as strong and might tint your frosting.
Gel food coloring is crucial because liquid coloring will seize up your ganache drip. Use oil-based or gel-based colors only for the chocolate.
Step-by-Step Instructions
1. Preheat oven to 325°F and prepare three 6-inch round cake pans by greasing with shortening and dusting with flour. This prevents sticking better than spray alone.
2. Mix wet ingredients by whisking together buttermilk, sour cream, vanilla, egg whites, and vegetable oil in a medium bowl until thoroughly combined and smooth.
3. Add cake mix to the wet ingredients after sifting it well. Stir just until combined—don’t overmix or your cake will be tough.
4. Create white layer by spooning 1/3 of the plain batter into the first prepared cake pan. Set this aside while you color the rest.
5. Make pink batter by adding a small drop of red gel coloring to the remaining batter and stirring until evenly pink. Spoon half of this pink batter into the second pan.
6. Create red layer by adding several more drops of red gel coloring to the remaining pink batter, stirring until you get a vibrant red. Pour into the third pan.
7. Bake for 25-27 minutes until a toothpick inserted in the center comes out clean. The cakes should spring back when touched lightly.
8. Cool completely in pans for 2 minutes, then flip onto cooling racks. Wrap cooled cakes in plastic wrap twice and freeze for easier frosting later.
9. Slice each round in half horizontally using a serrated knife to create six thin layers total—two white, two pink, and two red for the ombre effect.
10. Make white chocolate ganache for the buttercream by microwaving white chips and 1/4 cup cream for 30 seconds. Stir until smooth and creamy, then set aside.
11. Whip butter in a stand mixer on high speed until light and fluffy. Add the cooled white chocolate ganache mixture and beat until combined.
12. Add flavorings by mixing in salt, vanilla, and raspberry emulsion. Beat well to incorporate all the flavors evenly throughout.
13. Add cream and sugar by pouring in the remaining 1/4 cup cream, then adding powdered sugar 1/2 cup at a time. Beat on high for 3 minutes to lighten color and texture.
14. Remove air bubbles by hand-beating with a wooden spoon after machine mixing. This creates smoother buttercream that’s easier to work with.
15. Make pink ganache by microwaving white chocolate candy melts and heavy cream for 30 seconds, stirring until smooth. Add a tiny toothpick amount of red coloring.
16. Assemble cake by taping a 6-inch cardboard round to an 8-inch round for stability. Fill a piping bag with buttercream and pipe between each layer.
17. Stack ombre layers by placing red, pink, white, red, pink, white in order. Pipe buttercream between each layer and press gently to secure.
18. Crumb coat the entire cake with a thin layer of buttercream. Freeze for 5 minutes to set this layer before adding the final coat.
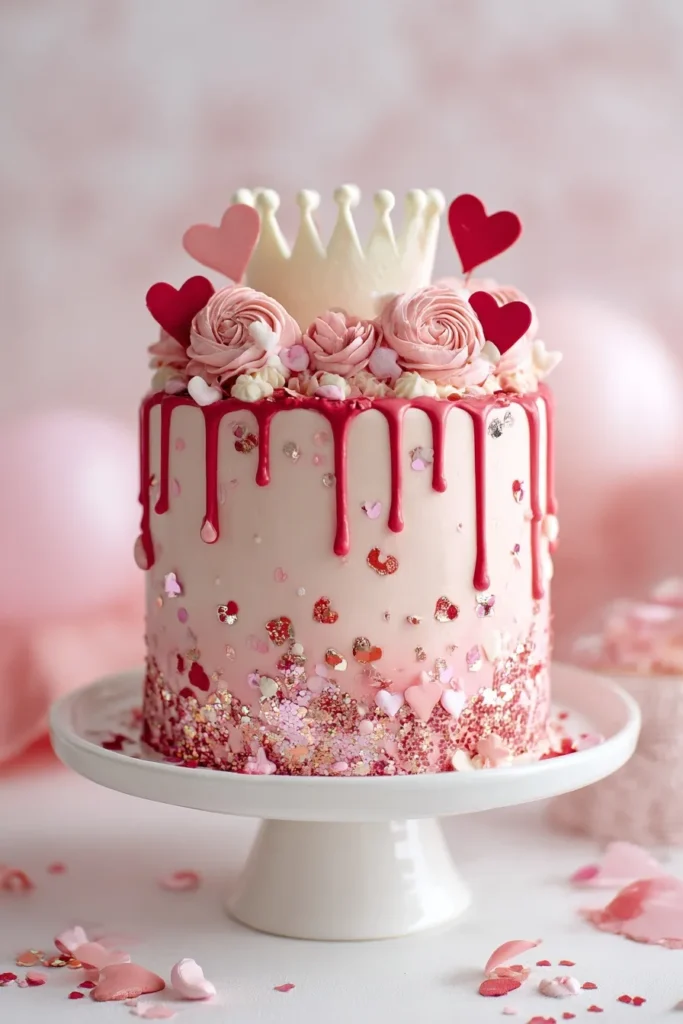
19. Apply final buttercream smoothly all over the cake, then press sprinkles gently into the bottom rim for decoration.
20. Add ganache drip around the top edge, letting it drip down the sides naturally. Freeze for 5 minutes to harden before adding decorations.
21. Decorate generously with chocolate bark, fondant hearts, roses, gumballs, and more sprinkles while the ganache is still slightly tacky so everything sticks.
Essential Equipment
Three 6-Inch Round Cake Pans
Multiple 6-inch pans let you bake all three colors at once instead of waiting between batches. The smaller size creates elegant, tall layer cakes with dramatic height.
Stand Mixer with Paddle Attachment
A powerful stand mixer whips buttercream to the perfect light, fluffy texture that spreads smoothly. Hand mixers work but take much longer to achieve the same results.
Cake Turntable and Offset Spatula (PREMIUM)
A rotating turntable makes frosting smooth and even from all angles. Combined with an offset spatula, you’ll get bakery-quality results that look professional every time.
What to Serve with Valentine’s Day Cake
Looking for ways to complete your Valentine’s celebration? I love creating a full dessert experience that makes the occasion extra special.
Serve slices alongside Heart Jam Thumbprint Cookies for guests who want something smaller. The variety of desserts keeps everyone happy at parties.
Create a Valentine’s menu by starting with Buffalo Chicken Sliders for dinner, then presenting this stunning cake. The savory-to-sweet progression is honestly perfect for date nights.
Pair with champagne, prosecco, or sparkling cider for drinks. The bubbles complement the sweet buttercream beautifully and make everything feel extra celebratory.
Add Red Velvet White Chocolate Cookies to your dessert table for color coordination. Your guests will love the cohesive red and pink theme throughout.
Storage and Reheating Guide
Room Temperature Display
Display the finished cake at room temperature for up to 4 hours during parties. The buttercream stays stable and the decorations hold their position beautifully.
Refrigerator Storage
Store leftover cake covered loosely in the fridge for up to 4 days. Let it sit at room temperature for 30 minutes before serving so the buttercream softens.
Freezer Storage
Freeze unfrosted cake layers wrapped tightly in plastic wrap for up to 2 months. Thaw overnight in the fridge, then frost and decorate when ready to serve.
Valentine’s Day Cake Variations
Want to customize this stunning layer cake for different occasions? Here are my favorite ways to adapt the technique while keeping that wow factor.
Try different color combinations like blue ombre for baby showers or orange ombre for fall celebrations. The same technique works with any gel food coloring shades.
Use different flavored buttercream like chocolate, vanilla, or strawberry instead of white chocolate raspberry. Just keep the buttercream white or light-colored to show off the cake layers.
Make it smaller by using 4-inch pans for individual mini cakes. You’ll get 6-8 individual servings that look adorable and eliminate the need for slicing.
Add different decorations based on the occasion—fresh flowers for weddings, gold accents for anniversaries, or themed toppers for birthdays while using the same base recipe.
Pro Tips & Tricks
Want to nail this Valentine’s Day cake on your first try? Here’s what I’ve learned after making this showstopper multiple times.
Keep everything cold between steps for easier decorating. Cold cake layers frost smoothly, cold frosted cakes accept drips cleanly, and cold drips hold decorations securely.
Use gel coloring sparingly in the ganache—start with a toothpick amount and add more only if needed. Too much will make it bright pink instead of soft pastel.
Slice layers evenly using a cake leveler or by measuring with toothpicks around the sides. Even layers create that perfect ombre stripe effect when sliced.
Work quickly with drips before they harden completely so you can add decorations while the ganache is still slightly tacky. This ensures everything sticks properly.
Freeze between steps for 5 minutes each time to make decorating so much easier. The cake stays stable and you won’t accidentally gouge your smooth frosting.
Frequently Asked Questions
Can I use a different cake mix brand?
Yes, but Duncan Hines works best in my experience for tender texture. Other brands may need slight liquid adjustments, so add extra buttermilk if the batter seems too thick.
Why is my ganache seizing up?
You’re probably using water-based food coloring instead of gel or oil-based. Water causes chocolate to seize—always use gel food coloring for ganache.
Can I make this without raspberry flavor?
Absolutely! Skip the raspberry emulsion and use 3 tablespoons vanilla extract instead. You’ll have a delicious white chocolate vanilla buttercream.
How do I get clean cake slices?
Use a hot, dry knife—run it under hot water, wipe dry, then slice. Clean and reheat the knife between each cut for pristine slices that show off the layers.
Can I make the layers ahead?
Yes! Bake and freeze the cake layers up to 2 months ahead. Thaw overnight in the fridge, slice in half, then assemble and frost when ready.
What if I don’t have 6-inch pans?
Use 8-inch or 9-inch pans instead and adjust baking time to 20-22 minutes. Your cake will be shorter but just as delicious with the same ombre effect.
Why You’ll Love This Recipe
Ready to bake the most stunning Valentine’s cake ever? This six-layer masterpiece delivers dramatic ombre stripes with surprisingly simple techniques.
It’s perfect for Valentine’s Day parties, anniversaries, bridal showers, or any celebration where you want to impress. The combination of white chocolate raspberry buttercream is honestly irresistible.
Grab your cake pans and get baking because this showstopper is easier than you think!
📌 Save this Valentine’s Day cake recipe for February—it’s guaranteed to be the centerpiece everyone remembers!







